First Milkyway of the year with the GFX100S, Rokinon 24mm f/1.4 and James Elam.

So with what will be one of my last Milkyway sessions in the North Island for the foreseeable future (more on that to come on the blog), it was nice to revisit a spot I went to with Meghan Maloney and Andrew Francombe back in 2023.

This shot I took using the Sigma 35mm in peasant (35mm crop) mode, which planted the idea of using crop mode on the GFX for astro rather than continuing to use the X-T4 and XF 16mm 1.4.

As much as I like that combo, the GFX offered better dynamic range and more megapixels so seemed like a waste to not use it. So with that I tossed up between the Sigma 24mm f/1.4 and Samyang/Rokinon 24mm f/1.4 - as I preferred this framing (the XF 16mm f/1.4 is a 24mm equivalent when you factor its x1.5ish crop factor). So the Sigma 35mm was traded in along with a bunch of other gear at the end of 2023 with the goal of simplifying both the GFX and X-Series kits. The Rokinon was available via Amazon for a reasonable price in EF mount which would work with my existing Fringer Adaptor -so I snapped it up.

So fellow first Milkyway of the season man, James came and collected me for an early mornings shoot up on the Coromadel. Sadly the skies proved to be cloudier than expected so I was left with this resulting image:

If i’m honest the clouds aren’t the worst here, makes for a slightly more dynamic image but did limit how I was able to shoot and process this image. The clouds ruled out stacking so I had to acheive this in a single frame which turned out okay. I’d have preferred to get a better foreground frame to blend in but decided to just leave the foreground from the original here. Thankfully the dynamic range of the GFX100S allowed a reasonable amount of detail.

With that the decision was made to head up the coast for some sunrise as it was only about three hours away after we finished up. We landed on Te Karo bay - also known as Sailors Grave.

My landscape efforts sucked pretty bad for the morning but grabbed a shot or two of the surfers who showed up just before sunrise.

And while I was at it I grabbed an opportunistic shot of James doing the same thing.

Thats it for this post, more to come on the move south!

I mean, it's just paper and ink right? | Printing some 8x10s on my Canon Pro-200 Inkjet printer

So in this video I go through the process of running some test prints through my Canon Pro-200 printer in order to decide on what paper/image combo works best for a secret santa gift for someone on the Landscape Photographers Worldwide Discord server. I ended up with Ben Wickenton - a fantastic photographer from Australia.

Made it a tough choice on which print to send him. Hopefully he likes it!

This is why each print is more than just paper and ink - a good photographer will match the paper to an image along with how it is processed. The time and money spent (holy crap is ink spendy!) on test prints can exceed the cost of what a single print sells for quite quickly.

So! I’m offering up some of these test prints flaws and all as a nice cheap way to throw me some support and hopefully get a nice pretty photo for your wall or desk at work.

Check them out by selecting the “Test Prints” category in my store or click here

Waitangi falls, Hunua falls and Karioitahi beach

Last month during my social media darkness I went on a mission with my mate Nathan (Go check him out on Instagram) to take a look at Waitangi falls near Waiuku. A spot neither of us had visited before.

While I was at it I had the opportunity to borrow a lens from the good peeps at Fujifilm NZ as I was considering potential upgrades for my 35-70mm. If you had watched my GFX kit “Whats in my bag 2023” video you’ll remember I mention looking to upgrading it to the 45-100mm, but the 32-64 was a contender as well.

Anyway! The weather was pretty gloomy but Nathan and I spent an hour or so at Waitangi falls. While there were a few compositions I settled on this one after gingerly walking across the slippery rocks.

Moving on from Waitangi falls we decided to take a look at the coast at Karioitahi beach. We were greeted with black sands, some horse riders and some epic coastal fog!

The undulating layers below the high tide mark made for some interesting foreground but you know I couldn’t resist a pano here:

Though I did find 16:9 suited things best to give a sense of the vertical scale - especially with a trio of horse riders to fit in.

Naturally the ultra-wide had to find its way onto the body as well.

With some time up our sleeves we decided to take a look at Hunua falls - another spot Nathan had not been to before.

Despite the obvious straight on composition, I found myself drawn over to the side of the falls

and on the way to collect this shot I got distracted by some green mossy covered stuff.

On the 32-64mm. It was a fantastic lens, and solved one of my gripes about the 35-70mm - the lack of aperture ring. But with the 2nd hand market pricing both this and the 45-100mm around the same I decided the 45-100mm was more versatile. I ended up doing a whole kit revamp over December so i’m probably going to have to do a bit of an update when

One.

More.

Thing

arrives sometime January/February. *grin*

The day after these shots were taken my poor old X-T4 gave up on my while recording my first video scheduled for 2024 - On printing some 8x10 images with my Canon Pro-200. Thankfully the team at Fujifilm NZ were able to loan me a spare X-T4 while mine was off for repair. That video should go live in the coming week or so so get over to Youtube and subscribe! That said I decided now that I’m going to be taking youtube more seriously that an upgrade was in order.

More on that also coming soon.

A sunset at Mount Maunganui

Sometimes you gotta take a gamble.

My good mate Alan flicked me a message on thursday afternoon asking if I was keen to pop over to the mount for some sunset action. Having knocked off early already and was considering a more local spot to me it was an easy choice to make to head over the Kaimais.

While on the road there was a bank of clouds forming on the horizon in the Waikato, so I already had low expectations of an incoming burner. But hey, better than just staying in and watching youtube videos at home right? DID I MENTION MY YOUTUBE CHANNEL?

Anyway… We arrived at Moturiki Island just beside the Mount and went for a wander before settling on a couple of spots closer to the shore of the main beach where it meets the island. I spent some time with the 100-200mm on my GFX100S shooting the waves with some slower shutter speeds

After that it started to look like we were on for some decent sunset action. So I shifted spots and tried to compose some stuff near the rocks.

Not too bad at this point - it was clear we were going to get into some colour so I flicked the GFX into 65:24 Pano mode and shot a bunch of 2 min exposures. Most of which I had to bin because the wind was blowing pretty hard - enough to cause some camera shake. Still, I managed to put one together :)

Thanks for reading! Don’t forget to go subscribe on youtube and if you’d like to see any of these in the print store leave a message below!

Jarred.

2024 and Beyond!

So as we come into the last month of the year I’d like to write a quick blog post covering the changes that are going to happen moving forward.

Also, just a reminder that I take the month of December off from posting to social media to remember my fiancé Katie and my Father who both passed away in 2021.

F U Instagram/Facebook/Meta

So in 2023 I put a lot of work and time into Instagram by adding reels into the mix and posting mutiple times a week to increase engagment and hopefully print sales. And I was rewarded with…

Negative growth.

Thats right! my Instagram account shrunk in followers and just getting people to see the posts became a battle. So with that abysmal failure knotched up, I will be reducing the time and effort into Instagram as a platform. Its hard not to take this personally as it feels like a direct rejection of my work and an outright judgement of its quality but I dunno. Its not outside the realms of extreme possibility that i’m just shit at this :D

I’ll likely be clearing my @JarredSpec account out of its current posts and only occasionally posting to it. @thejarredlab will continue as the place I dump the not so normal stuff.

The push to the website

You’ll notice I’ll be (at least attempting) to send you here to my website in most instances. This is a platform I control with no algorithms to rely on. This will be the one stop shop for 99% of my content moving forward and will be the place to see my stuff. Links to social platforms will no longer be direct, but via this website on the blog. I’d hugely appreciate it if you bookmarked this site and put a shortcut to it on your phone :)

So about that Youtube channel

I know…

I’ve been banging on about youtube a lot recently. The effort I put into Instagram (and a lot more) will now be directed into youtube videos for a few reasons.

  • I hope to reach a wider audience there

  • Developing a relationship with Fujifilm NZ

  • Learning a new skill (Videography and Video editing).

  • A path to monetising content

That last one isn’t the be-all/end-all of why i’m moving to youtube, but it is an incentive. Youtube is going to put ads on my videos regardless, so to me it makes sense to at least try and get a small cut of that ad revenue by joining Youtubes partner program once I meet the requirements: 1000+ Subscribers and 4000 watch hours over 365 days. At this stage there is not a chance of me being able to monetise content on facebook or instagram other than “please buy a print, my eBook or click the buymeacoffee link”.

THIS IS WHERE I NEED YOUR HELP

In order to meet Googles requirements to join Youtubes partner program, I need people to subscribe to the channel and watch the videos. This is free peeps, it costs you nothing. In the cost of living crisis that we’re currently in I get it, buying art is out of the question for a lot of people. But, just hitting those like and share buttons, subscribing, commenting all help. Also did I mention its FREE?

But Wait theres more…

The end goal of all this is to be able to make Landscape photography my primary source of income. And I see this happening as a three pronged approach: here comes more bullet points…

  • Print sales

  • Monetisation of content (Youtube, the eBook/s, a members area here on the website with tutorials and exclusive content)

  • Workshops

Long term I think that workshops are going to be the key money earner, supplimented by the rest. But as I’ve mentioned, they’re really targeted for people with disposable income - the rest us that do not, have the free option of just subscribing and watching youtube videos :)

Click all the links

With all that said, here are some handy links for you to click, follow, subscribe etc etc etc. You’re already here on the website so please bookmark it :)

The Youtube Channel

The JarredLab on Instagram

JarredSpec on Tumblr (yup I do tumblr too)

Thanks for reading and see you all in 2024!!!

The Karangahake Gorge with the Fuji X100V

Hey folks! In this video I explore the walks around the Karangahake Gorge with my mate Alan (go follow him on instagram) and the Fujifilm X100V.

I treated it mainly as a scouting mission for a future video where I want to shoot some 6x9 film, so most of the images are largely snapshots - which is right up the alley of the X100V.

If you don’t know what the X100V is, its a compact mirrorless camera from Fujifilm with a fixed 23mm f/2 prime lens. That means no zoom and you cant swap lenses. This makes the camera tiny even by Fuji X-Series standards. The V is the fifth iteration featuring the same 26MP sensor as my X-T4, 4K 30p video and just being all round fun to use. Its been the darling of Tiktok the past few years and pretty much impossible to buy as it has been consistently sold out worldwide. So, I was lucky to be able to snap one up a few months back.

All the shots featured in the video are in the gallery below. Enjoy!

Hunting Lightning Strikes with the Fujifilm X-T4 and GFX100S

A few years back I was watching this video by Nick Page about the basics of capturing lightning strikes by shooting timelapses. I have been meaning to give it a go for ages but the weather here in NZ is difficult to capture when stormy. Its very hard to get on the outside of a storm to shoot it as they generally cover entire regions rather than being localised “cells” like they do on the bigger landmasses like the US and Australia.

In this instance the weather was slowly progressing south towards home after work so quickly jumped out of the car to capture the timelapses in the video below. Sadly no lightning strikes, but some cool footage nevertheless.

Enjoy!

Shooting Long Exposures at Flat Rock, Pauanui

In this video I head out and ultimately fail to catch the image I pre-visualised. Still, not a bad morning spent out with the camera!

The plan was to capture the crescent moon with some long exposure forground. But I had ultimately timed it a day too late as the moon was rising a little too close to the sunrise and got drowned out by the morning sun on the horizon.

Oh well! Always good to have a Plan B through to F :D

A year with the Fujifilm GFX100S

So, I splashed out on the Fujifilm GFX 100S around a year ago - a medium format digital camera. And it is expensive. Not only that, it is more camera than a person of my talent level has any right to own, but here we are…

I’ve been shooting with the Fuji X Series on and off since the X-T1 was released and since then I’ve owned every X-T camera through to the X-T4 - not to mention an X-E1 and X100T in my time. My current X series kit has an X-T4, 16mm 1.4, 16-55mm 2.8 and 70-300mm.

Now, I’m not even remotely qualified to review.. anything. But theres some features of this thing that are really up my alley, and if we put its medium format 102 megapixelness aside for a sec, things like the ability to compose with 65x24 in camera is a big plus because you all know I love a pano…

Last of the light. Twizel, MacKenzie District. New Zealand. Shot with the 100-200mm

Aaaaanyway. The dynamic range of this thing is off the charts, the level of detail is insane and coming back to the 102MP side of things – it lets me print nice and big, I have 1 metre canvases printed with zero upsizing. The lack of the dials you get with the X Series and reverting to the old PASM mode dial isn’t really an issue for me because I set my X-Series cameras up with the front dial as my shutter adjustment and the rear dial for ISO – leaving aperture on the ring. A little sacrilegious to some of the Fuji purists out there I’m sure, but.. Meh. Having shot on Canon DLSRs and occasionally STILL shoot a Canon Film SLR this feels second nature to me. 

One of the only slight annoyances is that the 35-70 has no aperture ring, so I’ve been forced to set the rear dial up for aperture and customize one of the buttons for ISO adjustment. Not the end of the world though.  Another slight annoyance is the location of the playback button – I’m so used to it being next to the delete on the top left on the X-T4 its still taking some getting used to having it down here. The lack of a four way d-pad is missed too – I had those all set as custom functions like messing with film sims etc.

Bethells Beach. Waitakere, New Zealand. Shot with the 20-35mm

I picked this thing up with the 35-70, 30mm f/3.5 and the 100-200 5.6 with 1.4x tele converter. I snapped up the 80mm f/1.7 2nd hand and pre-ordered the 20-35mm f/4 when it was released. The 110mm is on the wishlist too, but not an immediate need at the mo. The 30mm was supposed to be my astro lens for the GFX system, but it was quickly traded away as its far too slow for Astro work.

The 35-70 is a weird but handy little lens. I had no idea it collapsed down and you had to effectively “open” it to 35mm and then you could zoom from 35 to 70mm. I suspect this will be replaced by the 45-100mm at some point. but for now its a handy wee lens.

These three prints shot with the 35-70mm. Thames Coast, New Zealand.

The 100-200mm has been really nice, the zoom ring is very smooth and the OIS combined with the IBIS in the body is great! I’ve got the 1.4x extended too so can a 140-280ish equiv - maybe 110-220mm on full frame. Not the most reach in the world, especially compared to the 100-400 I used to have on the X-Series but I’ll survive with the 70-300mm for that system if I decide I need reach. This along with the 20-35mm are my main go to lenses.

Aoraki from Peters lookout. Lake Pukaki, New Zealand. Shot with the 100-200mm & 1.4x teleconverter

The 80mm f/1.7 is gorgeous. My least used lens, but when I do use it, I love it. I should find a way to use this more in landscape photography. But it tends to be my “walk around” lens - if anything from the GFX line could be considered “walk around’ hah

SOOC Jpeg (Acros) from a Photowalk in Hamilton. 80mm f/1.7

Complaints? The camera is SLOW. The shutter lag is noticeable, and the fps is woeful at around 3.5 if I recall correctly. It is not great at wildlife or sports - the latter is not really what i’m interested in, but would be nice to have wildlife in the wheelhouse. This is one of the reasons I have retained the X-T4 and 70-300mm. Weight is another concern. I’m hoping to do a trip to Scotland around this time next year, and I’m concerned the kit will exceed carry-on weight limits. I may have to be creative in order to avoid putting this gear in checked luggage!

All that said, this is an incredible kit to have and I am very lucky to have it. I don’t foresee any upgrades to the body being required for a good period of time so hopefully I’ll get to know this thing well and squeeze the best my limited talent can out of it :)

A sense of place, but not location.

If you read my blog last week you’ll have seen that I had a bit of a rant about “collecting” locations. So I wanted to share a few images from a location I have spent many years visiting - Te Mata Bay on the Thames coast side of the Coromandel Peninsula.

Woosh

Now the point of these images is that because I know where they were shot, they hold a certain meaning to me - but the images could have been shot at almost any beach in New Zealand. My family spent many Christmas holidays here when I was a kid, so its a place I’d like to spend a good amount of time exploring and documenting - something I wish I had done more of the past fifteen years I’ve had a camera.

Fighting the wash

Call them “Abstract” if you like, but its this type of image I want to focus on creating for the foreseeable future. Stuff that could be shot at any location, but still interesting and eye catching. So in this blog post lets share a few.

One thing I’m trying to think more of is seeing images as pairs like the two above or threes aka triptychs. Creating images in this way will lend itself to eventually having a body of images that might be worth publishing in a zine or even a book.

The Cats and Dogs paw

So there we have it, some seemingly random images from a spot that means nothing to most, but hopefully some interesting shots.

Some more to come below, but if you have got this far you rally should go check out my Instagram pages if you haven’t already.

@JarredSpec

@thejarredlab

@jtw_panoramic

Of course theres the YouTube Channel if you haven’t seen that either. If you’d like to pick up a print there is the Print Store or if you would like another way to support me you can check out jarredwilson.com/karma :)

Where to from here

I will admit.. The past couple of years I have been going though the motions somewhat when it comes to photography. I’ve realised that I’ve gotten into the habit of “collecting” locations and gathering the standard types of shots you would expect from them. The only variety coming from hopefully unique conditions.

Aoraki/Mt Cook from Peters lookout

Mt Taranaki from Lake Mangamahoe

The Obligatory road leading to Aoraki/Mt Cook shot.

It’s tough, being such a small country with a high tourism factor all of these spots have been done better than I’m likely to ever be able to produce. Don’t get me wrong, I think there is still value in shooting these locations - particularly for beginners and tourists (and absolutely for photographers making their living by hosting workshops at these locations), but photographers like myself really need to start thinking “out of the box” for their own photography in order to stand out. But, more importantly we need to do it for our own creativities sake and drill down to what we LOVE to shoot. A few photographers I follow and have huge respect for fit this mold perfectly; Nick Carver and his work in the American southwest, Rachel Talibarts coastal photography and Simon Baxters woodland photography.

So this has been something I have been thinking about a lot in the past few weeks for a particular reason. At the end of April I had an out of the blue seizure while driving down to Tarawera with my fellow photographer James Elam - who thankfully was able to wrestle control of the car and bring us to a halt before calling an ambulance. This was on the night of one of the biggest Auroras we have seen recently - just my luck. Unfortunately this means I am no longer allowed to drive without clearance from a neurologist - which from all accounts will take 12 months.

A year.

As a landscape photographer, the thought of being stuck at home for a year is enough to make me biff the camera gear on trademe and just give up. Trust me, I have come close several times. Afer some pretty dark times over the past couple of years - Its hard not to feel like a complete burden on people to have to ask to go out shooting. To have the freedom of just heading out on a whim taken away has made the urge to do it That. Much. Stronger. I will admit, some days I feel i’ve been relegated to a mere tax generating unit with not a whole lot else to keep me going. The health system spat me out the day after admission and pretty much said “BTW no more driving lol. Ok get out, don’t call us we’ll call you”

With all that, i’m on a soul-searching mission to figure out what i’m going to be focussing in on for the near future. Most of it will be local, there may be some forests like Simon Baxter, Coastal stuff up in the Firth of Thames, macro, some street photography etc.. My beginnings in photography were in motorsport so stuff with action maybe? Local Wildlife?

You may have noticed a re-branding of my old @jtwilsonphotoworks instagram account to @thejarredlab, thats where i’ll be throwing a lot of the random stuff. The Traditional Landscapes will stay with the @jarredspec account for the time being.

Expect to see more like the below images. Detail shots, especially ones not tied to a given location. Stuff I want to put on the wall.

Stuff that isn’t just a generic copy of a spot that 50,000 other photographers have shot better.

So with all that published. If you want to support me in this. Go follow @thejarredlab if you aren’t already. Check out the print store and grab a print for your wall, or for other ways to support monetarily have a look at www.jtwilsonphotoworks.com/karma :)

Street Photography with the Fujifilm GFX100S and 80mm f/1.7. Worldwide Photowalk

Street photography is not something I am known for, but every year my man Chris Nielson hosts a photowalk in Hamilton as a part of Scott Kelby’s “Worldwide Photowalk”. There’s a competition attached to it, but I don’t bother entering.

One would think my Fuji X-T4 would be the ideal weapon for such a walk, or even my EOS Elan 7 film camera. But instead I chose the tank that is the GFX100S and an equally tankish GF 80mm f/1.7. Being roughly 63mm equivalent in focal length in “full frame” terms. Or roughly 42mm equivalent on my APS-C Fuji its not a terrible focal length for street photography.

One of the cool things about Fujifilm cameras is that they include film simulations which are designed to replicate the look of some of Fujis and classic film stocks from back int he day. I intended on shooting the day in black & white so Fujis Acros Film sim was the flavour of the day. I Shot RAW+JPEG and have dumped all 84 JPEGs (warts and all) into this folder over on Flickr

That said I have edited a couple of shots (Most in colour) to post here for you guys.

Enjoy!


Landscape Astro Workshops!

Landscape Astro Workshops!

Over the past few years I've spent a lot of time out with my camera pointed at the milkyway. A lot I have learned from youtube, some I have learned from trial and error (so. much. error).

Milkyway Core rising over the Waikato River

I often get asked by people if they can come out and learn this sort of stuff while I'm shooting, but that can be difficult if I'm shooting as well.

So as part of my plan to start taking this into a fulltime career, I would like to begin to offer some workshops teaching this sort of photography and post processing. That way while we're out doing this, my time is dedicated to showing people what to do, rather than my own images.

The Milkyway rises over Mt Doom itself!

So with a new moon just gone, and the next one towards the end of the month I'd like to do a test run with two or three people keen on being guinea pigs for how I intend on running these.

Pauanui

Because this sort of photography is weather and location critical, we'll need to be flexible on dates. I am targeting Friday/Sat/Sun 27/28/29 May. This will be based in the Waikato/Western BOP/Southern Coromandel region. So you'll need to be willing to travel to the location and keep all three nights free leading up to it. We will pick the best night based on the weather forecast. (We will only be shooting the one evening).

What we will cover:

Gear: Unfortunately Landscape Astro photography is somewhat gear dependent. That said you don’t need tens of thousands worth of equipment to get started with it. I posted a couple of blog posts last year regarding Landscape Astro, the gear section can be read here.

Planning. This is probably the biggest part of shooting this sort of thing. Again, I have a blog post written that covers how I plan these shoots.

The third blog post was all about the shooting process, which we will cover in the field - this will include how to work out your settings and how to manually focus to ensure the stars are sharp.

Finally, a short youtube video on how I edit these available only to participants and contributors on Patreon will be produced.

What you will need:

1: An interchangeable lens camera and a wide angle lens. Not saying that this sort of stuff can’t be done with point and shoots to some extent and even smartphones these days, but we’re going to start with people who have already invested in some dedicated photography gear. The lens ideally should be wide angle and have a maximum aperture of f/3.5 or faster at its widest focal length. This is still not ideal, but I’m aiming this at beginners who most likely have an 18-55mm kit lens with their camera. If you have access to something wider and with a wider max aperture, bring it! I will be able to loan my 16mm f/1.4 to anyone shooting with the Fuji X Series.

Tripod: This is a must. Shooting the milkyway comes under the umbrella of “Long Exposure Photography” and as we will be having our shutters open for up to and sometimes longer than 30 seconds, the camera needs to be held in place without it being able to be shaken. I will have spares with me on the day though.

WARM CLOTHES. You’re going out at night, in mid Autumn. No ones needs to bring Hypothermia home along with their epic Milkyway shot.

Editing Software: To bring the best out of the Milkyway, we will be shooting RAW and post-processing the Image. Adobe Lightroom and Photoshop are probably the most popular editing tools worldwide and are what I use to edit all of my images. Worth the purchase! The editing side of things will be based in Lightroom, and a little Photoshop for more advanced users

Because this is a bit of a dry run, i’ll be keeping it to three people maximum and a nice and cheap $50 per person. Of course if the weather doesn’t play ball on any of the dates, full refunds will be sent out to everyone.

So! If you’re interested, go check it out in the Workshops tab here on the website!

Otarawairere Bay, Ohope.

Ow my knees

image0.jpeg


This is how a lot of landscape shoots get planned. Me and a couple of mates have a messenger group where we talk photo stuff and plan places to go. Usually just a “Hey I’m going to xxx spot, anyone else keen?” As my Patreon grows (lol), I’m thinking of starting one of these message groups so people can plan shoots together or tag along to where I’m headed myself. I dunno 🤷🏻

Anyway, what Alan didn’t really mention was the walk over the hill from Ohope to the bay. According to my health app on the phone, 9516 steps and 28 floors climbed 😖 There’s me exercise for the week done 🤣 Buy hey, I survived!

Anyway, weather apps were predicting high cloud which is usually perfect for sunrise/sunsets, unfortunately, 100% high cloud snuffs out pretty much everything. Guess what we got 🤦‍♂️

So, very little in terms of sunrise action sadly, but took the opportunity to play shooting some video with the new drone which you can see here if you haven’t already or aren’t in the early access or VIP tiers. I shot some stills too, very much looking forward to exploring a new perspective. On the walk back we managed to get in a little bird shooting while we are at it too!

So I’ll start with the crap sunrise and move on to the drone pics 👍👍

image8.jpeg

Pretty much all the colour we got. Sad!

image7.jpeg

But there were some interesting textures in the sand!

image3.jpeg

There’s a tiny waterfall at the bay too. An awkward one to try and photograph but the view back out to the bay isn’t bad!

image4.jpeg
image5.jpeg

There were a bunch of Tui floating around snacking on berries, managed to spy a Wood Pidgeon too!

So on to the drone shots!

image6.jpeg

Looking back across the bay. About 35 meters up from memory. The max height you can fly these things here is 120 meters up, which is pretty darn high, I’m not sure I’d even see the bloody thing up at that height - which is one of the rules you have to follow, must have direct sight on it at all times.

image2.jpeg

This is the top down perspective I’m really going to spam with this thing. Patterns and textures we’re not used to seeing!

image1.jpeg

The video footage I took before I shot this still looks like it’s been slowed down, interesting that the top down perspective gives that effect!

Looking forward to give this lil guy a work out, hopefully it’ll add a new level in terms of video and stills!

This blog post went up on Patreon two weeks ago - a benefit of the lowest $3 entry level tier is you get early access to all blog posts! I would much appreciate it if you would consider signing up and joining me and the others over on Patreon if you enjoy this content. I also post a lot of behind the scenes, general thoughts, rants and ideas for the future. Go have a look at patreon.com/jtwilsonphotoworks. Of course you can support me by simply sending a tip via my Karma page. Make sure to check out the YouTube channel and of course check out my Instagram account!

The JarredSpec Introduction to Milkyway Landscape Photography - Part III: Setting your exposure

So! you've planned your shot and you've been watching the weather and the stars are (literally) aligning for you to go out and shoot the Milkyway. Time to head out and shoot!

Now, one of the key points I should have mentioned in the last post is that if you are unfamiliar with your location, arrive early. OR, even better, scout the location during daylight hours if you can first. Google Maps and Photopills, while brilliant - sometimes don't tell the full story of the spot and you might find that it doesn't work exactly how you planned, or there might turn out to be a better composition than you originally thought which will require some on the fly planning.

Case and point; The Tarawera shoot back in March (Geez its MAY!!) The jetty shot turned out okay, but there were three other photographers there and I didn't want to hog it, so went for a wander and found the branch in the lake - which turned out to be on of my favourite shots so far this year!

The Jetty while okay, had a lot of light pollution spilling on to it and I think distracts from the Milkyway itself

The Jetty while okay, had a lot of light pollution spilling on to it and I think distracts from the Milkyway itself

The branch however, I think its just that little cherry on the top as you can see it faintly extending underwater towards where the MW (I'm going to abbreviate "MilkyWay" to "MW" from now on) is on the horizon.

The branch however, I think its just that little cherry on the top as you can see it faintly extending underwater towards where the MW (I'm going to abbreviate "MilkyWay" to "MW" from now on) is on the horizon.

Now! Once you've settled on your spot and are starting to line up your composition its important to start taking some test shots in order to ensure you have your framing just right. Sometimes cropping to adjust composition is a necessary evil, but we should avoid it where we can. If its already dark, start firing off some shots at wide open aperture, at max ISO and some 30 sec shutter speeds just so you can get a bright exposure to make sure you're in the right spot. These shots will look fucking terrible, which is okay! All we're doing here is making sure our composition is exactly where we want it. If you've arrived during daylight hours, or the blue hour and can line up you comp without doing this congrats! You have saved yourself some memory card space. Win.

So Jarred, what settings to we need to use for the actual shots!?

Now, the aperture and ISO will be the easier settings to come to. Aperture: Wide open, if you're using your kit lens at 18mm, that'll probably be f/3.5. ISO will be higher than you're used to shooting at and does depend on your cameras performance to an extent, along with your own personal taste as to how much noise you can live with. We'll start at ISO 3200. The shutter speed is going to require some maths I'm afraid, (Sorry!) because we're on a tiny lil blue marble in this giant universe, that is spinning as you read this. That's right, the earths rotation is a factor we're going to have to bring into things. You see, the earths rotation will cause the stars to appear as little streaks if your exposure time is too long. That's the catch-22 of MW photography, we want a nice long exposure to let in all the light we can capture, but we have to limit it to avoid the stars streaking.

Trails for Patreon-1.jpg

Above is a four minute exposure I took at the Tongaririo crossing earlier this month. This was a foreground image to blend with a separate exposure for the sky (A future blog post for intermediate users). As you can see, the stars have left little streaks or "trails" in the sky as the earth has rotated during the four minutes the shutter was open. This can be a creative decision of course, star trails is a popular thing to shoot - but an entirely different process to what we're taking about here today.

Without getting into stacking (Another blog post coming for more advanced users), basic MW exposures often start with the "500" rule, that is, if we take 500, and divide it by our focal length, that gives us our maximum exposure time before the earths rotation comes into play. The wider the focal length, the longer our shutter can be open before the trails become apparent - there's some science as to why - better left to someone who understands that better than me. Anyway, there's a bit of a caveat here: Most of us at the beginner level have more entry level to mid range cameras with what we call "APS-C" sized image sensors in our cameras. The 500 Rule was developed for "Full frame" or 35mm sensors, so we need to adjust the math slightly to suit our setup. Some use the "300" rule instead, others will use the crop factor of their particular camera manufacturer. All of these techniques will give slightly different numbers and it'll require some trial and error on your behalf to land on a specific method that suits you best. An easy way to do this is use the Milkyway Exposure Calculator over at  LonelySpeck.com which is an incredible resource for astrophotography - well worth a read! For me, I typically use the Lonely Speck to figure out my base exposure and go from there. 

The "NPF" Rule is another alternative out there, but again is for more advanced shooters and features more complicated maths: (35 x aperture + 30 x pixel pitch) ÷ focal length = shutter speed in seconds. Pixel pitch = the camera sensor’s physical width in millimeters ÷ number of pixels in width x 1000 to measure it in microns. Lets not worry about that one at this stage. Its really designed for people with cameras with high resolution image sensors and for people who want to print BIG.

Lets run some quick numbers, assuming you're on a Canon 80D with 18-55mm kit lens. Canons crop factor is 1.6x for the record. If you have a different camera/lens combo, you will have to adjust the focal length, maximum aperture and crop to suit

500 rule with crop factor: 500/(18x1.6) = 500/28.8 = 17.4sec

300 rule: 300/18 = 16.6sec

Lonely Speck: 19sec.

MW Expo.JPG

I suspect the lonely speck is using a variant of our first equation, but assuming a 1.5x crop like on a lot of Nikon, Sony and Fujifilm cameras. 500/(18x1.5) = 500/27 = 18.5sec

Its at this point you have to decide exactly how much trailing you can deal with, bearing in mind it will be more pronounced at the edges of the frame (this is a wide angle lens thing). The temptation here is to set your shutter to 20sec and accept some trails, personally I'd rather err on the side of sharper stars and aim for 15secs. That 5secs is about a 1/4 stop of light and not even the equivalent of bumping your ISO from 3200 to 4000 - probably better to take the small amount of extra noise ISO 4000 will give if a 15sec exposure is too dark for your liking. But, these are your shots, don't let me tell you what to do!

So there we are, we have settled on our base exposure of 15sec, f/3.5 and ISO 3200. I say "base" because this is our starting point, I'm going to say it again, trial and error plays a part in this and its mostly down to your own personal taste. The key is, to experiment with altering these settings while shooting so you have some options to bring back to Lightroom and Photoshop (Lr and Ps). Try some higher ISO shots, adjust your shutter speed to and fro from our base exposure. Because most cameras limit how much adjustment you get between shutter speeds (my Fuji for example only allows 5" adjustments from 15-30"). But, if you have a remote shutter release like I mentioned in Part I, you can really get precise with your shutter speeds and try 16secs, 18secs or even 14secs and see if they are to your liking. 

Part IIIA will be a short video for Patrons only explaining how to focus at night, or cheat during the day if your lens allows.

If you have any questions about the stuff covered here, let me know!

Patreon and taking this gig fulltime

Hey guys, below is the welcome blurb over on Patreon. I brought this back because I need your help! My end goal is turning this part time hobby into a fulltime profession and I need your support to do that. While Patreon is the ultimate way to do that, with support tiers as low as $3 a month (Not even a cup of coffee guys!) - but it isn’t the only way. Likes, comments and better yet, shares are simple ways you can support my work and allow me to reach more people. There will be lots of blog posts coming talking about the basics of shooting certain types of landscapes, along with YouTube videos in the field or talking about the gear I use.

Back to Patreon; There are three support tiers that might interest you! Some of the rewards carry across each tier, and as I embark on specific projects I may create new tiers specifically for those. One of the things I’m stoked to offer exclusively to patrons is prints! After moving from just offering prints to trying out a “Limited edition” type thing, I made the decision to pull out of offering prints in general for the time being. But, I figured it’d be a nice way of giving patrons a little exclusivity for their contributions (If that even counts at my level hah).

So! Tiers:

Tier 1: Entry Level and early access to the blog

AU$3 per month (Sorry, AUD is the closest I can get to my local currency here in NZ)

$3 a month. That's not a whole lot - not even a cup of coffee! Support at this level is a simple "Hey Jarred, I like what you're doing - keep it up!".

For your support, you also get access to my patron only feed. That means you can:
Join in on any discussion. Get early access to blog posts, gain access to Patreon only blog posts, Read any reviews I do, Read any tutorials I put up and have full access to purchase prints of any photo I have shot (Ts & Cs apply)

Tier 2: Early Access

AU$5 per month

This is pretty much the same as Tier 1, except you get early access to an Youtube Videos I create and have the opportunity to give me some feedback on them before they go live :)

Tier 3: VIP

AU$10 per month

Again, the same as the previous tiers, BUT! I’ll post a free HD wallpaper for your chosen device (Smartphone, Tablet or Computer screen) EVERY MONTH. (Note, these will be watermarked with my “double J” logo)

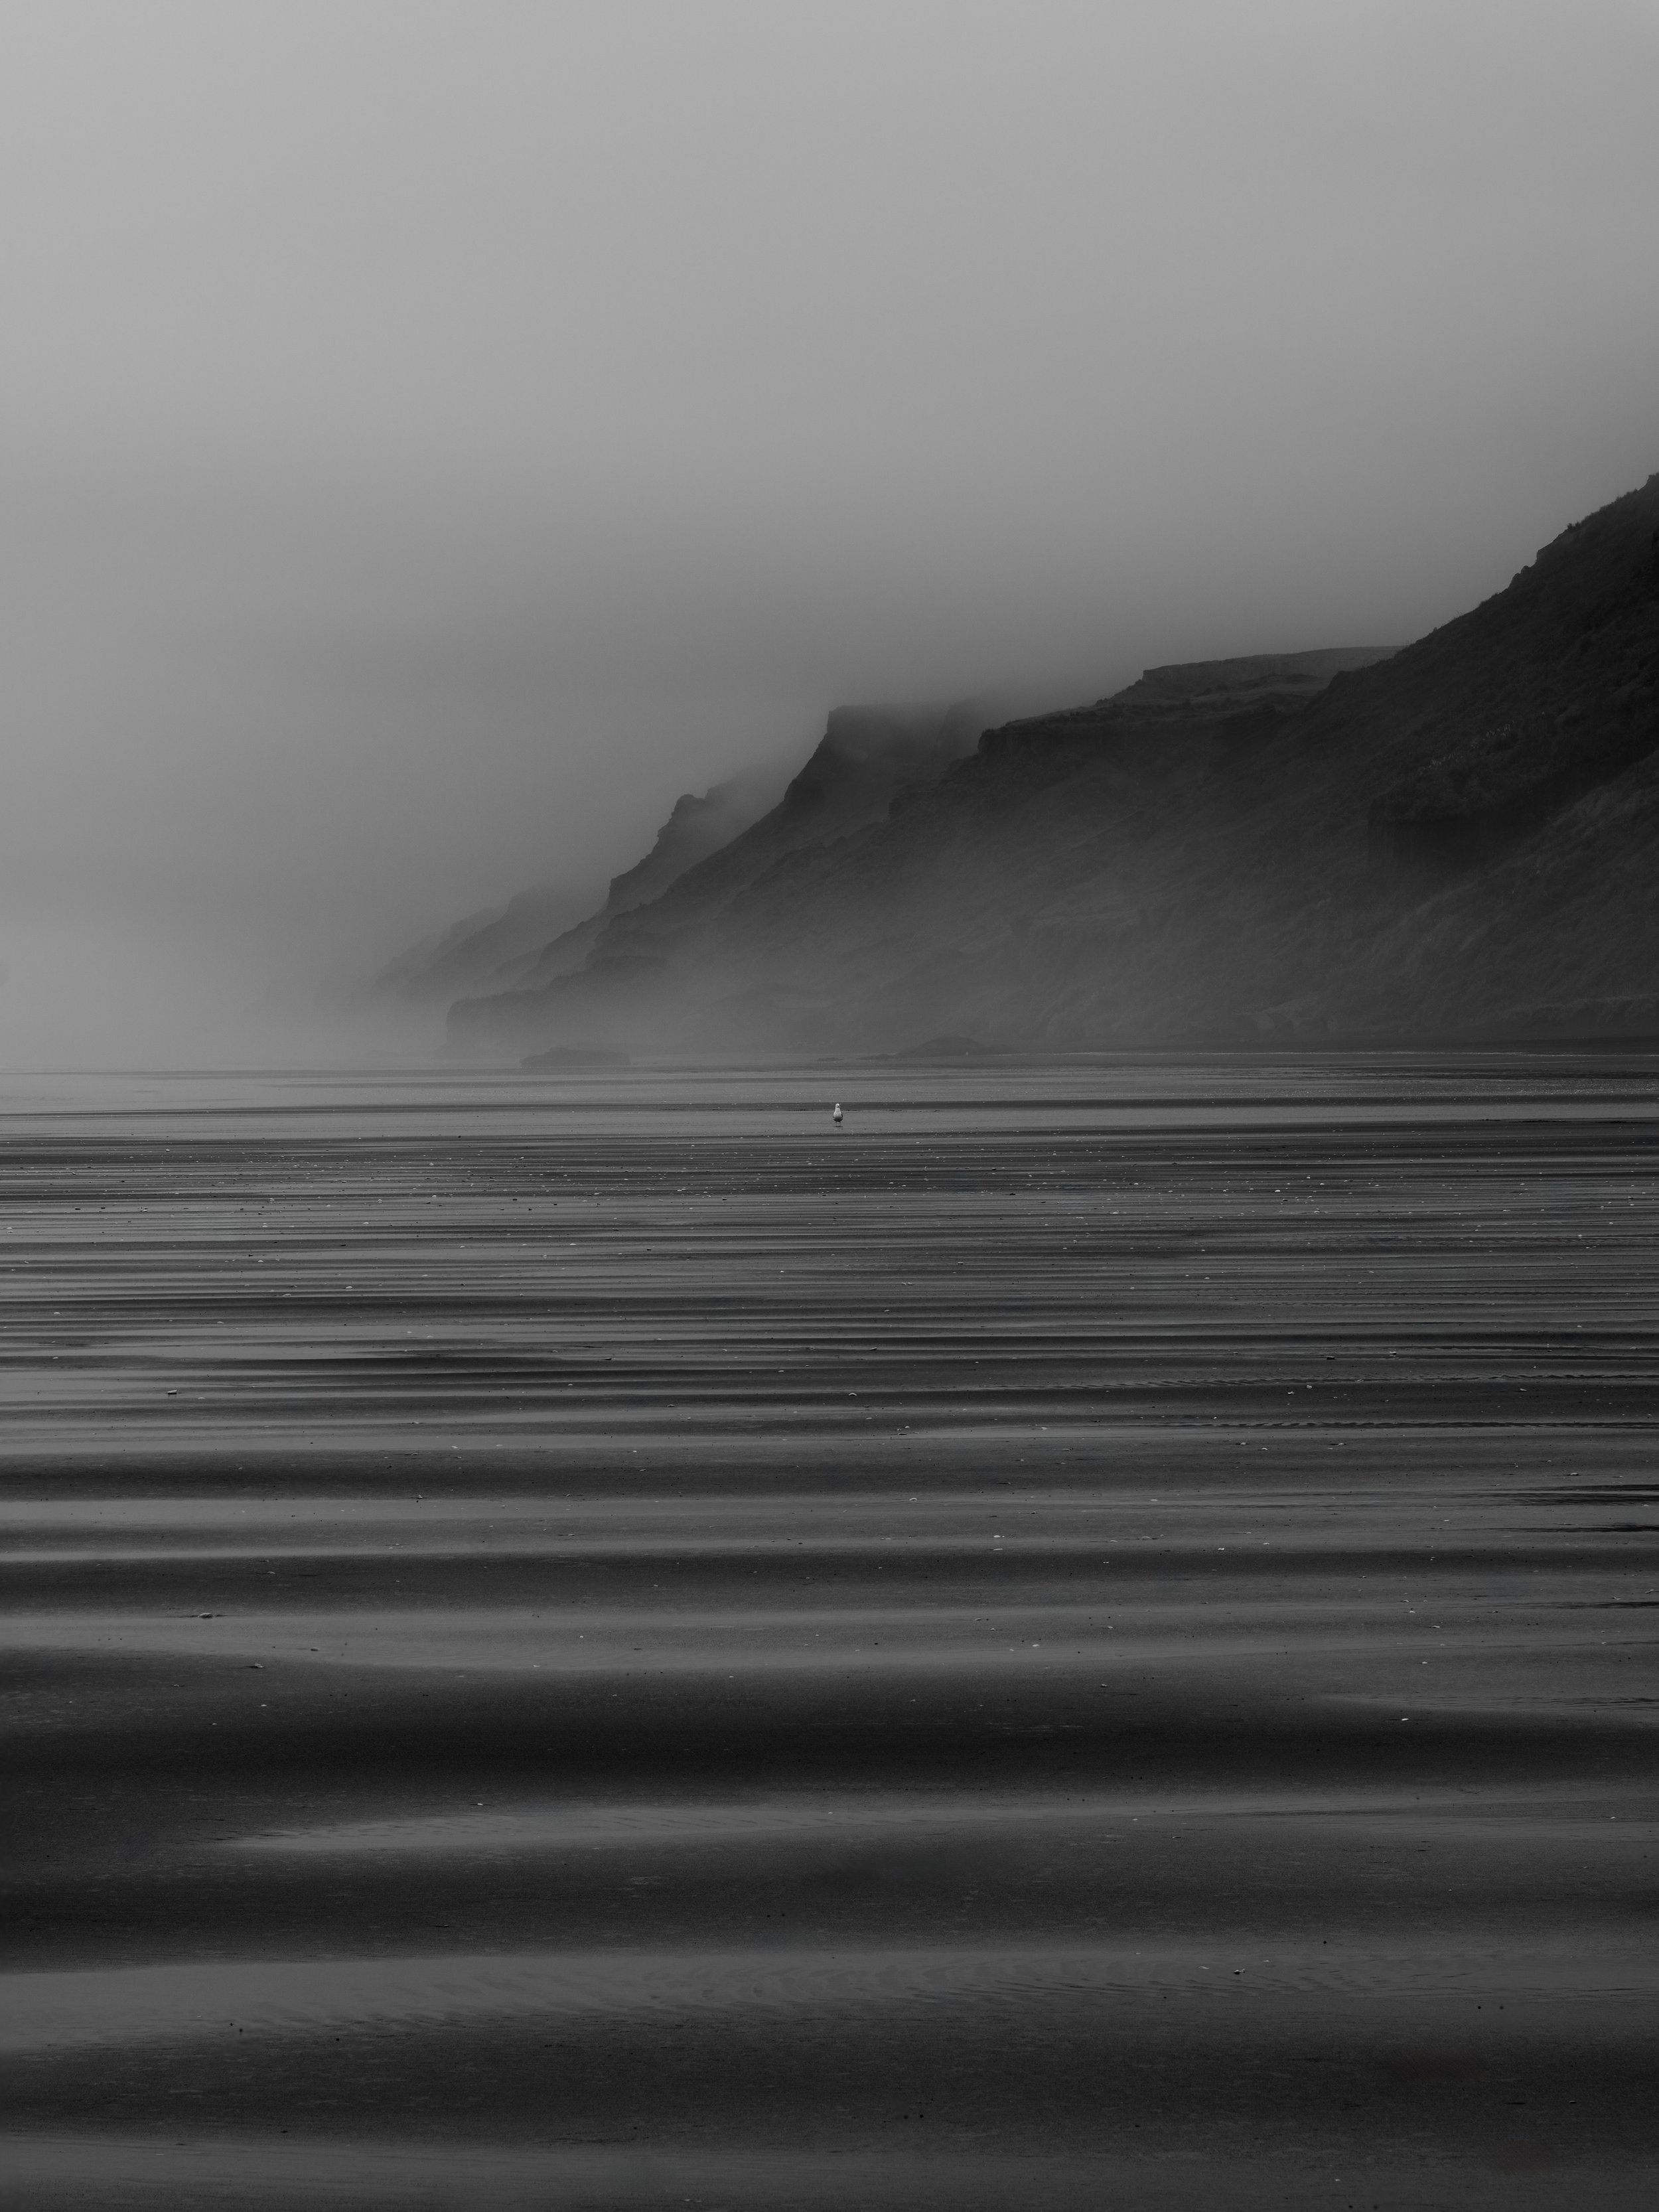
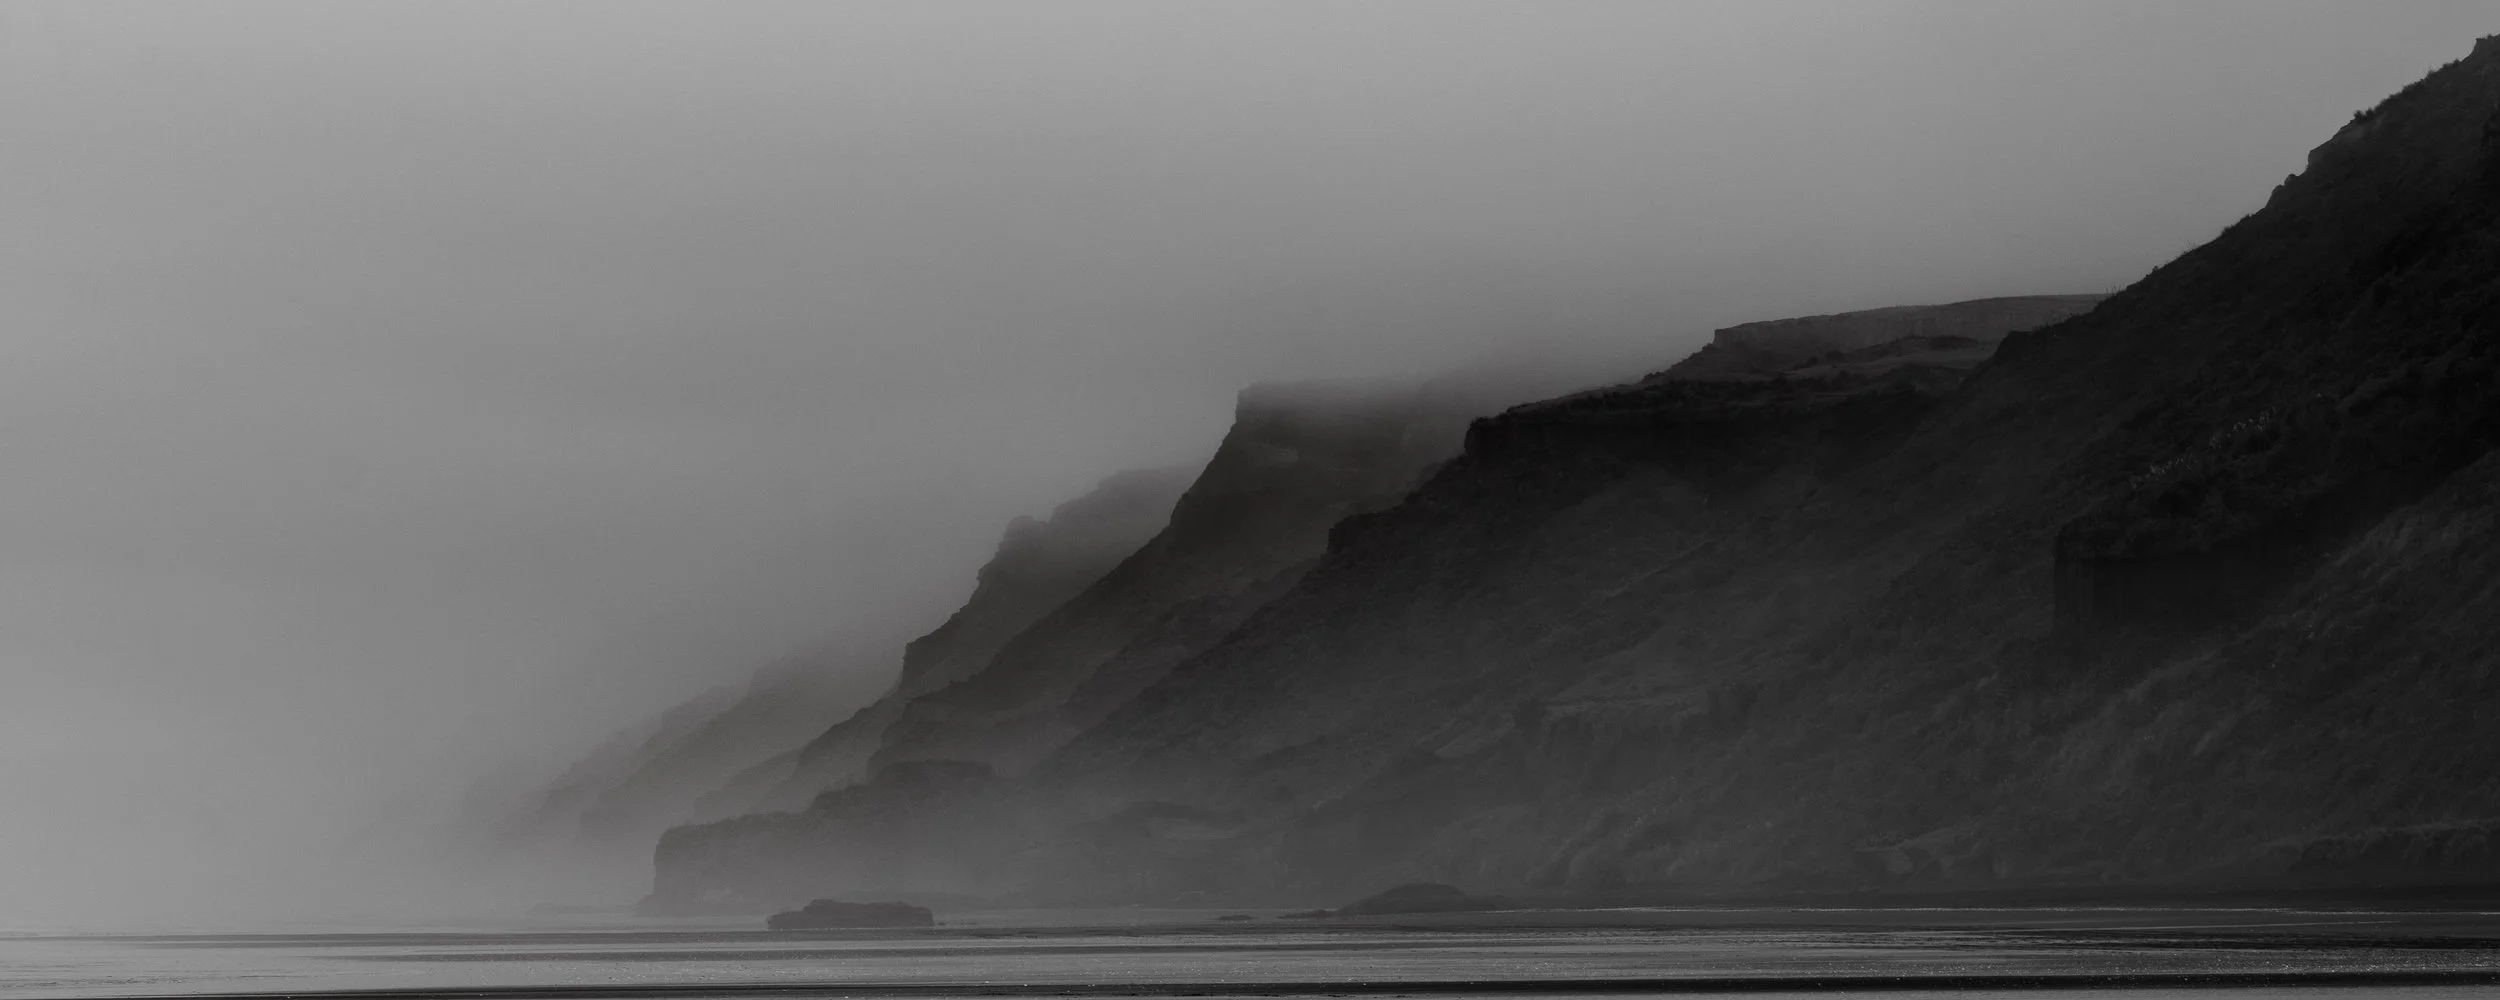
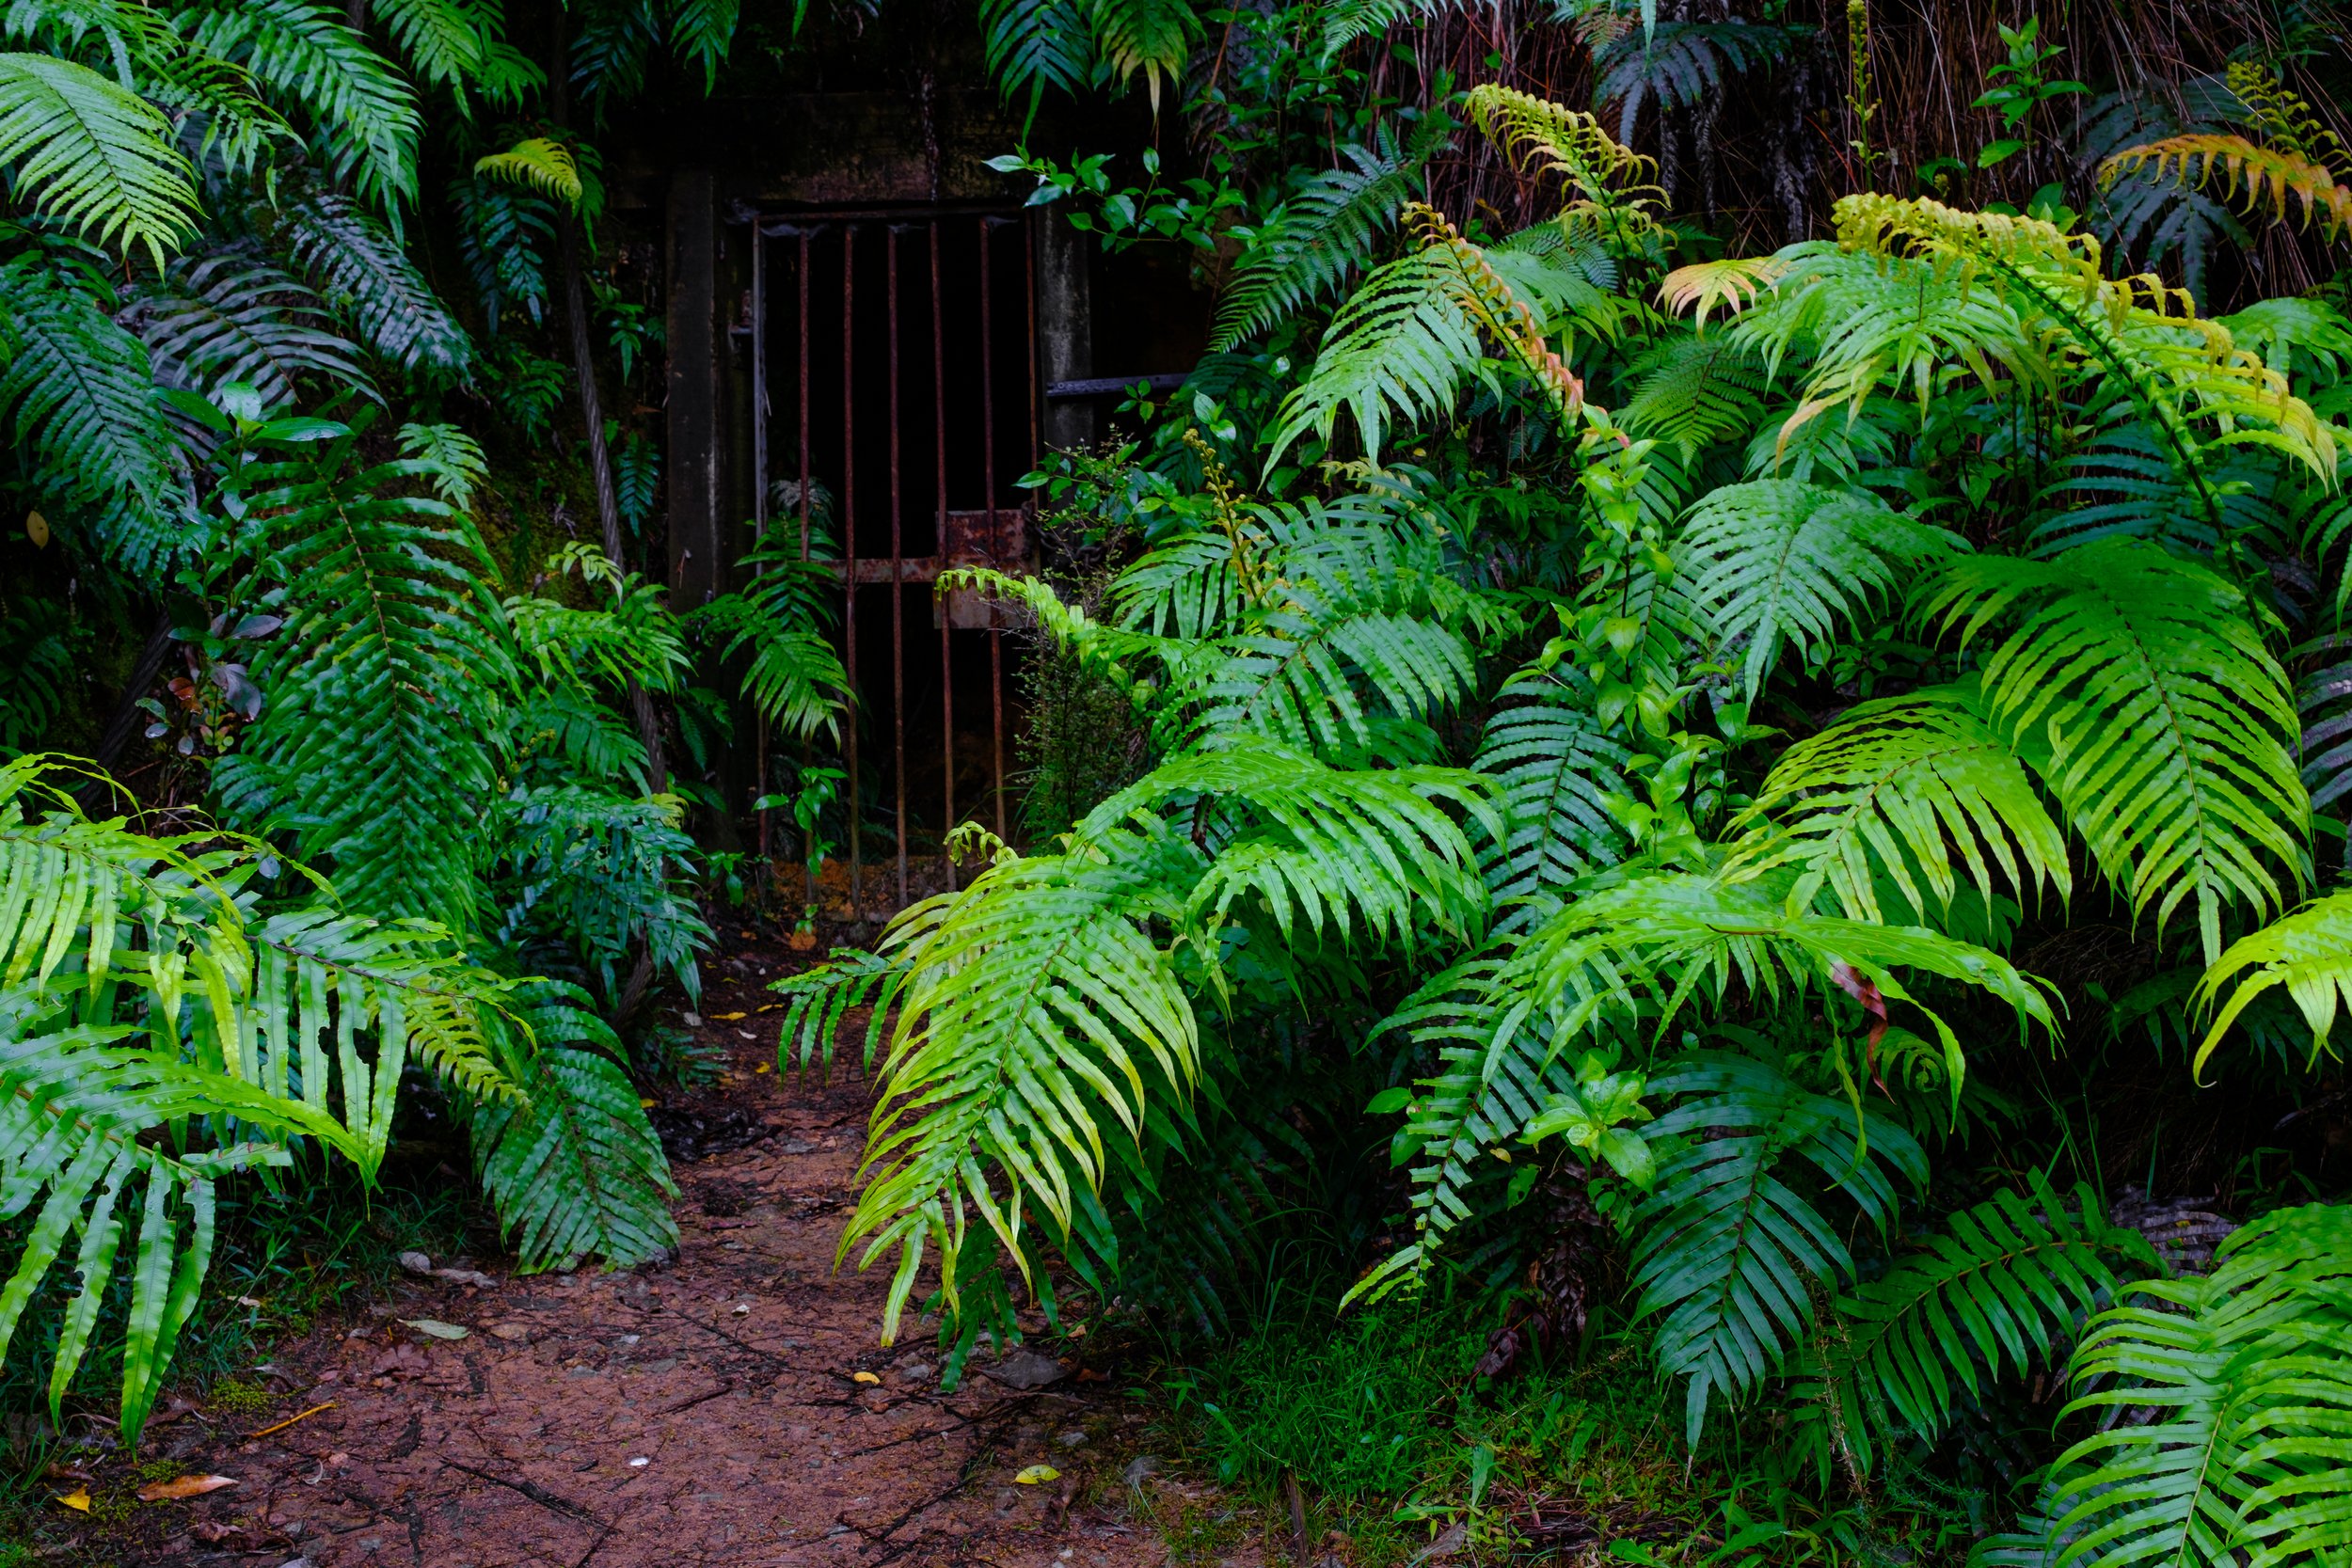
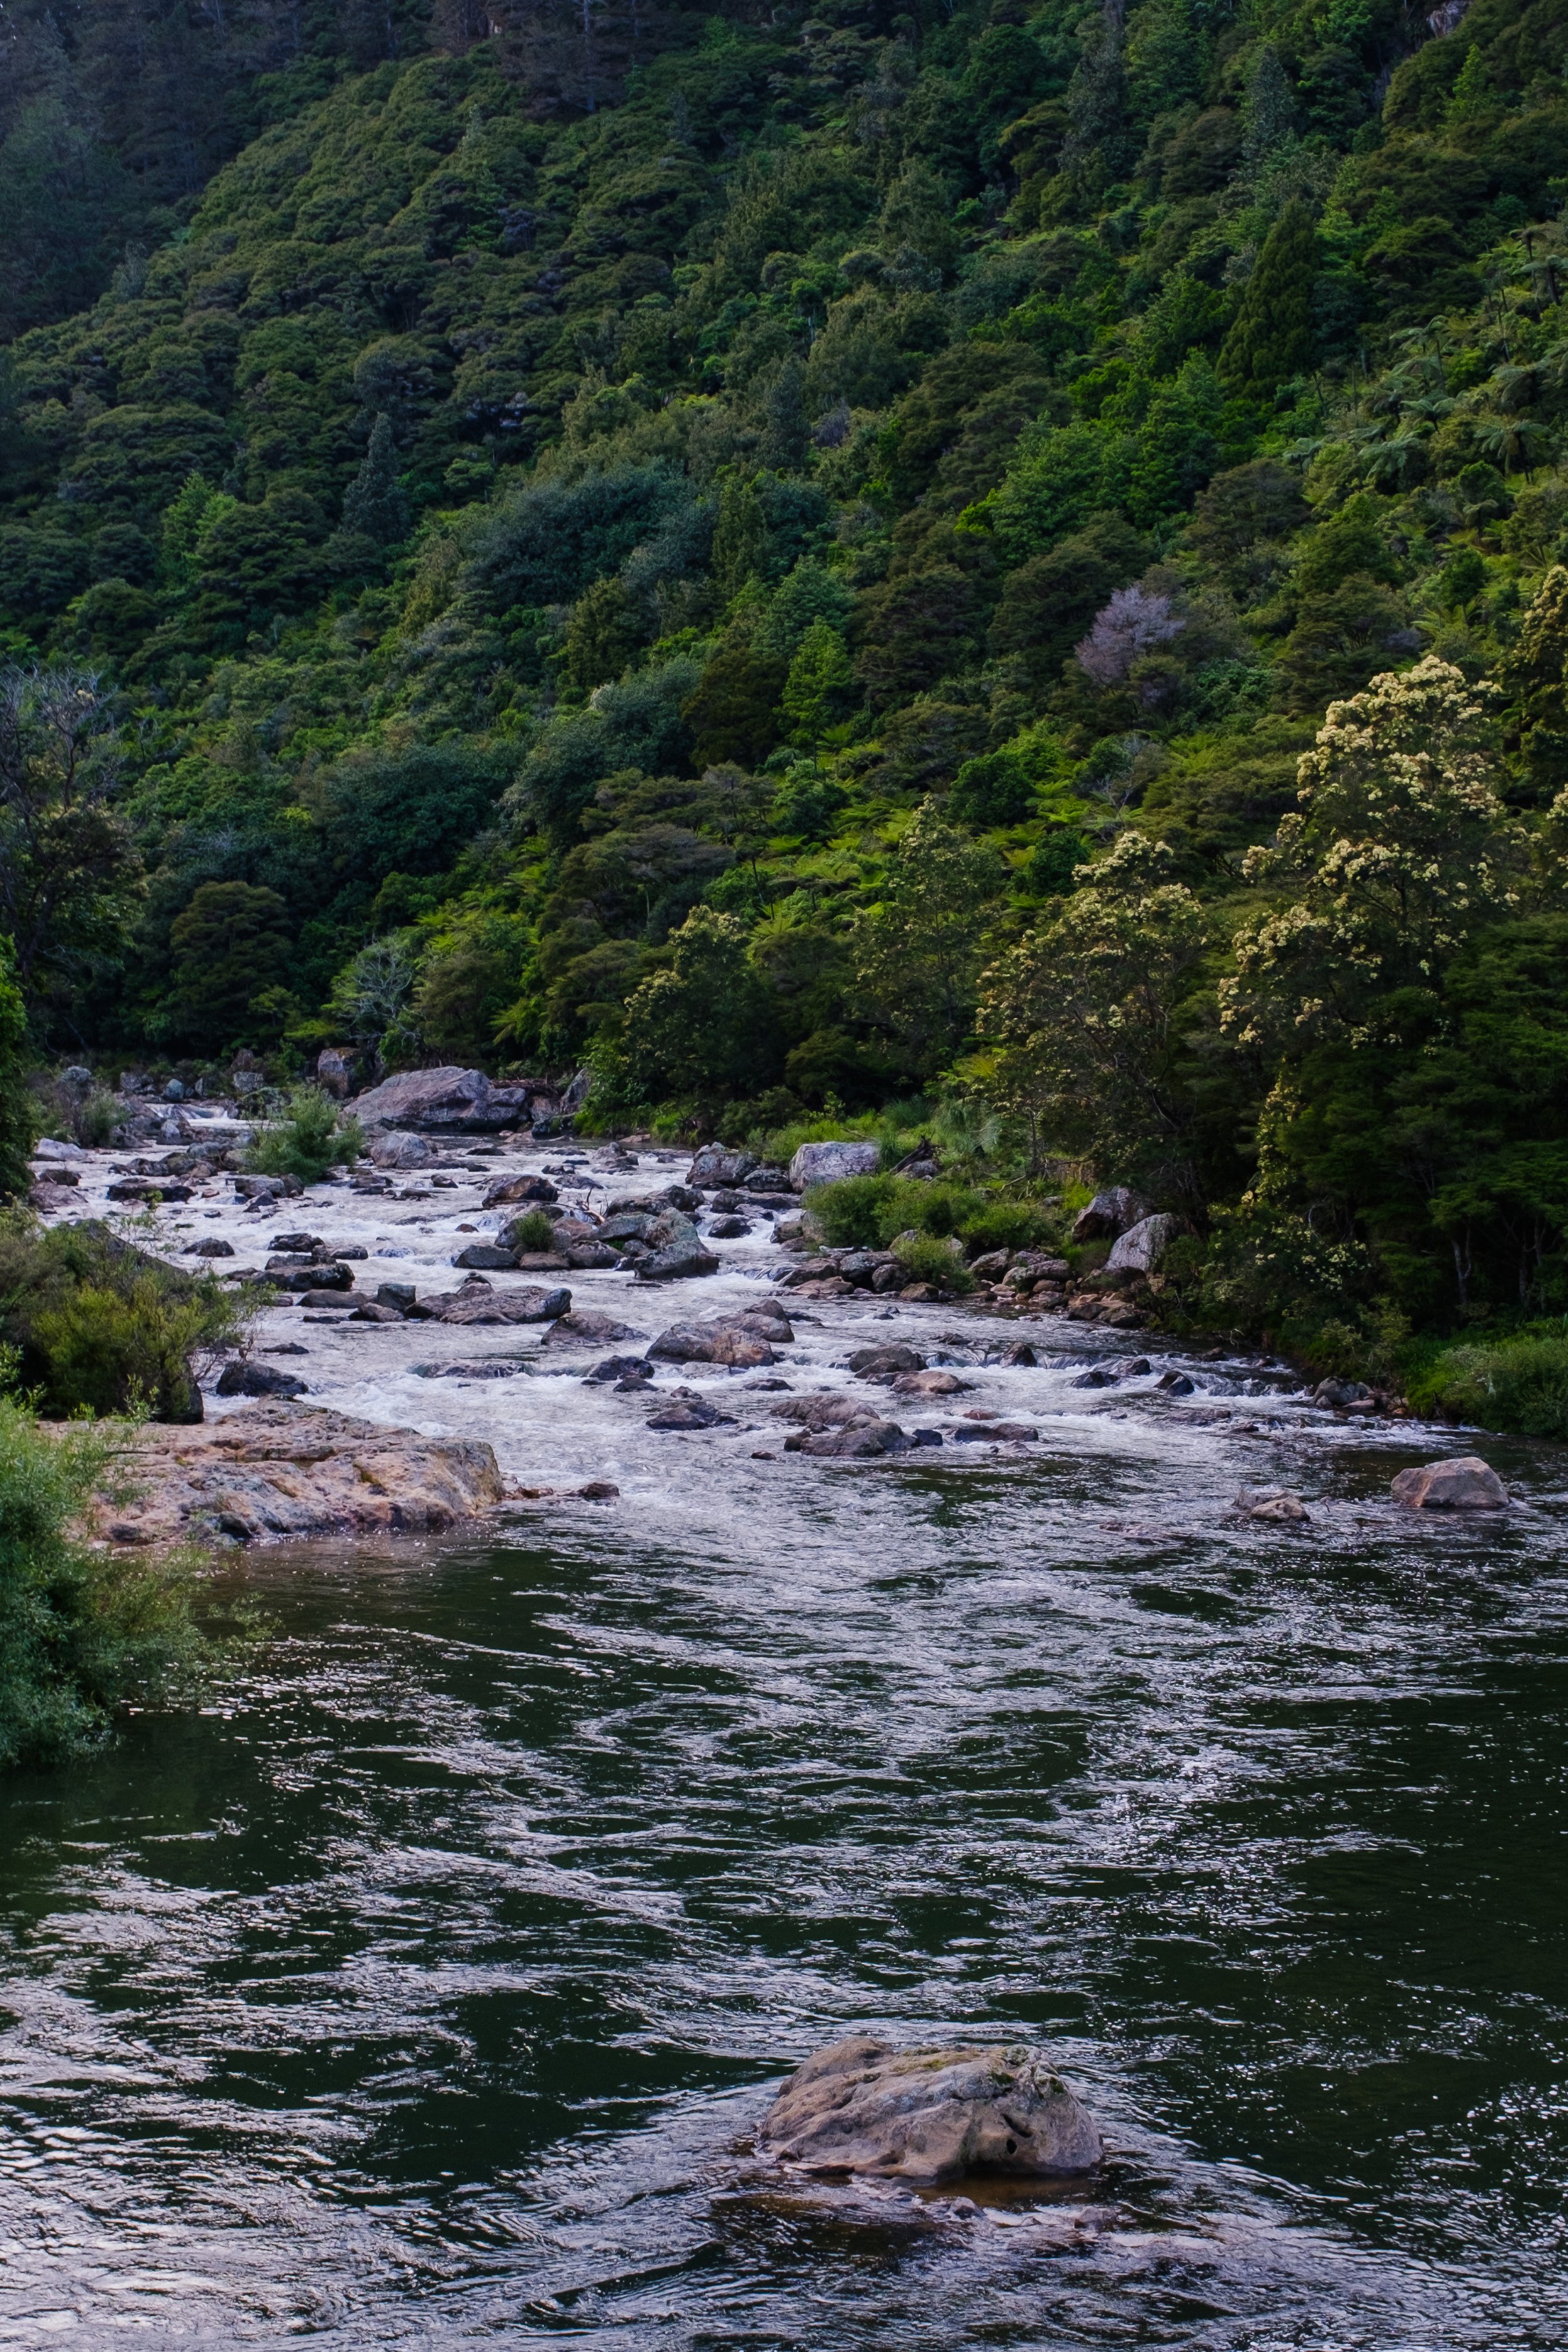
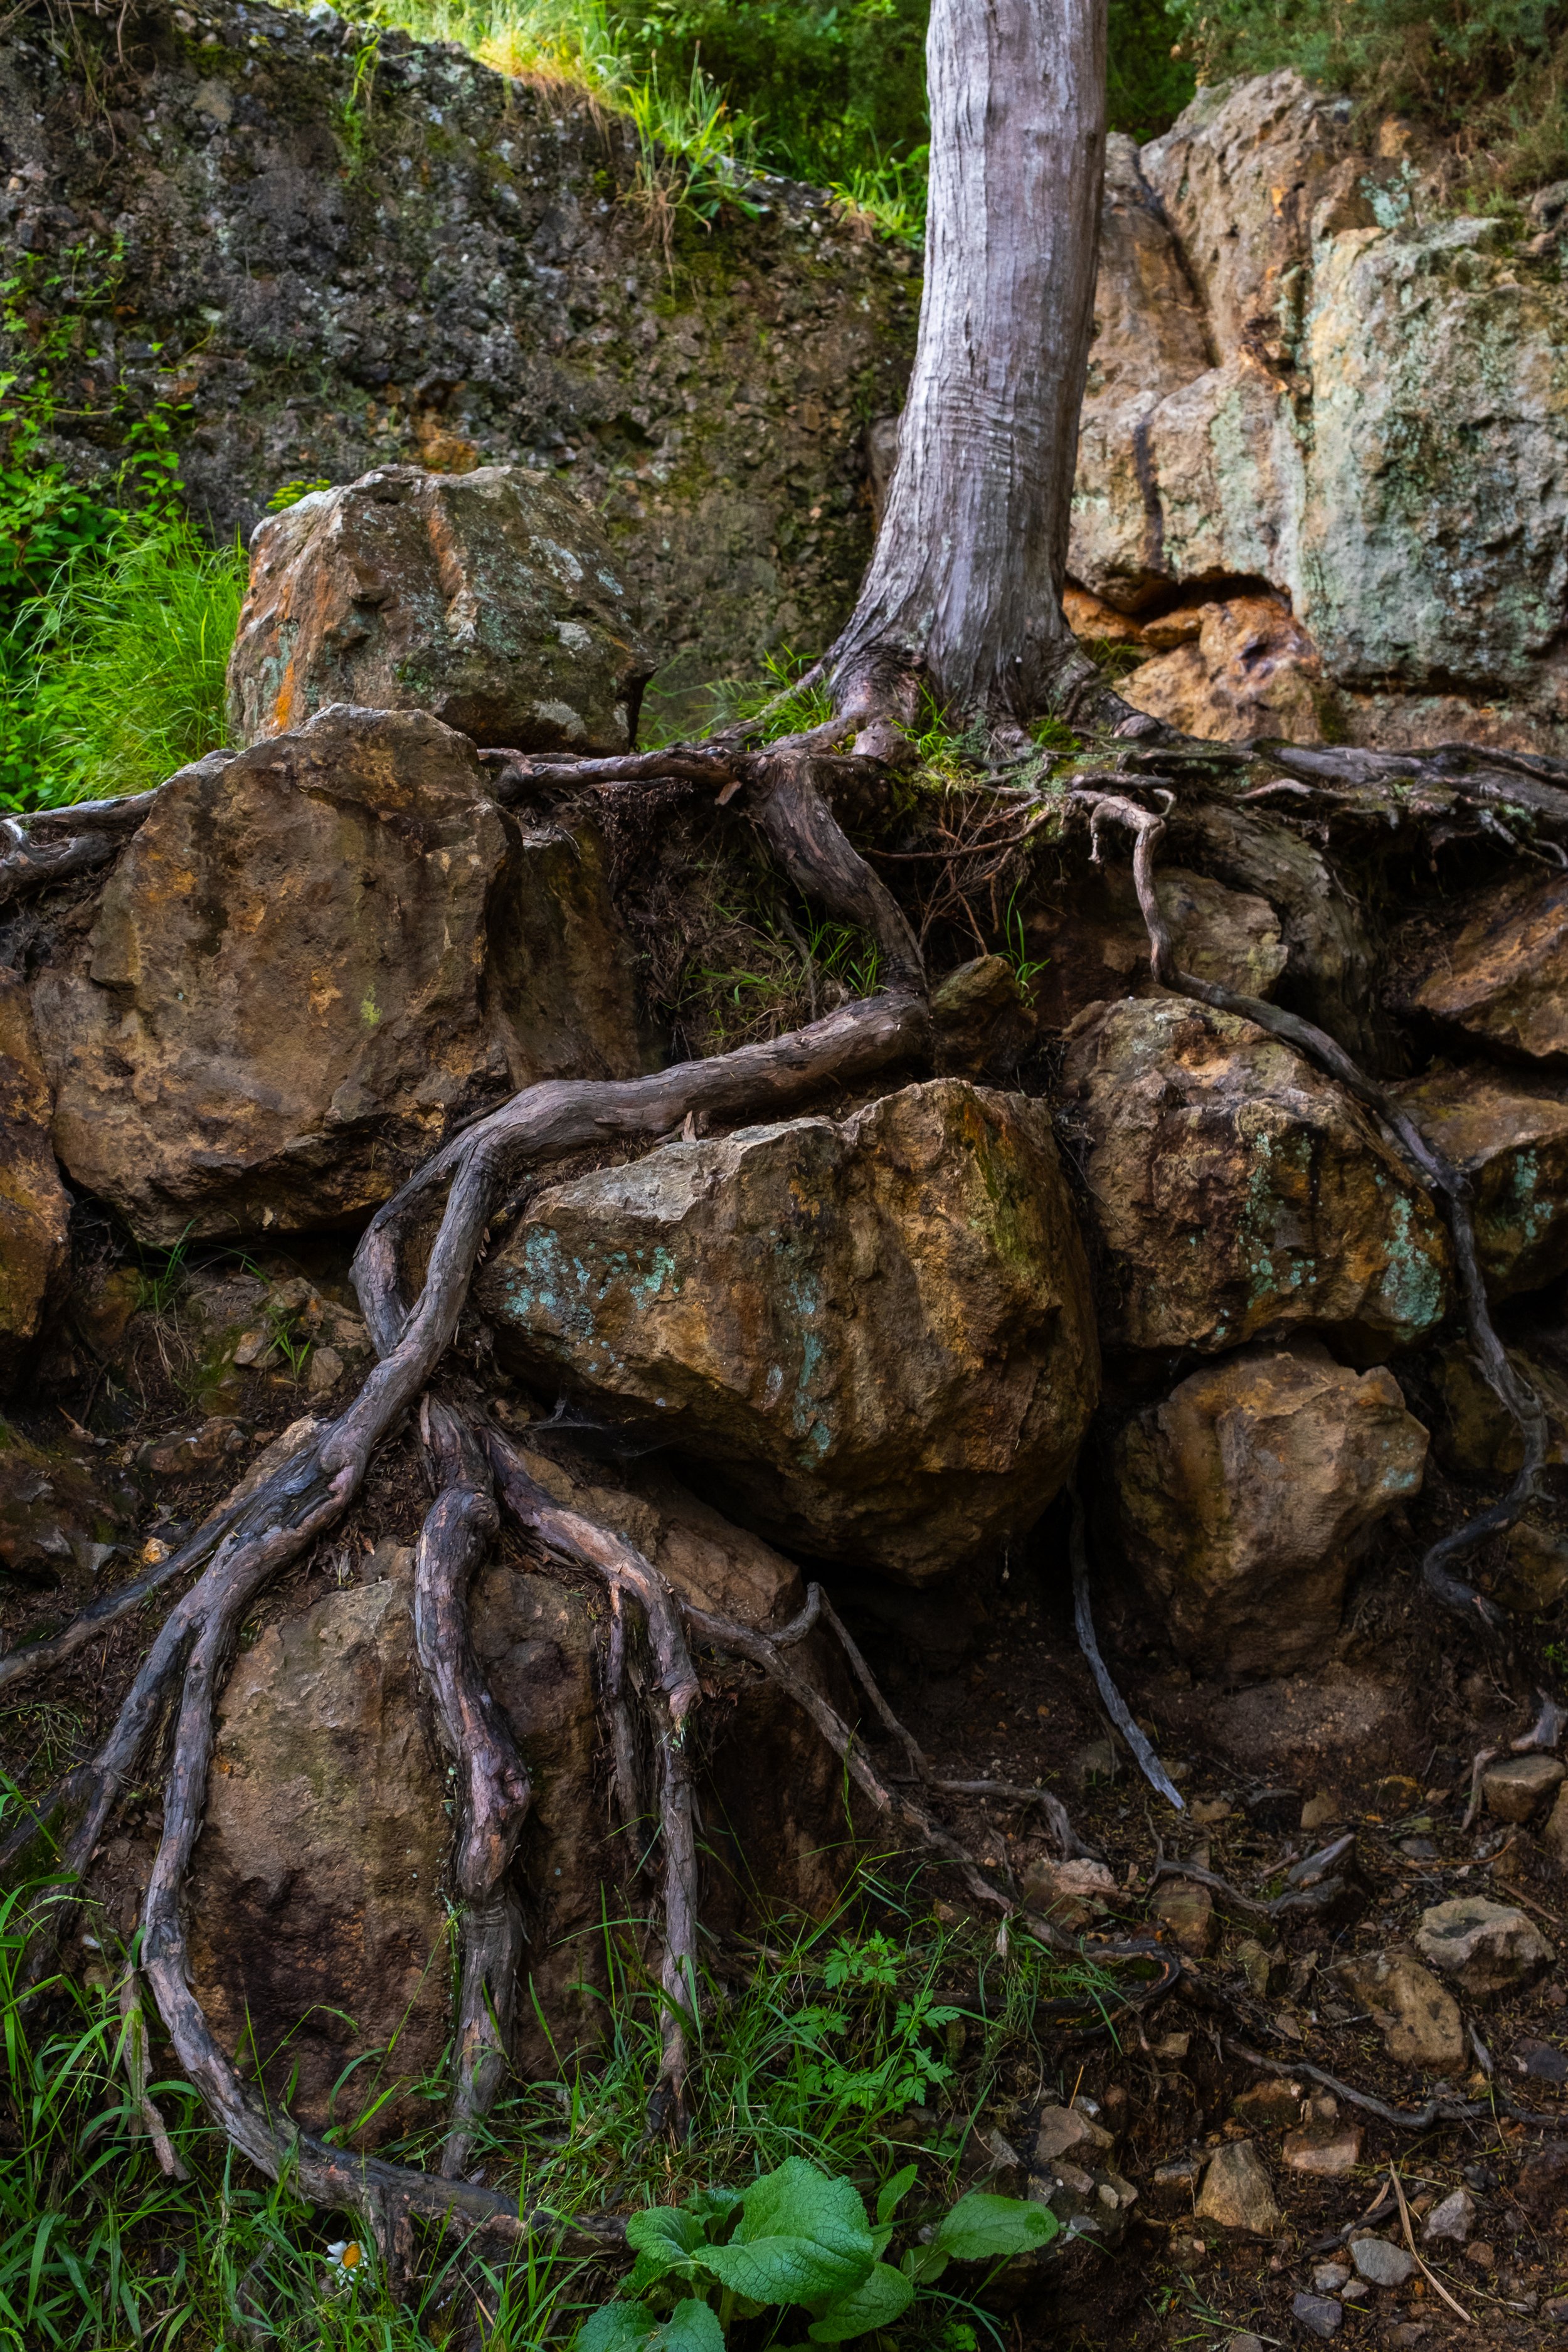
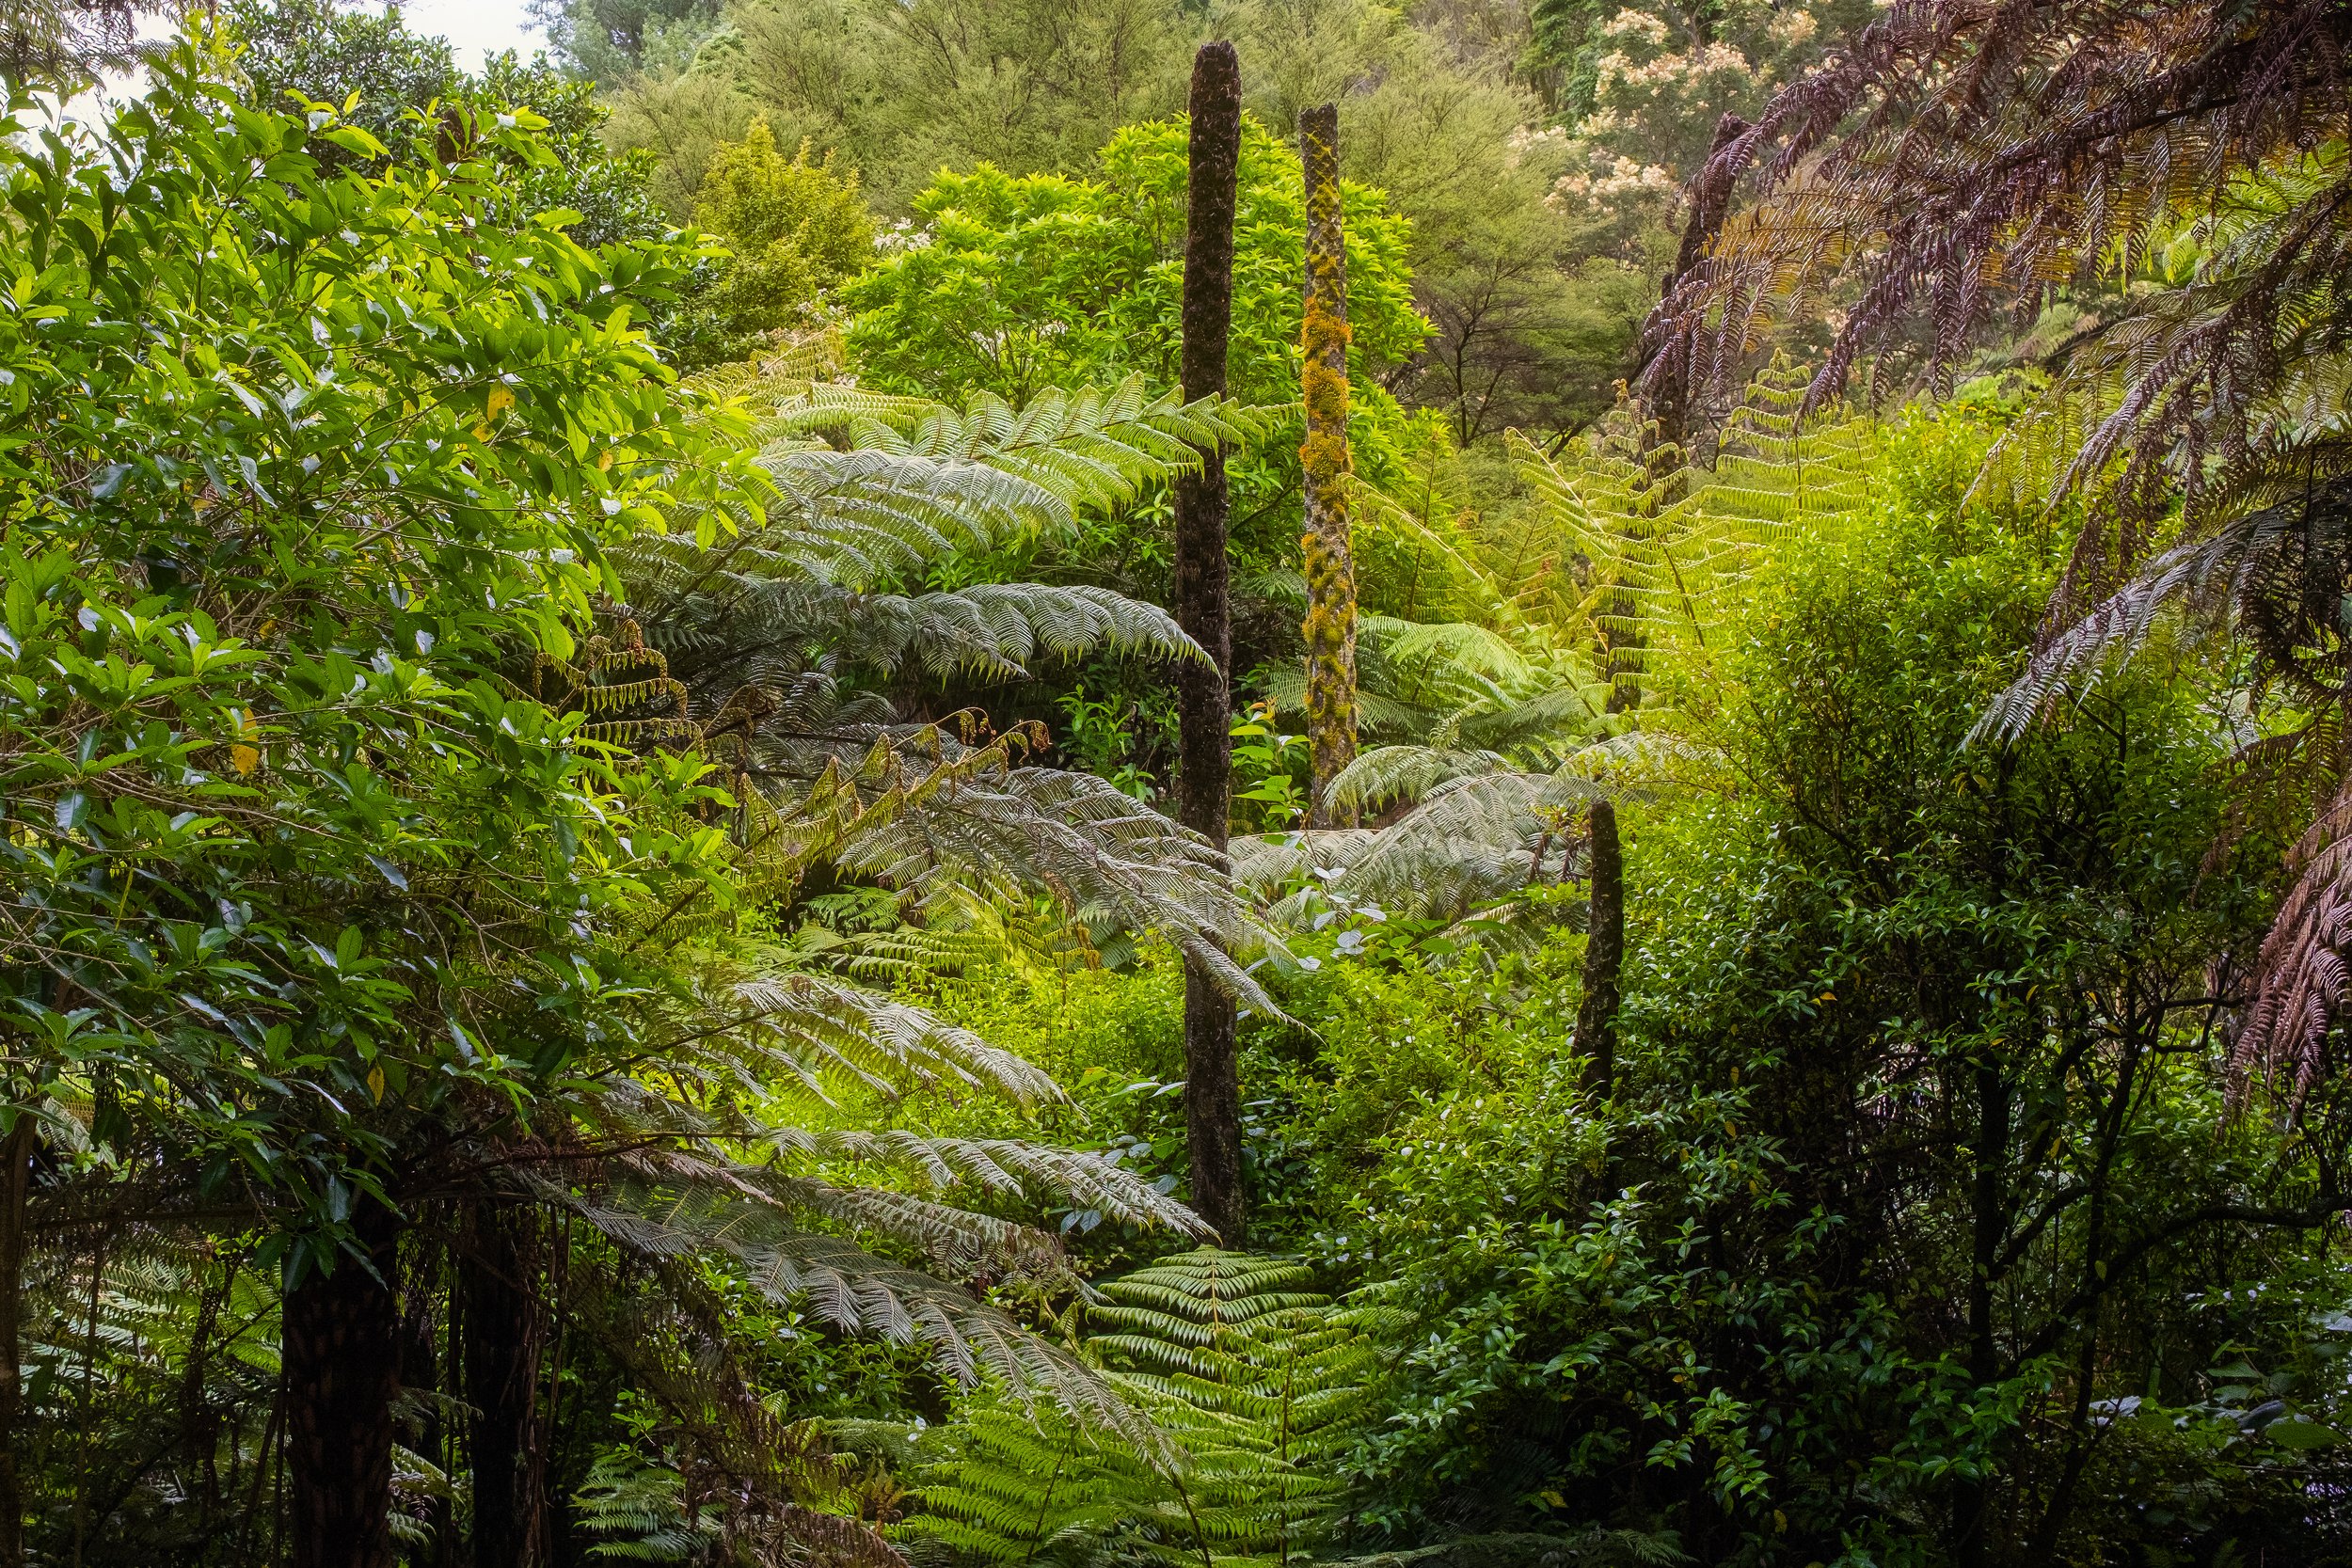
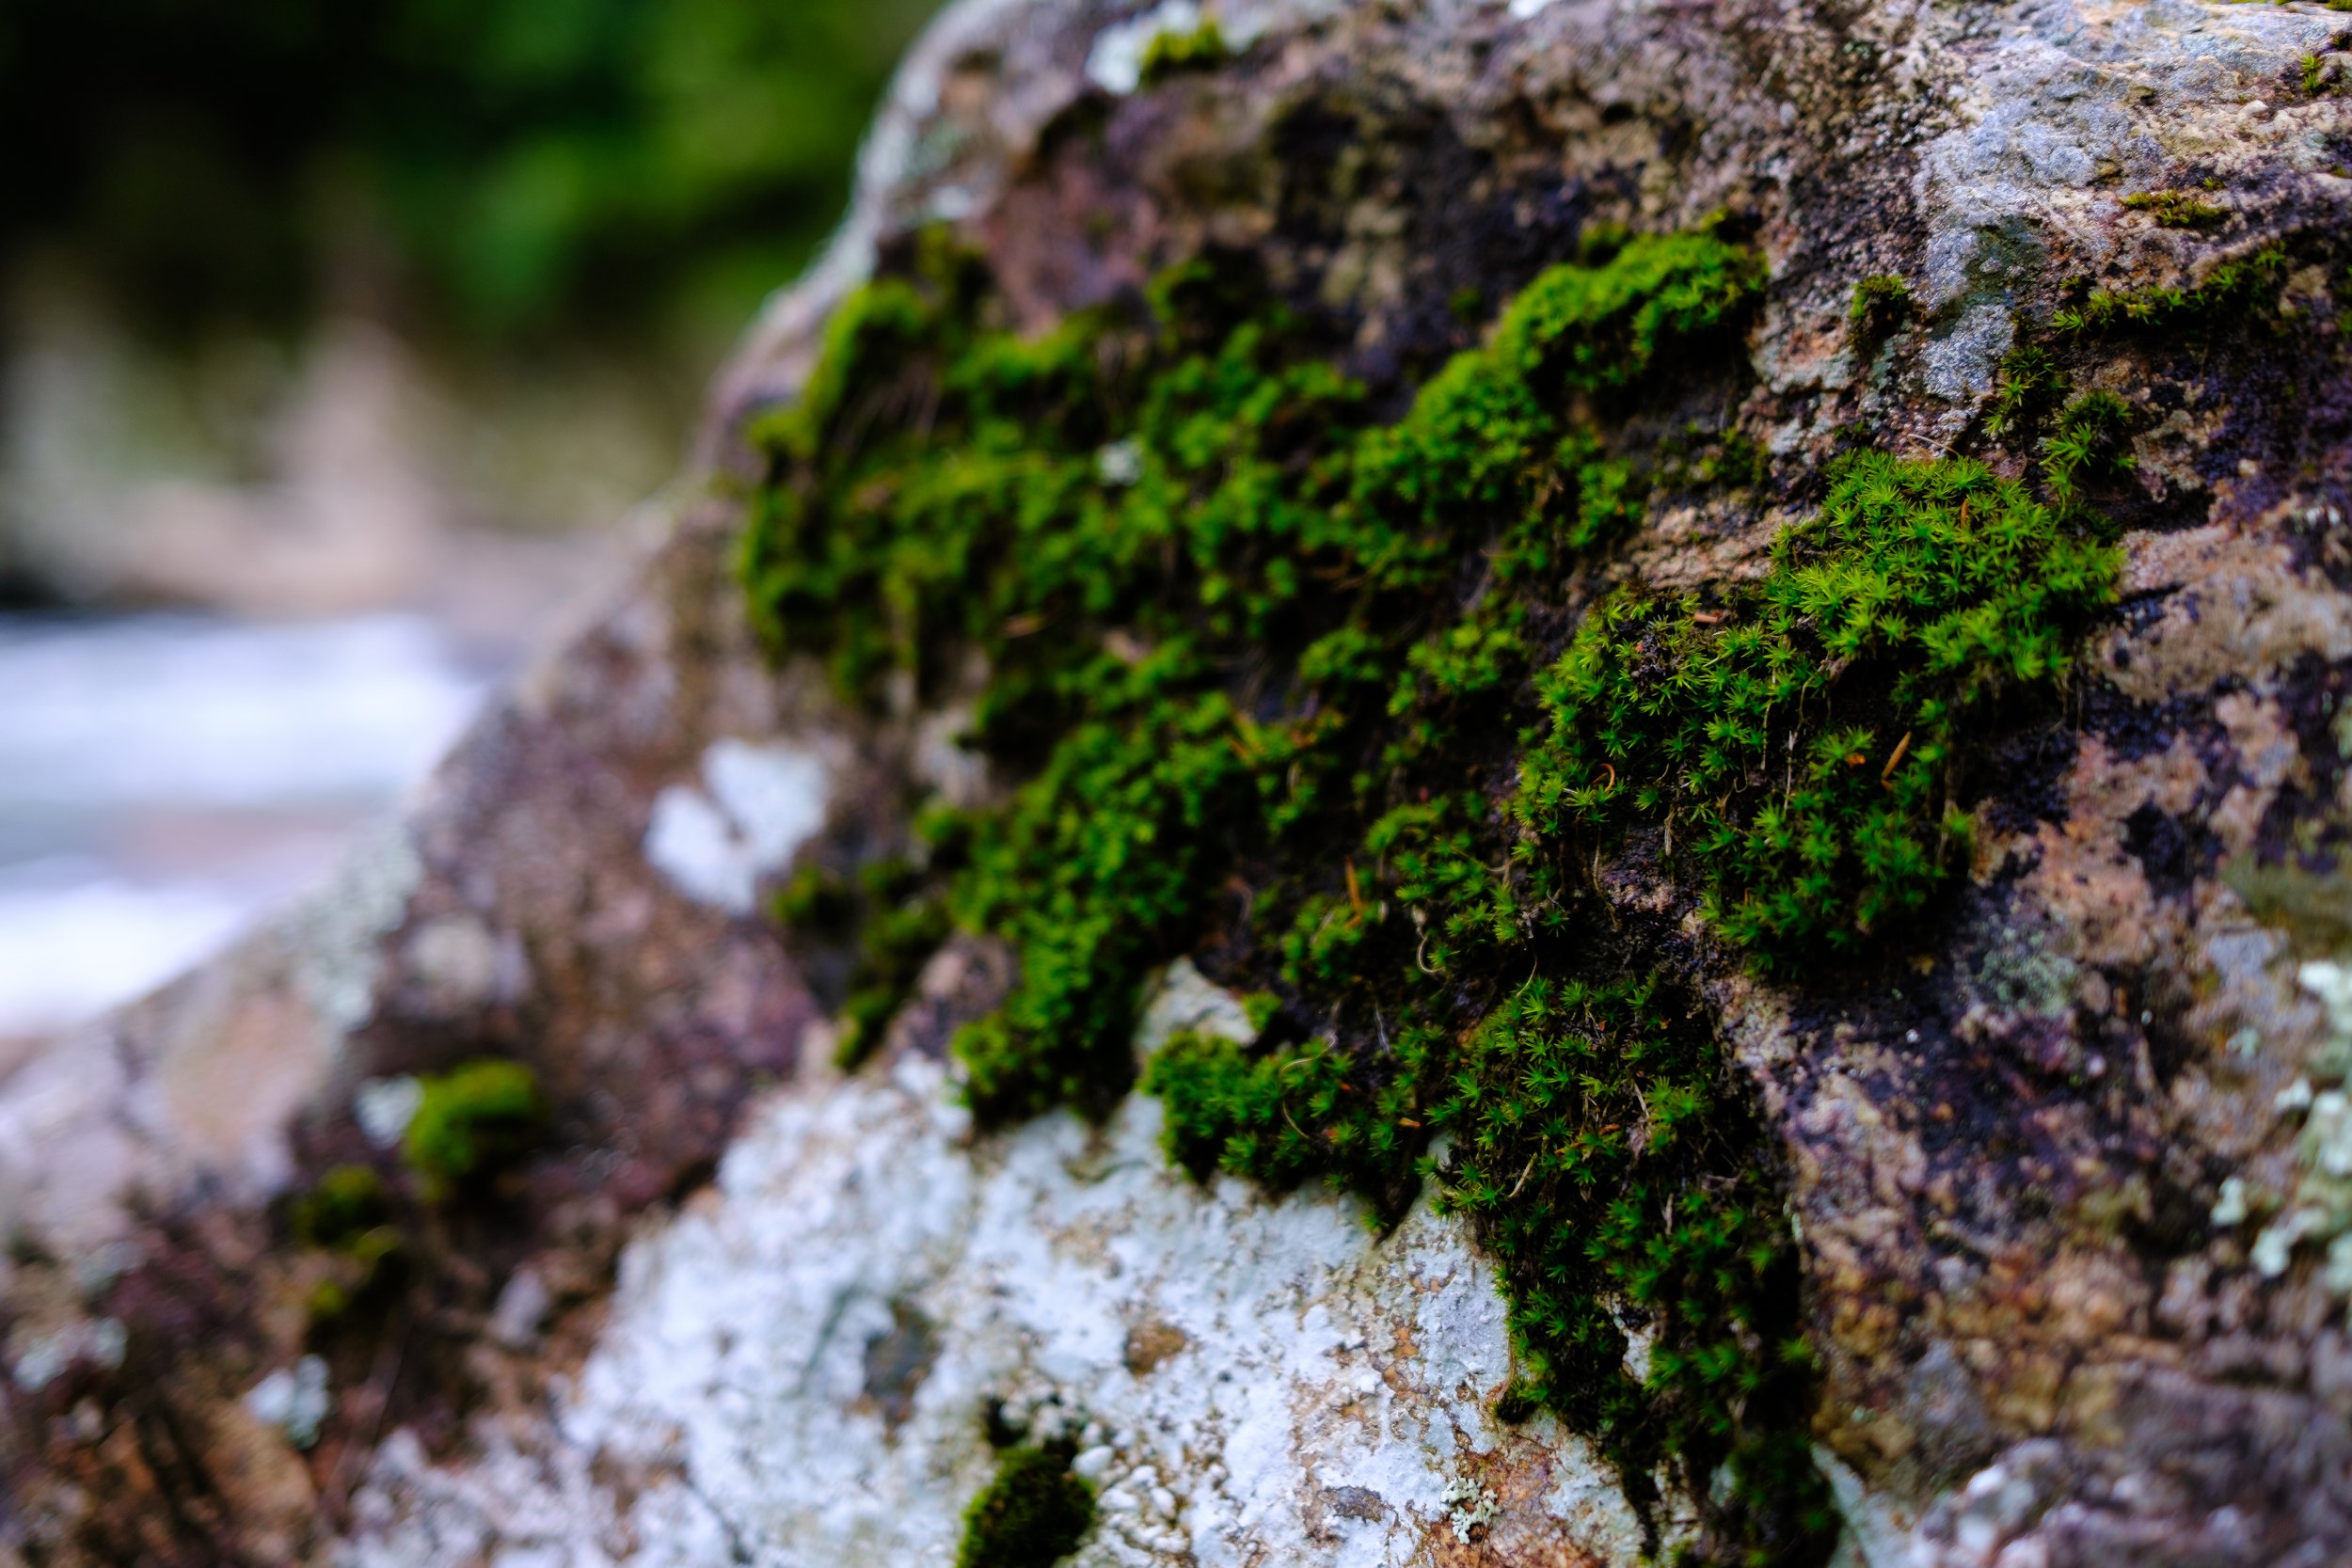
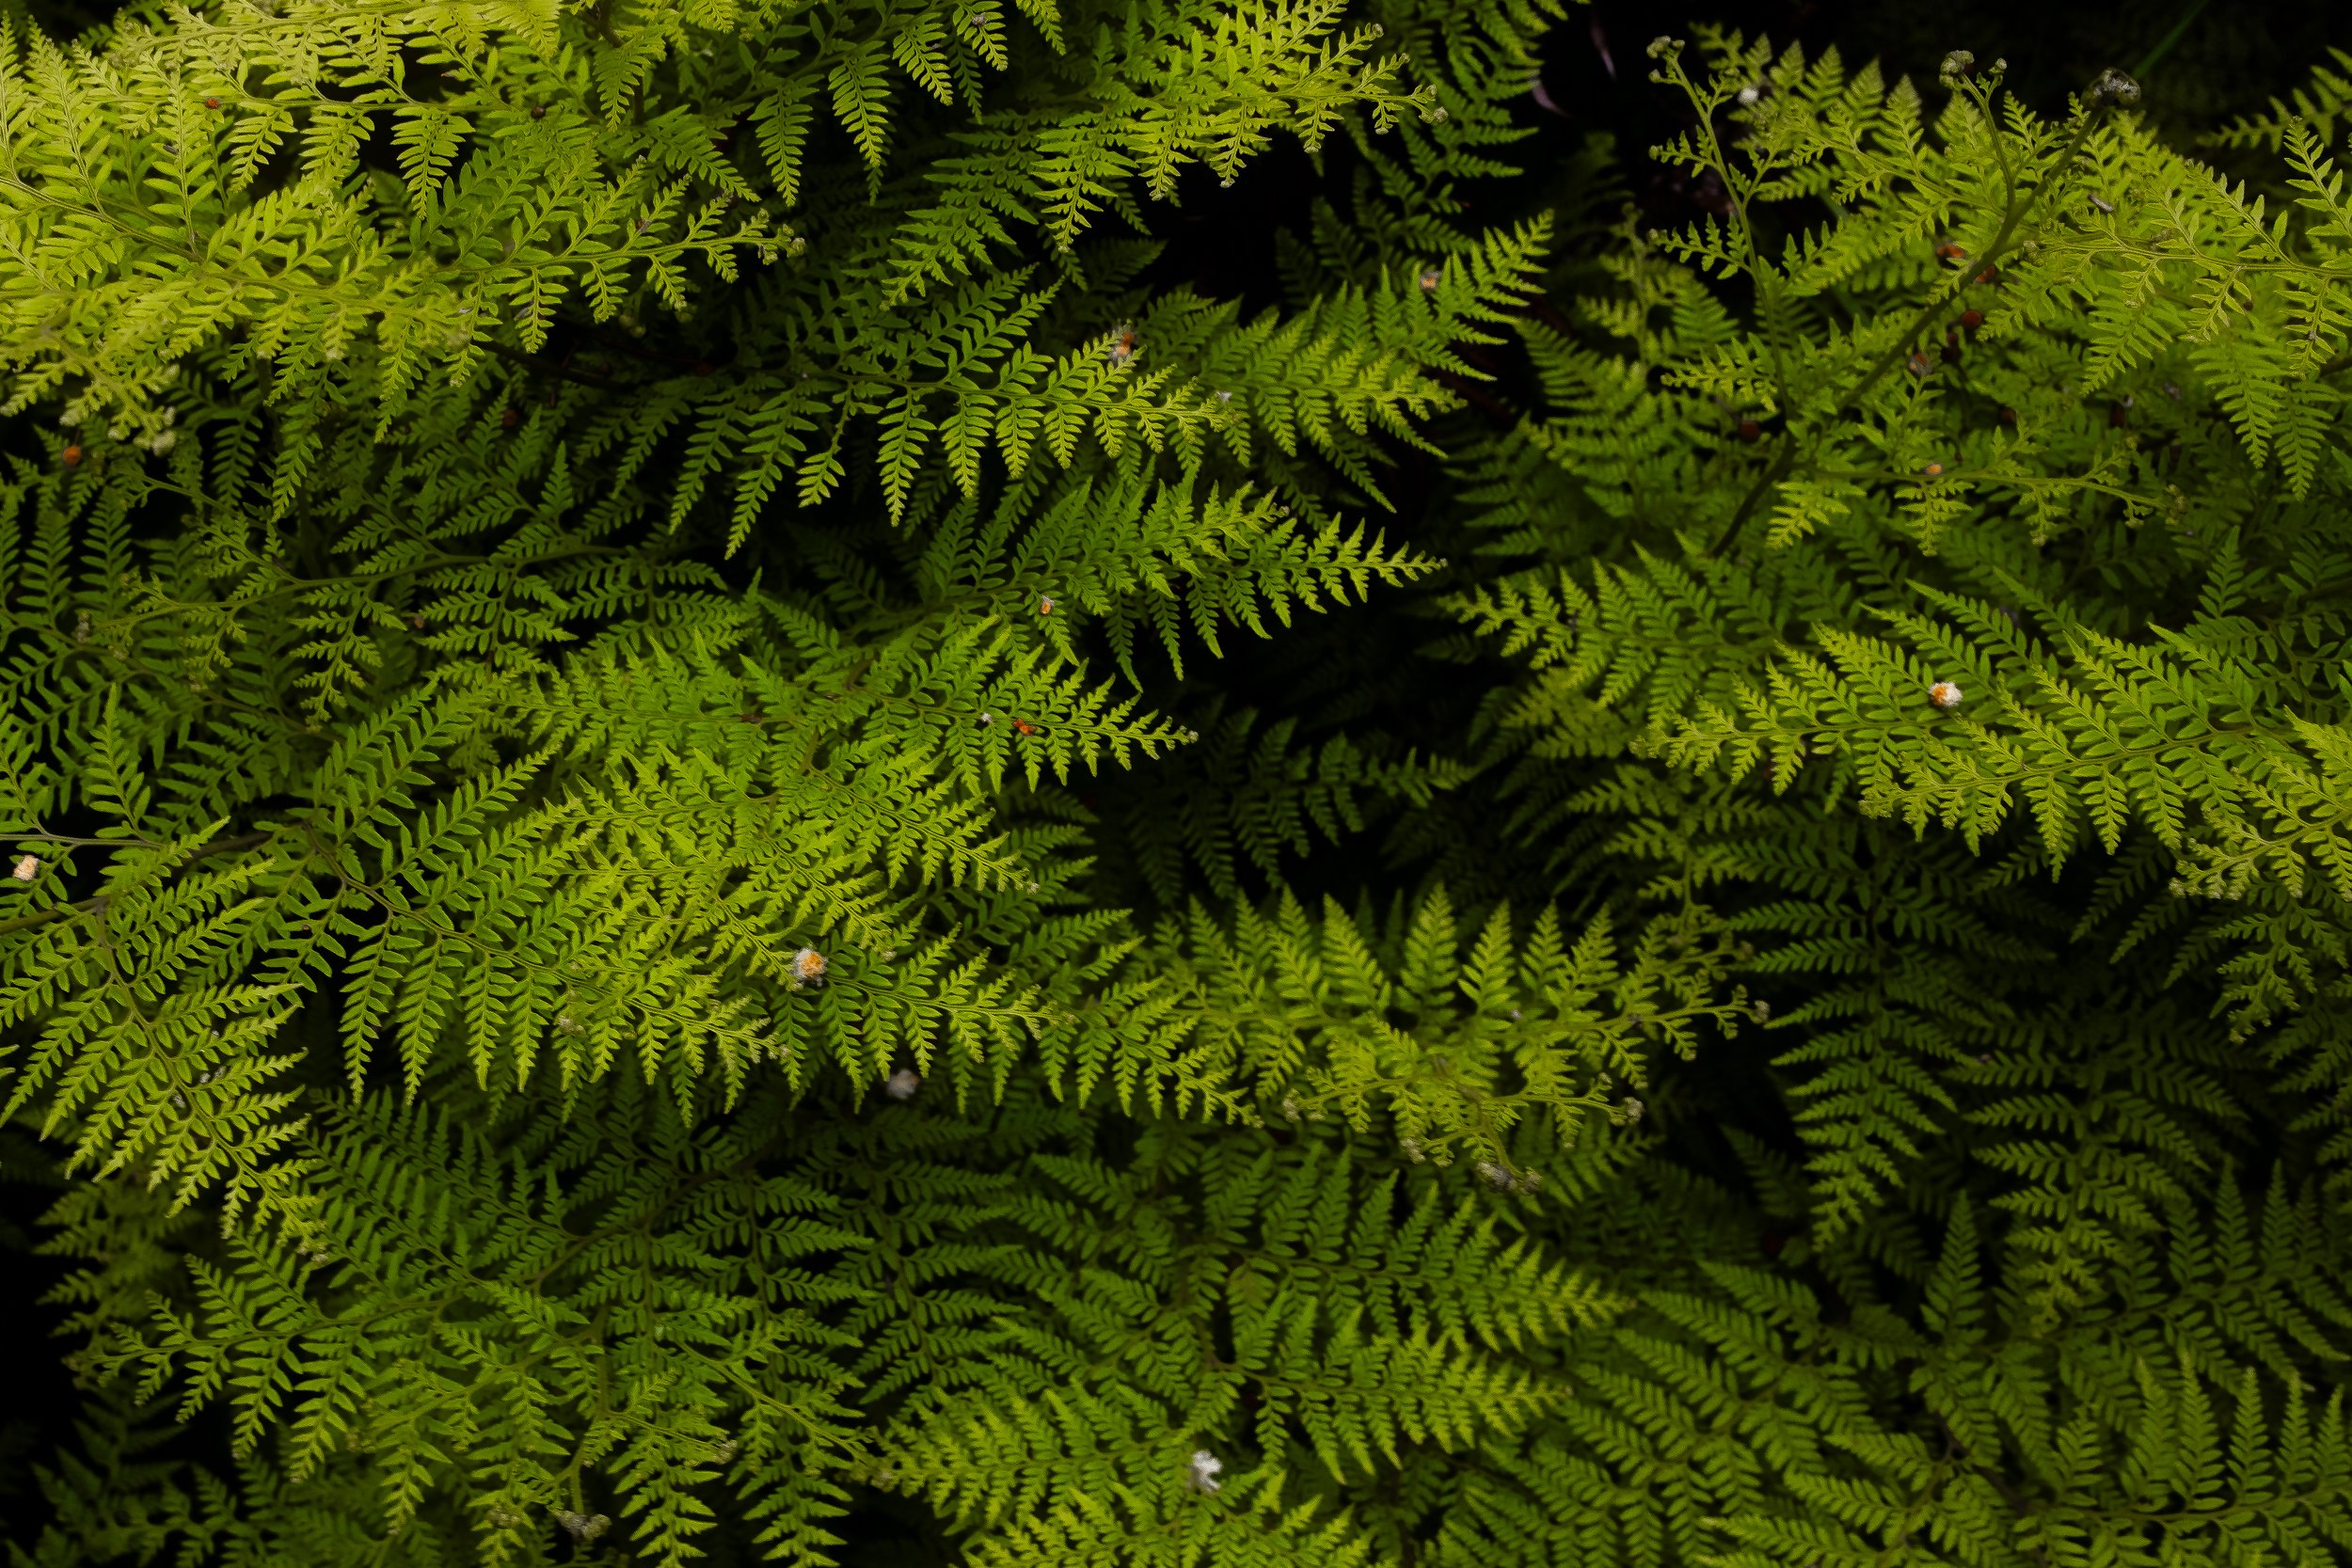
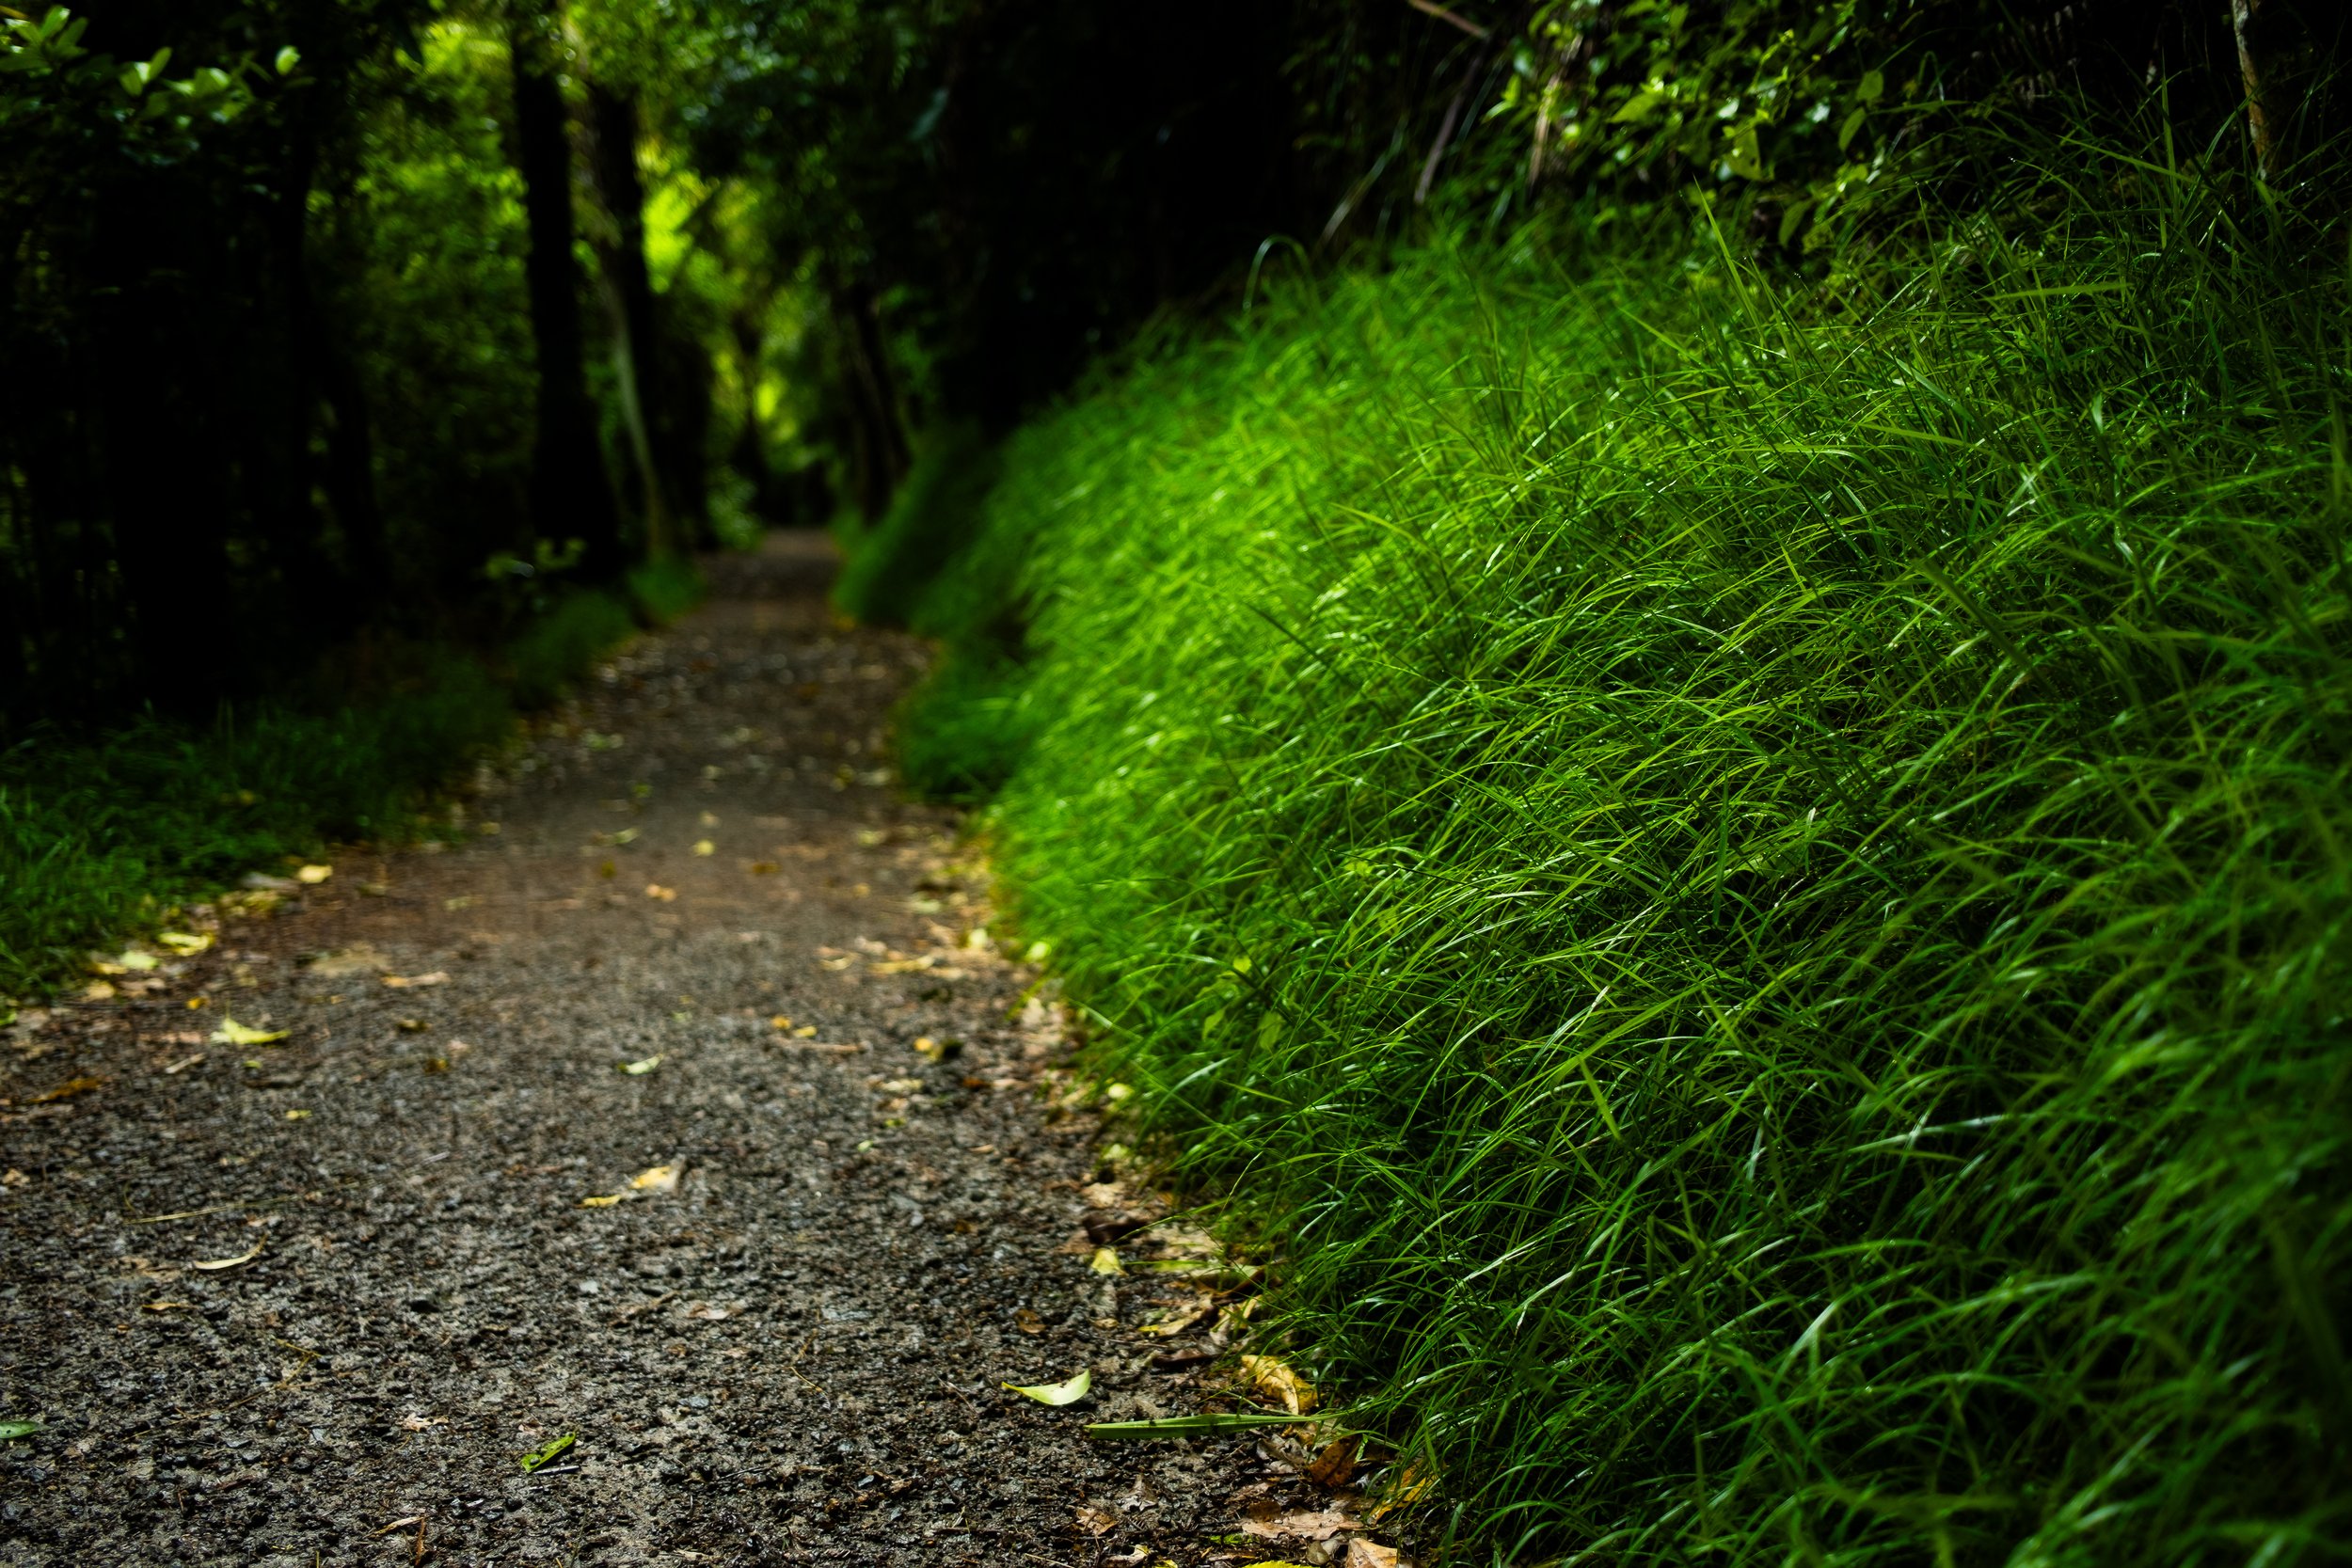
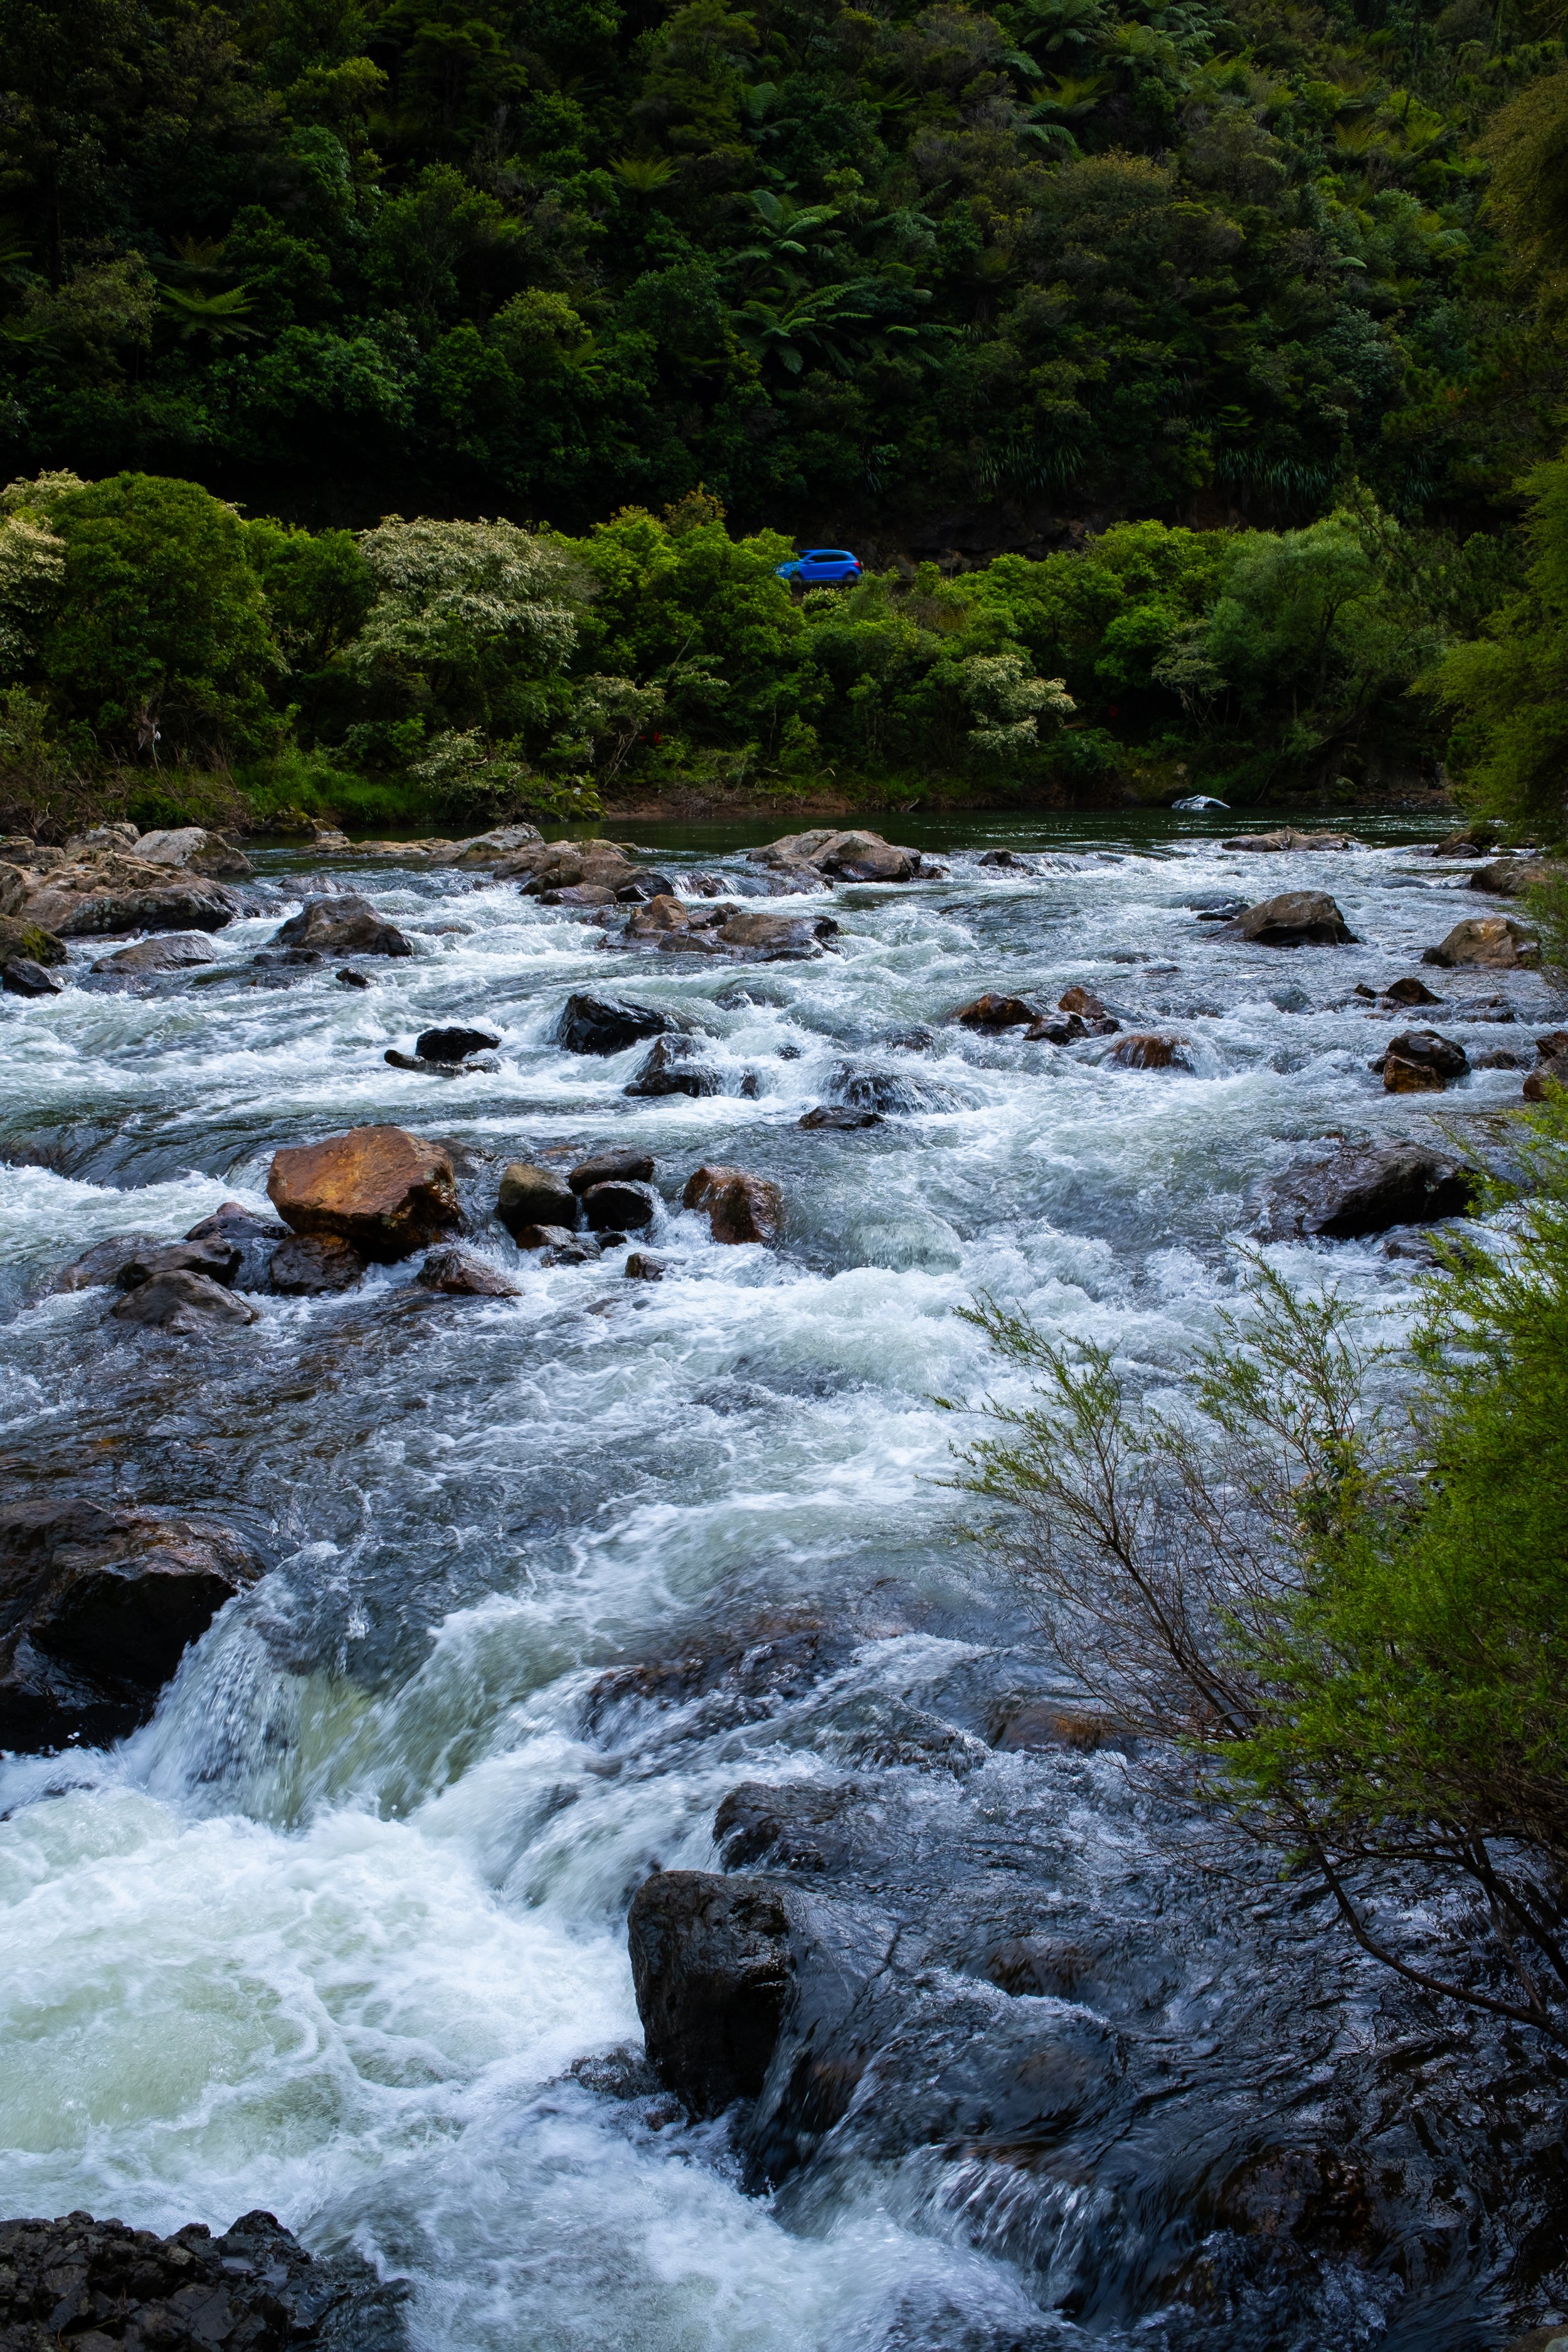
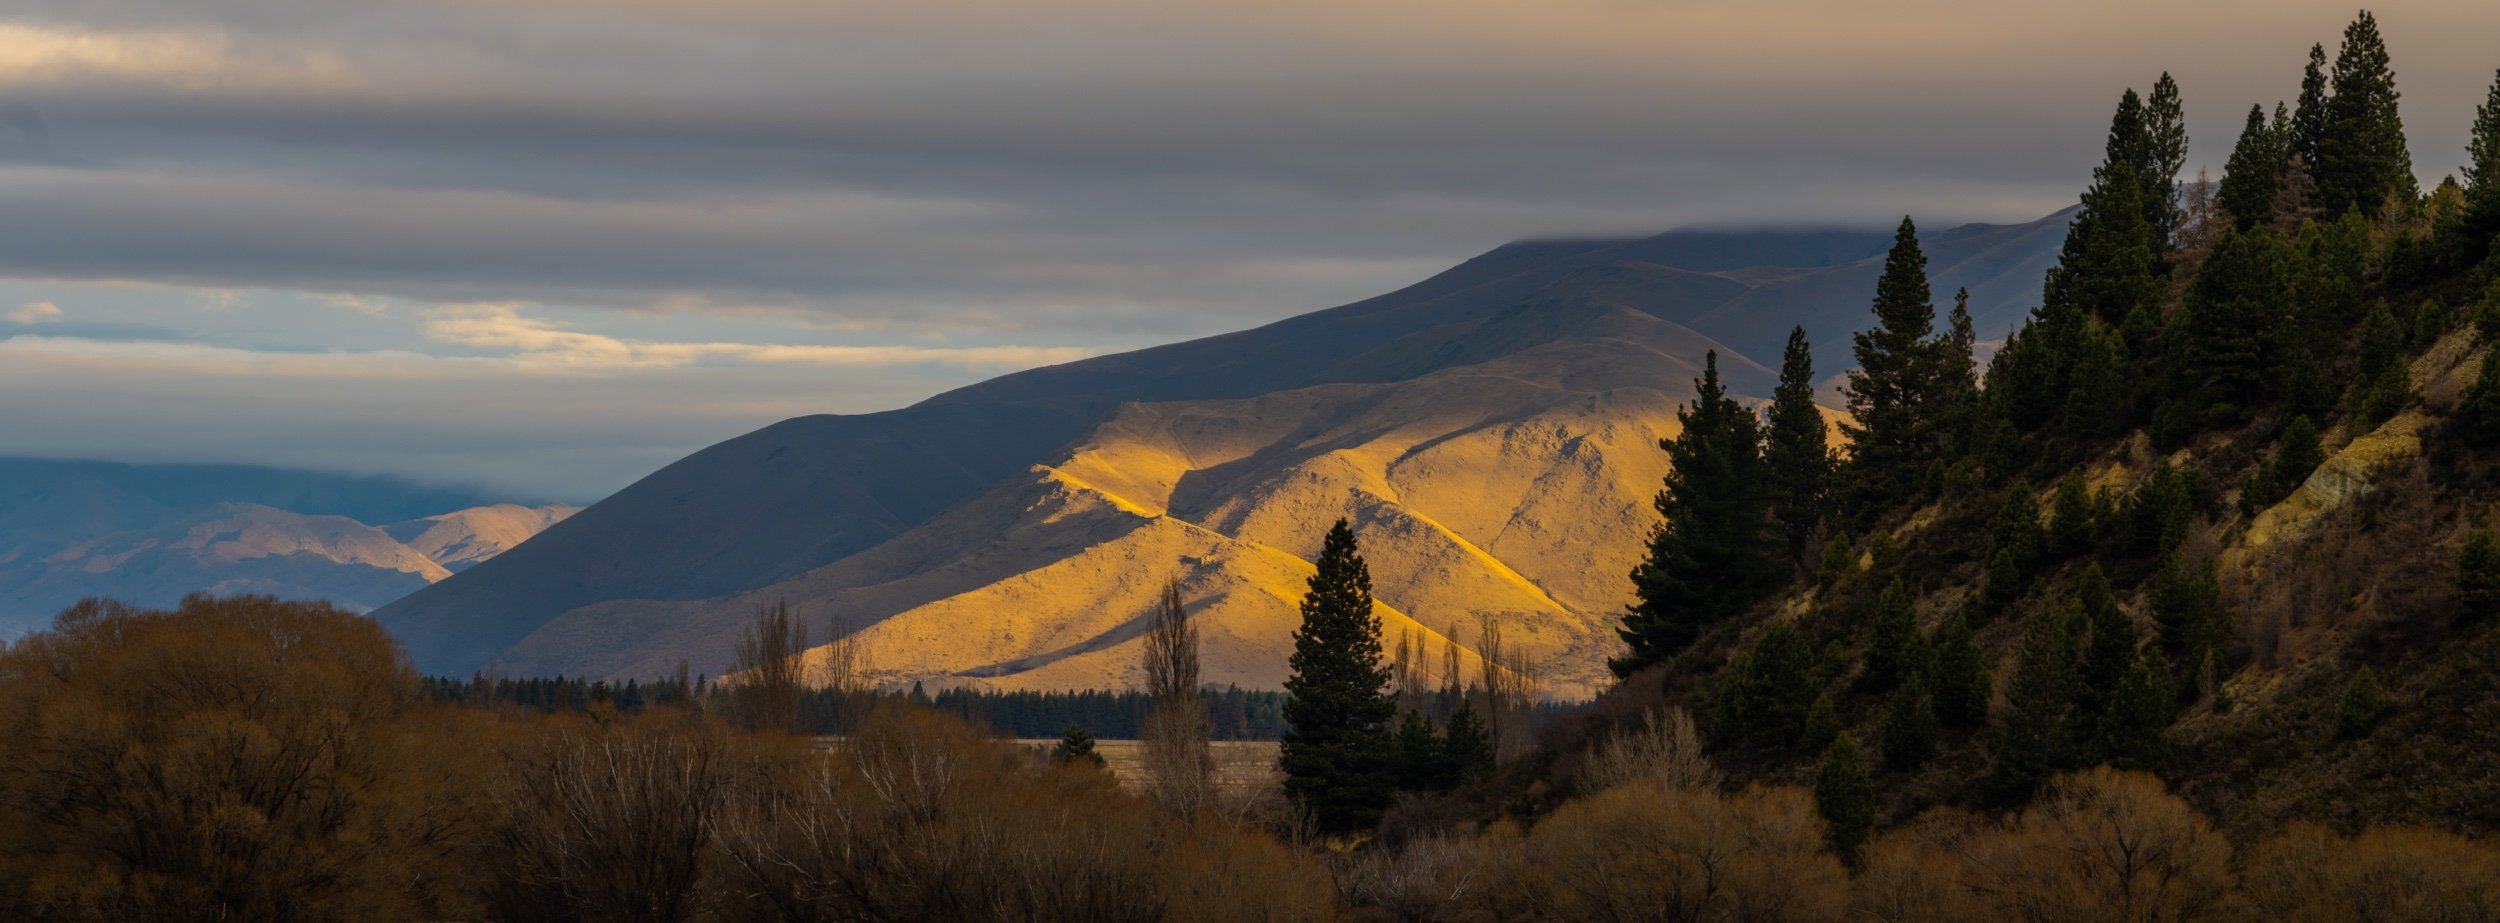
Based in the Waikato (New Zealand), I'm trained as a Lab Technician and have been in that work space for nearly 20 years. Photography is how I exercise the "arty" part of my brain. I shoot mainly Landscapes, but also do the odd bit of portrait and product photography. I have a keen interest in all types of photography and continue to learn every time I pick up the camera.

So! Check out the spiel below and I’d love it if you considered joining up!

SO WHY PATREON?

  • It allows me to put more of my time and energy into this passion to bring more images and improve the quality of my work.

  • It builds a community of people who support what I do and provides me the best way to give back to them via Patreons reward structure.

  • It gives me the best chance to get feedback from that community to improve on what I do.


I'M INTERESTED! WHAT'S IN IT FOR ME?

  • You want to learn how I do things and get instant access to the tutorials I’ve written here.

  • Q&A! Get your specific questions answered directly.

  • You want Early Access to the content I create, be that blog posts, Images and Youtube videos.

  • You want to get a hold of some of my favourite images and plaster them all over the screens you look at every day. That is: Phone lock screens, desktop/tablet wallpapers.

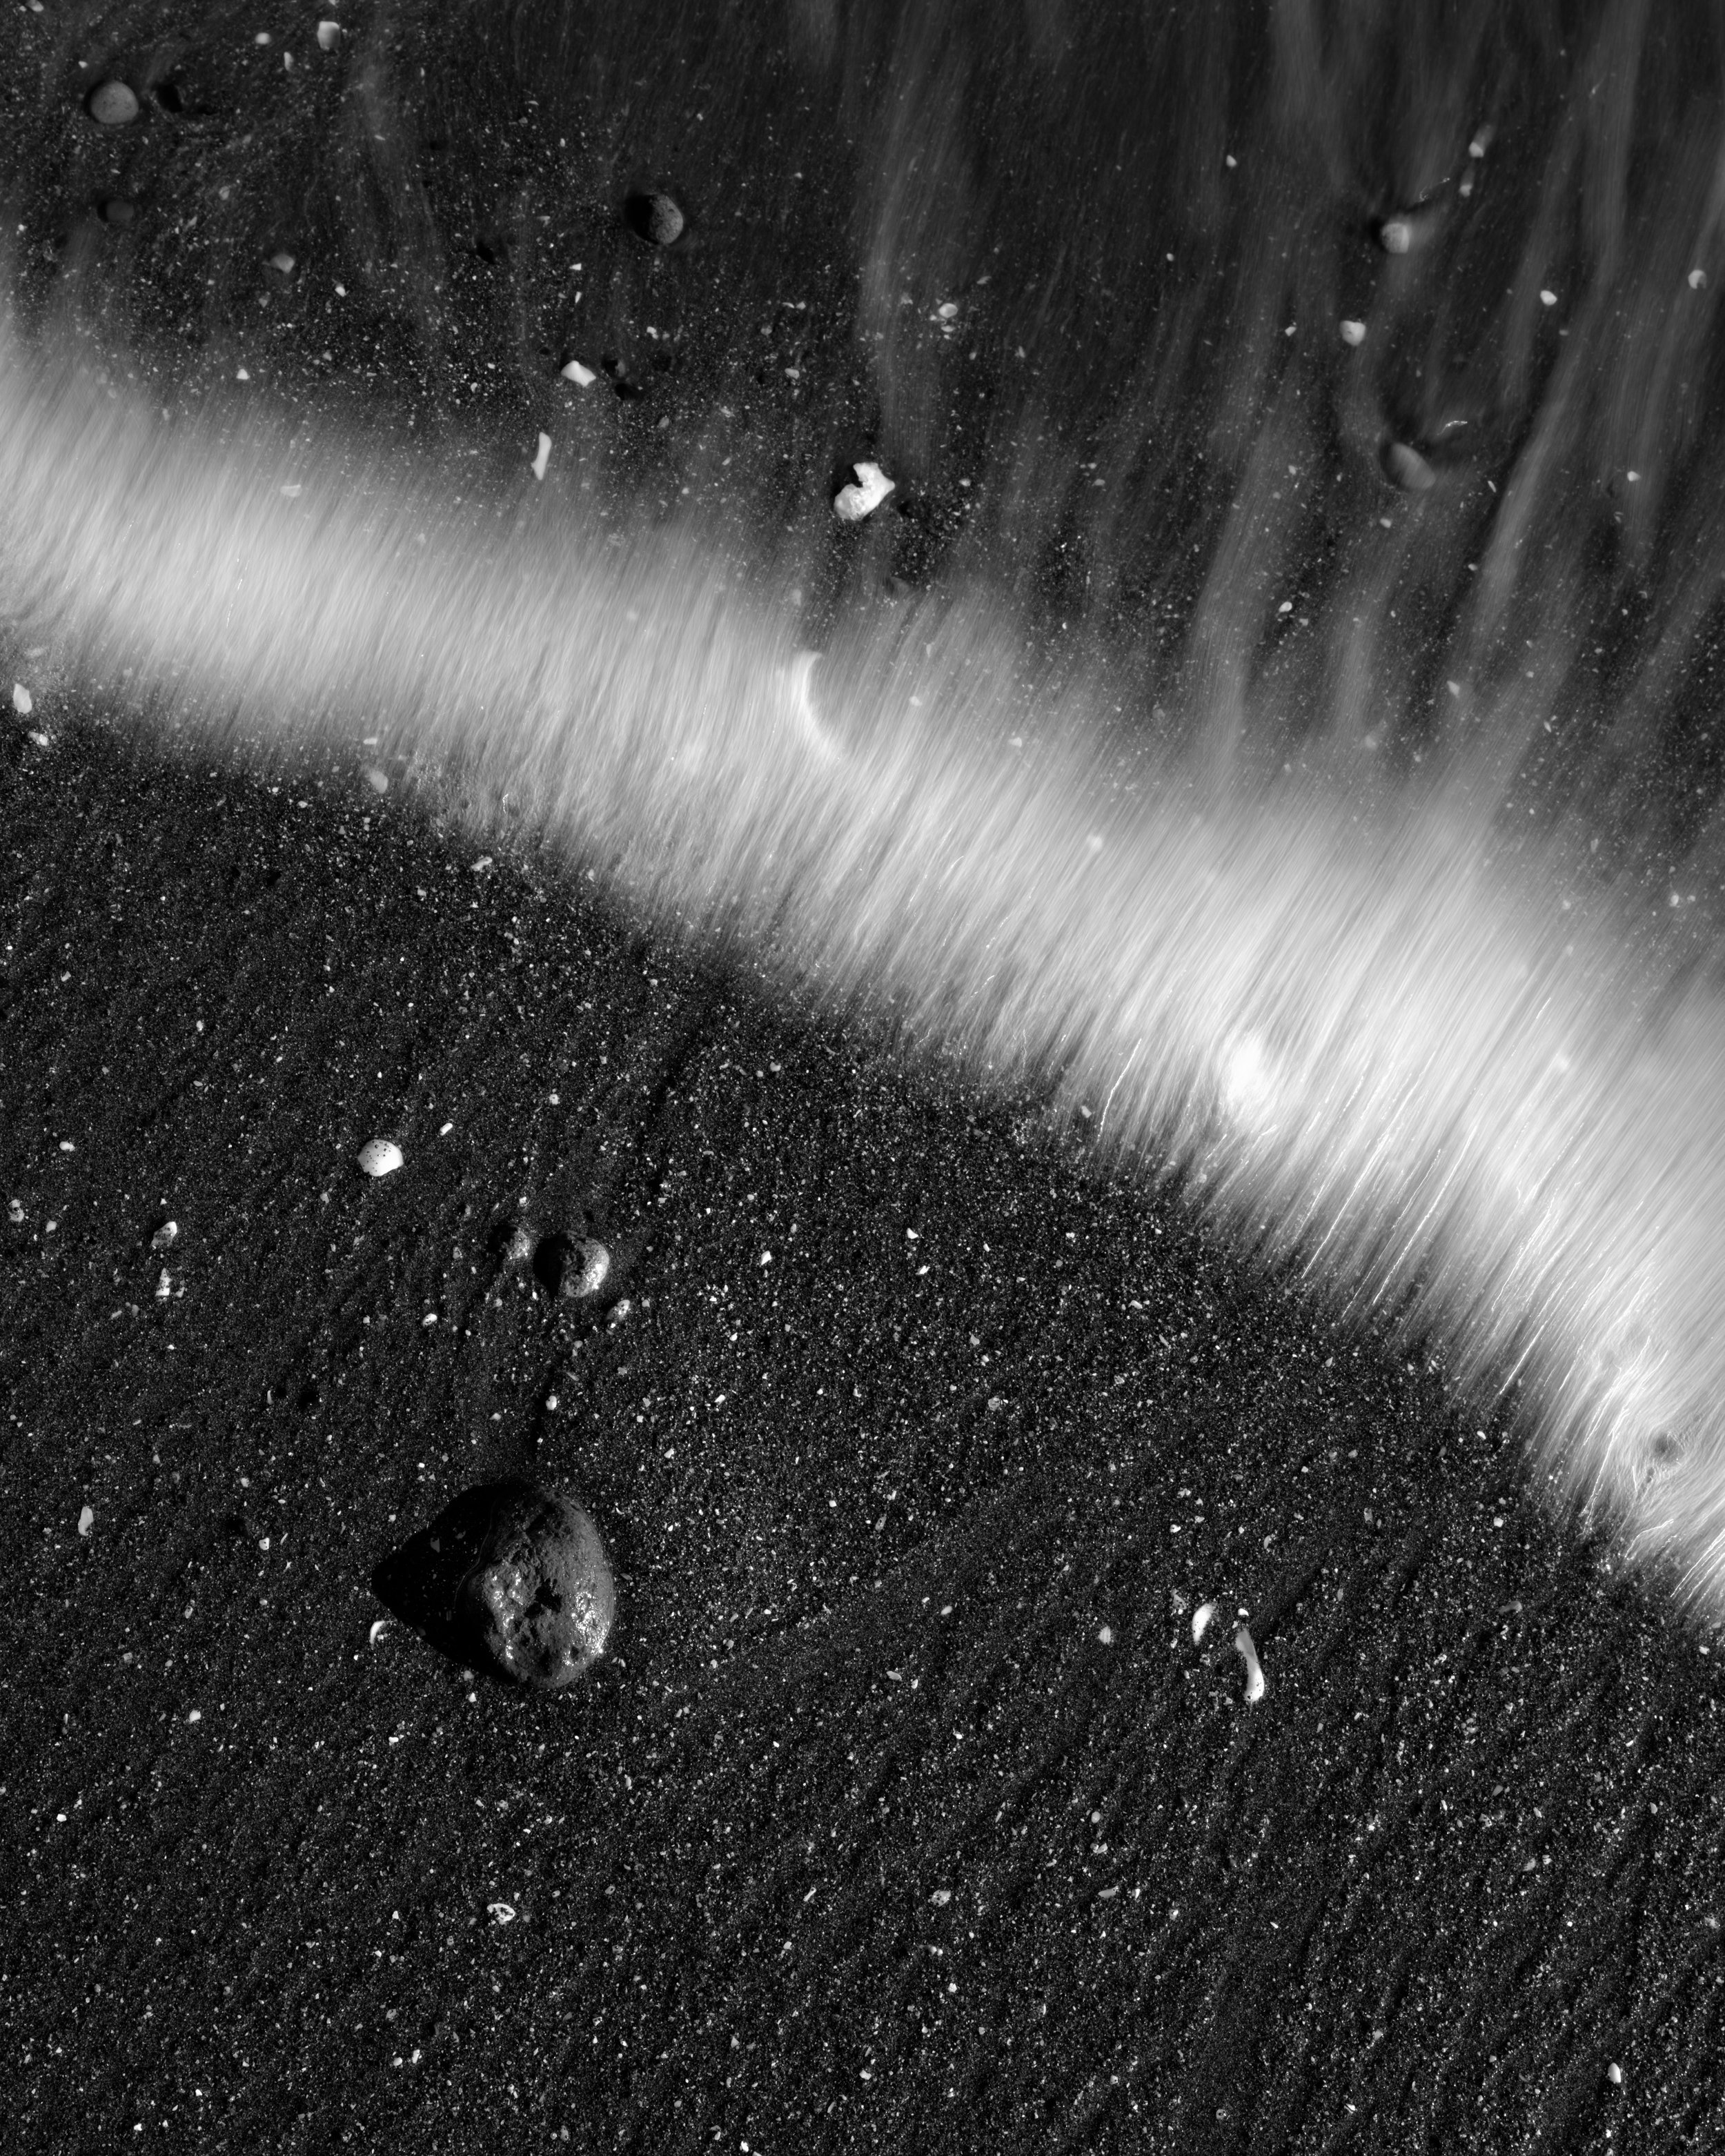
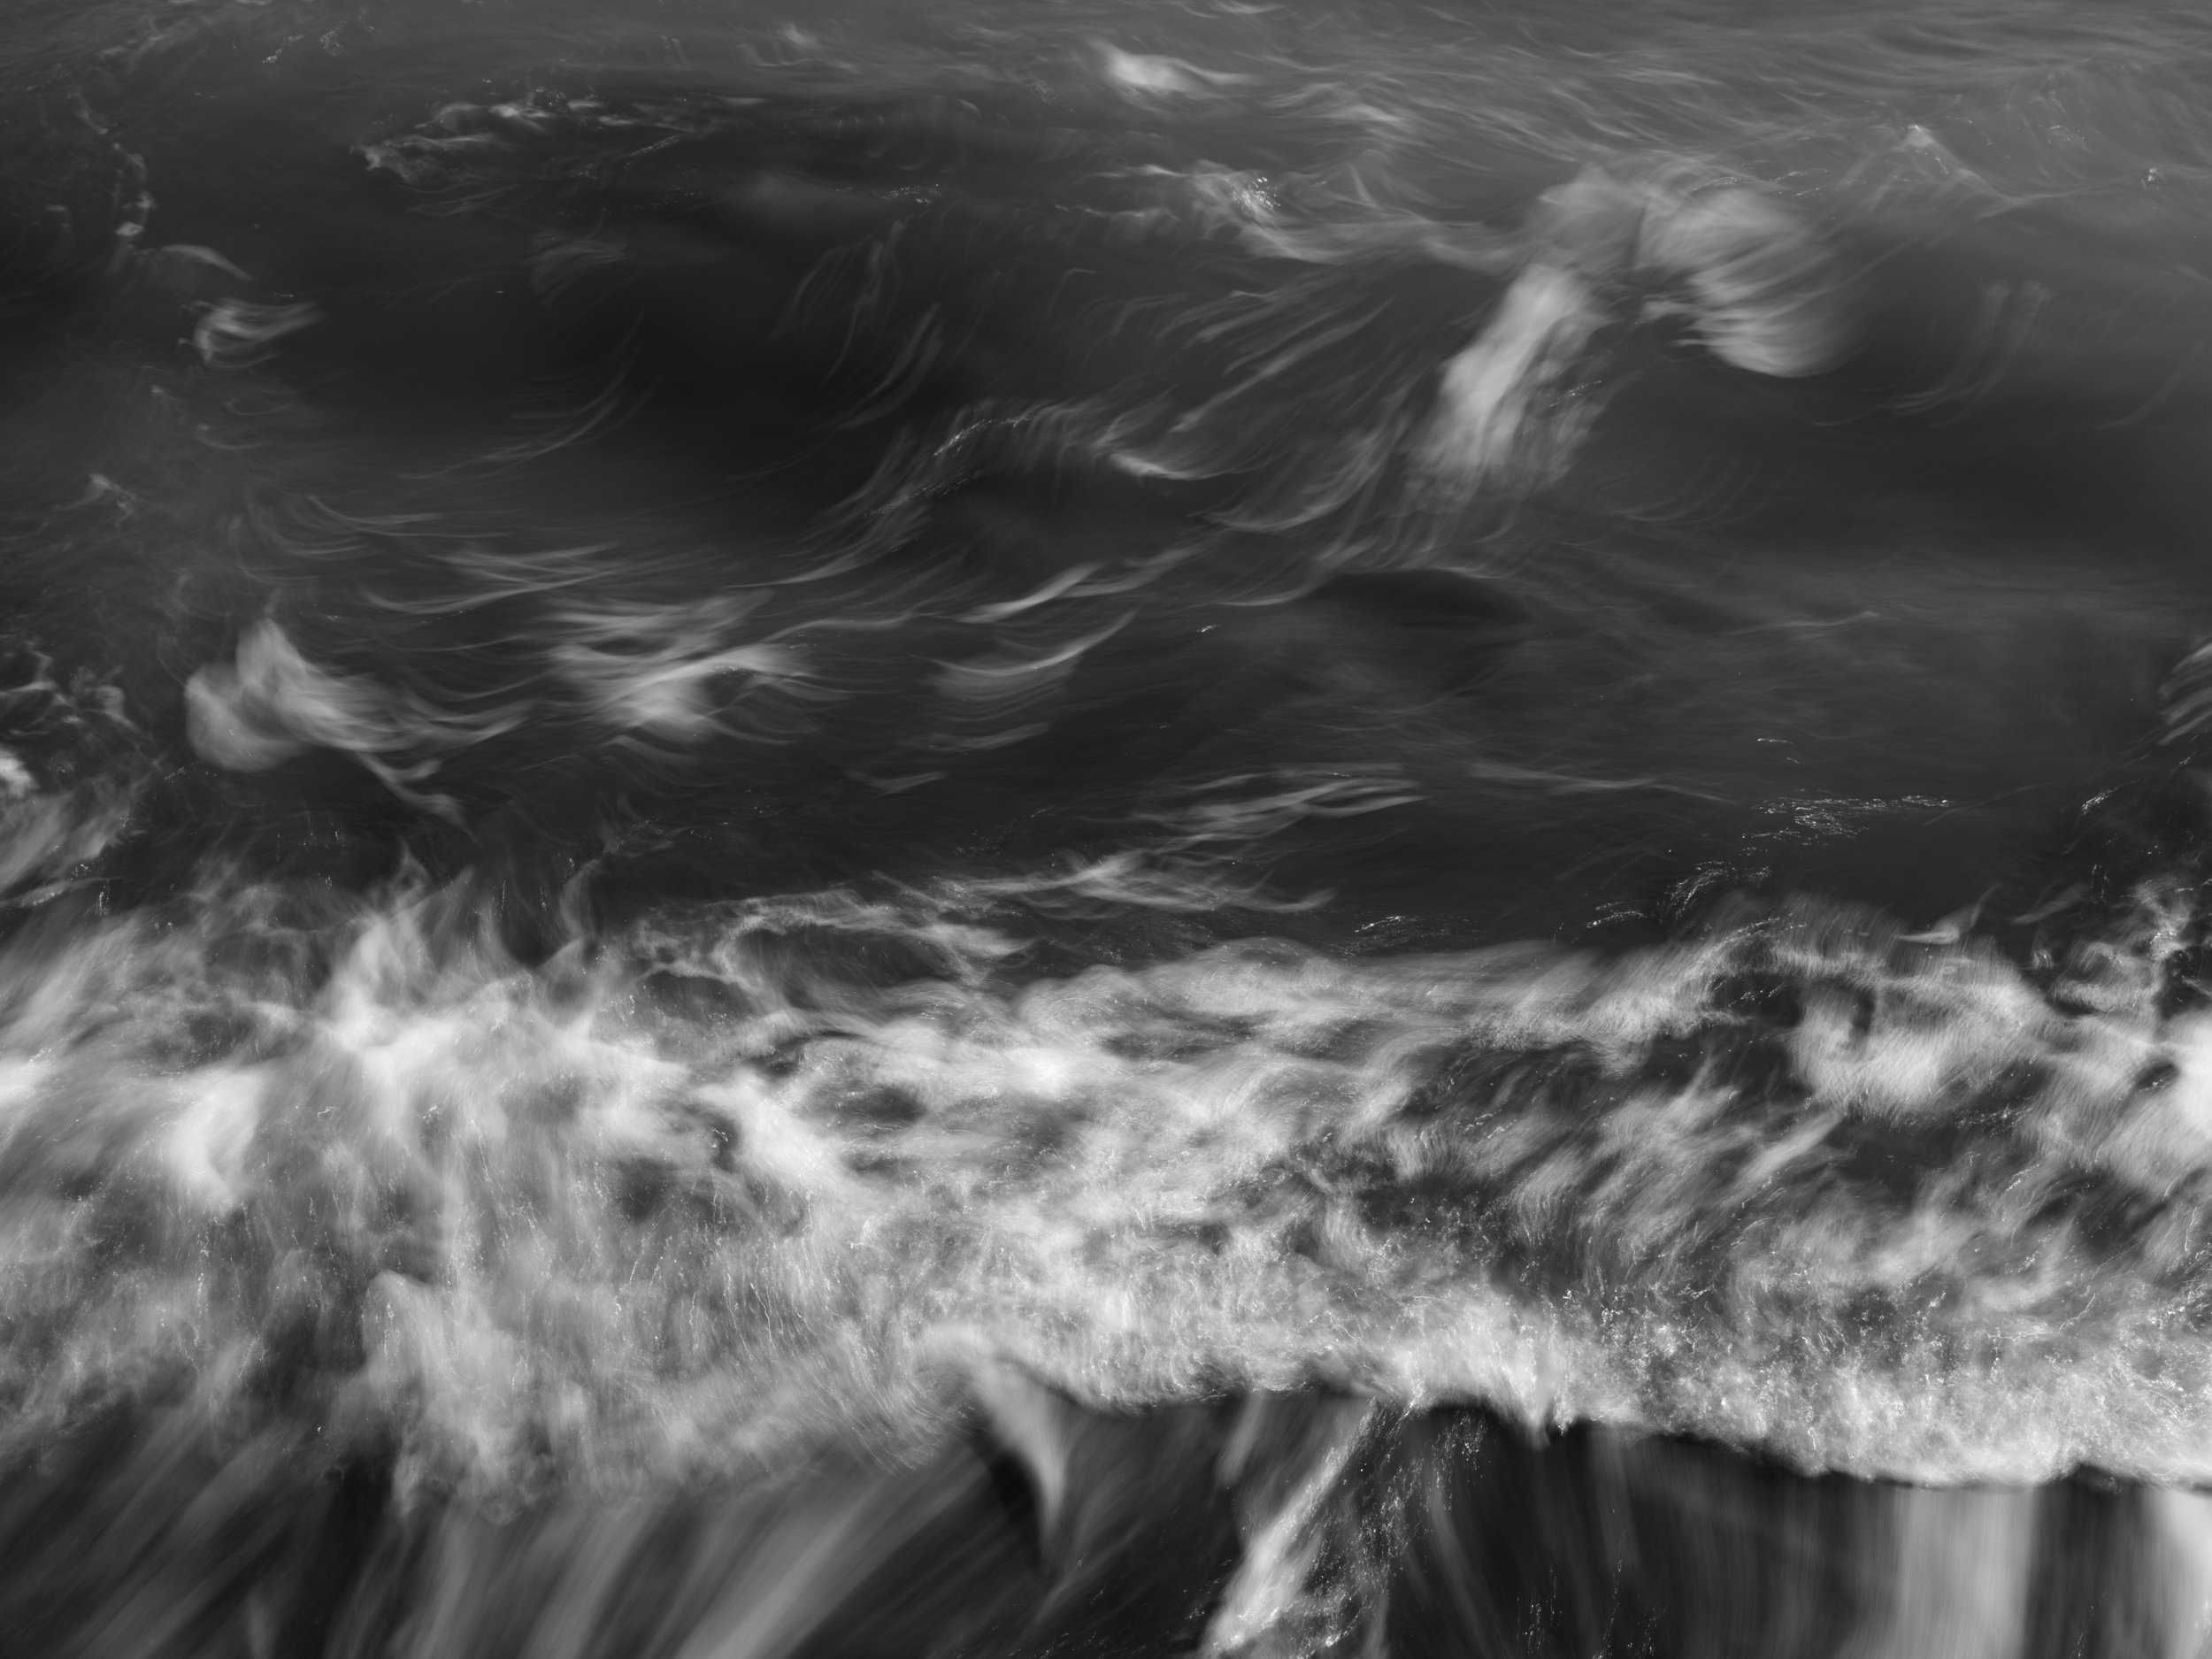
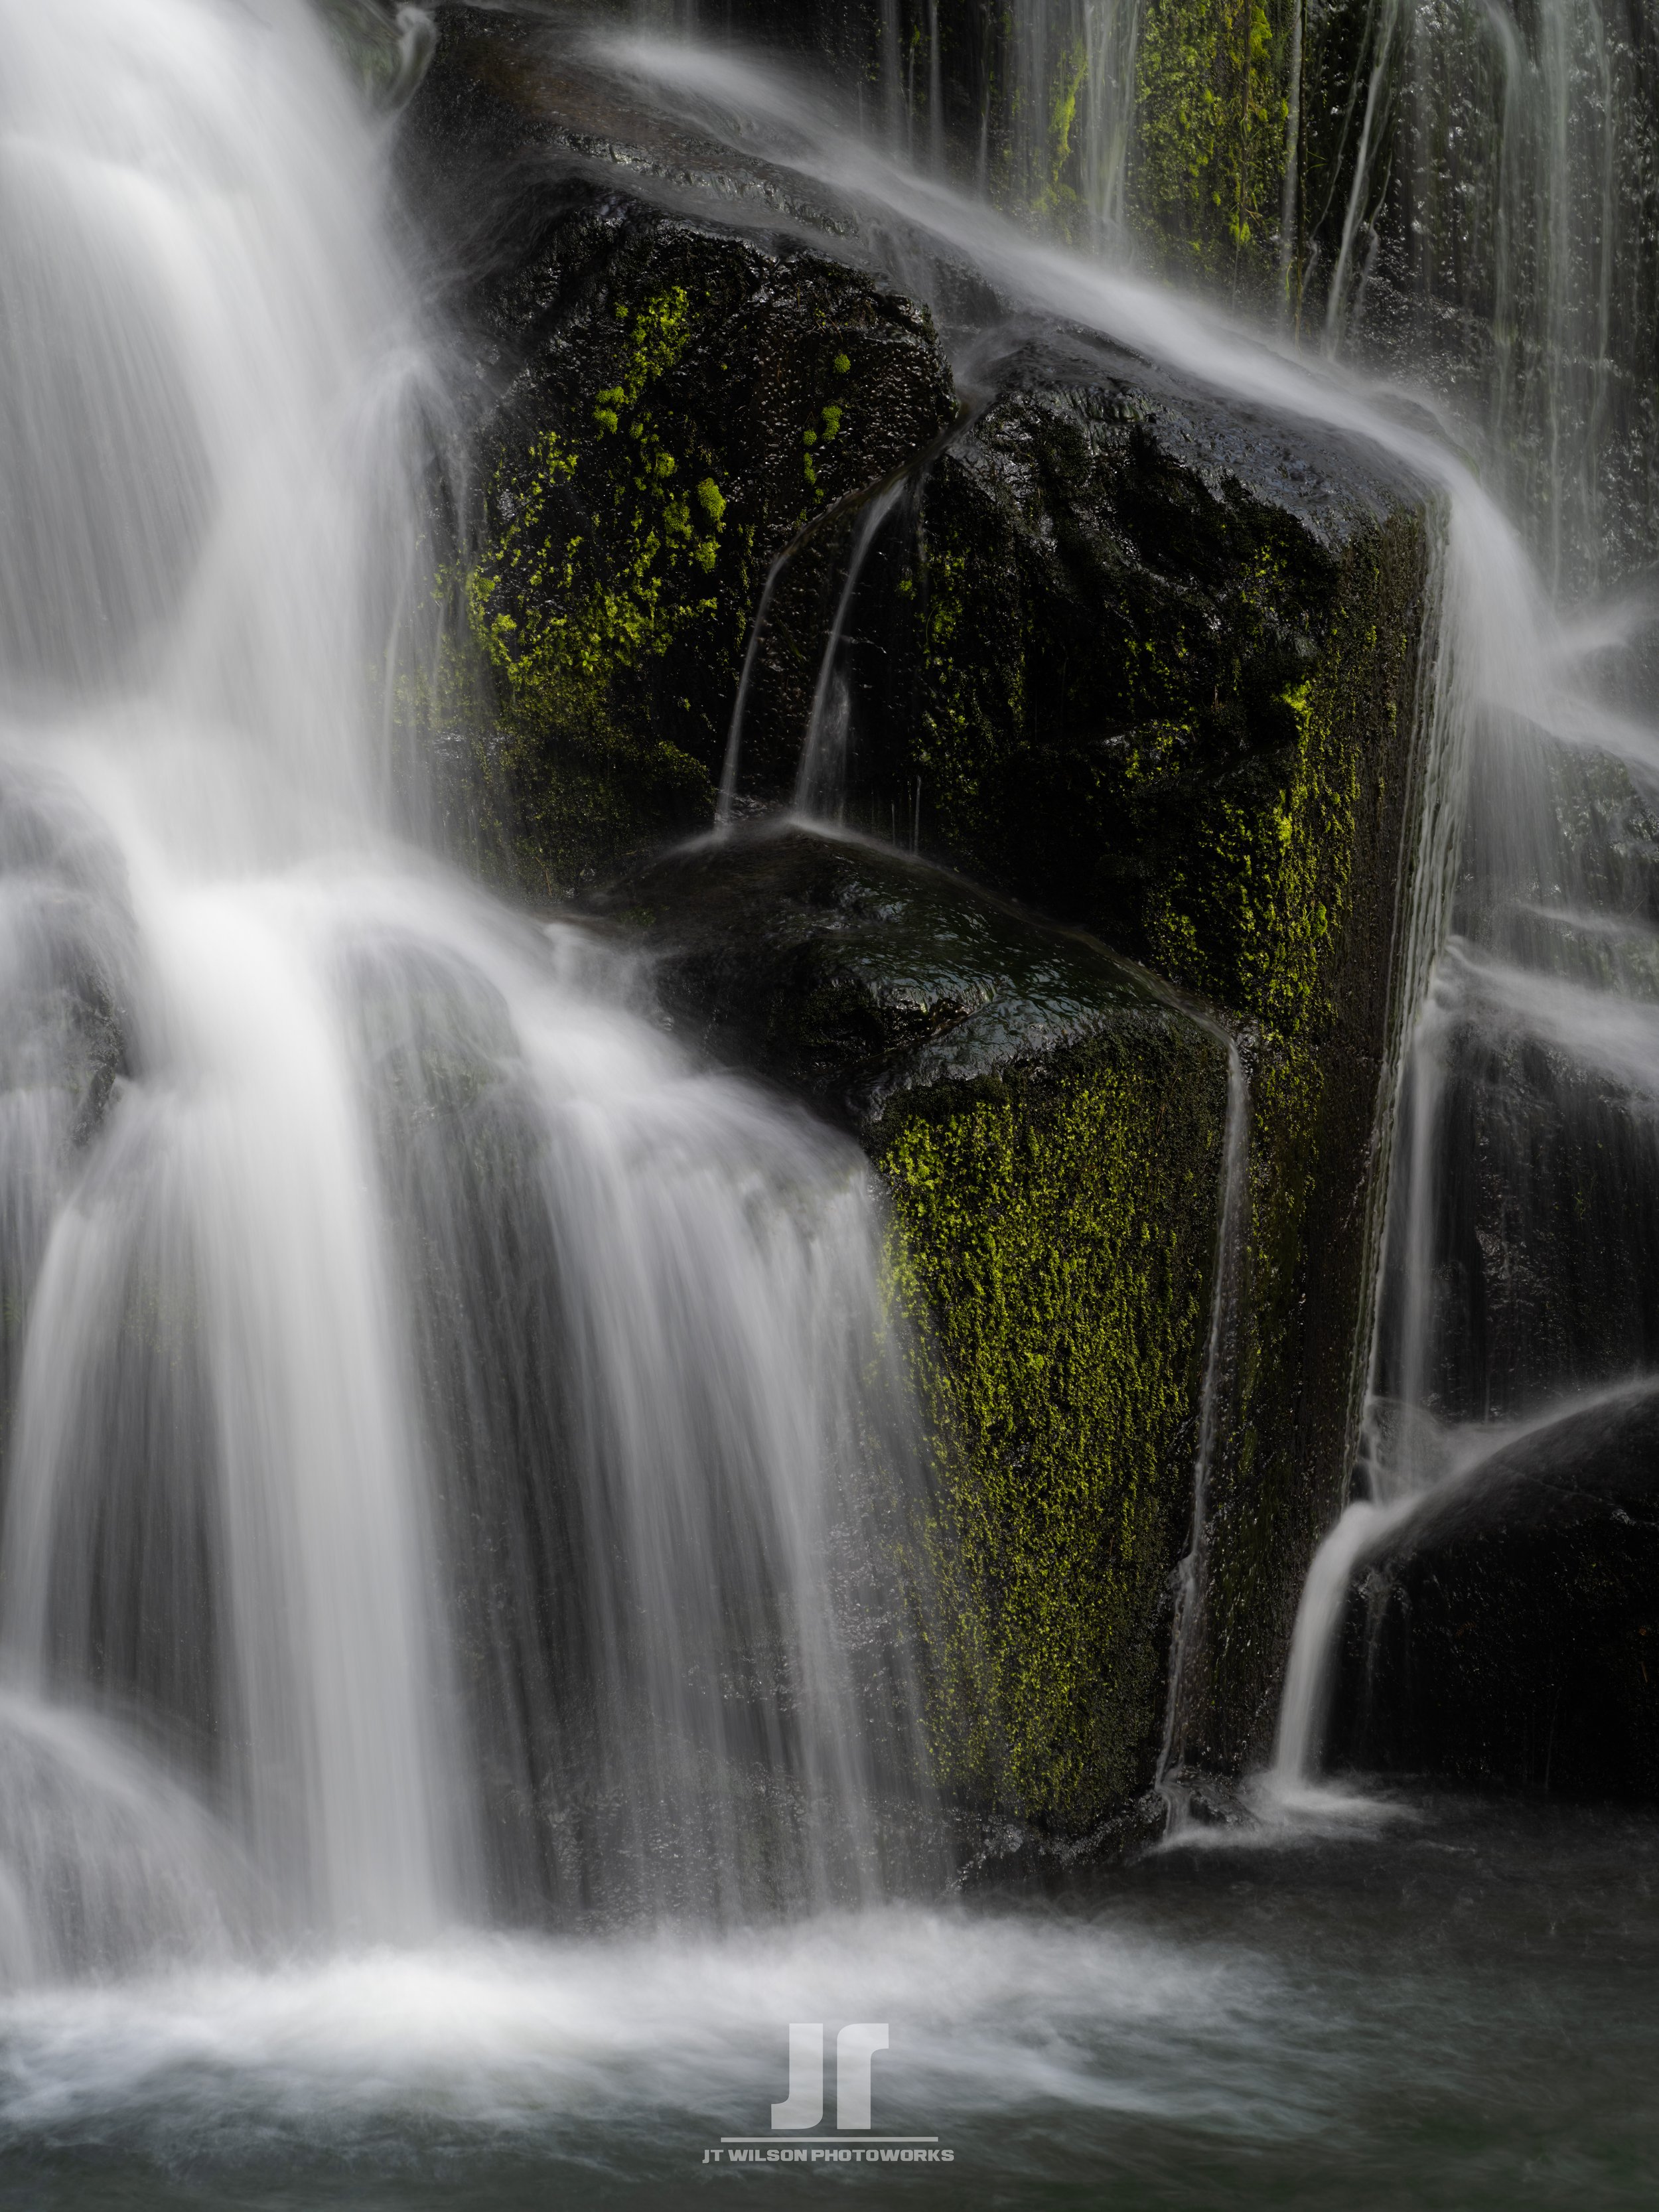
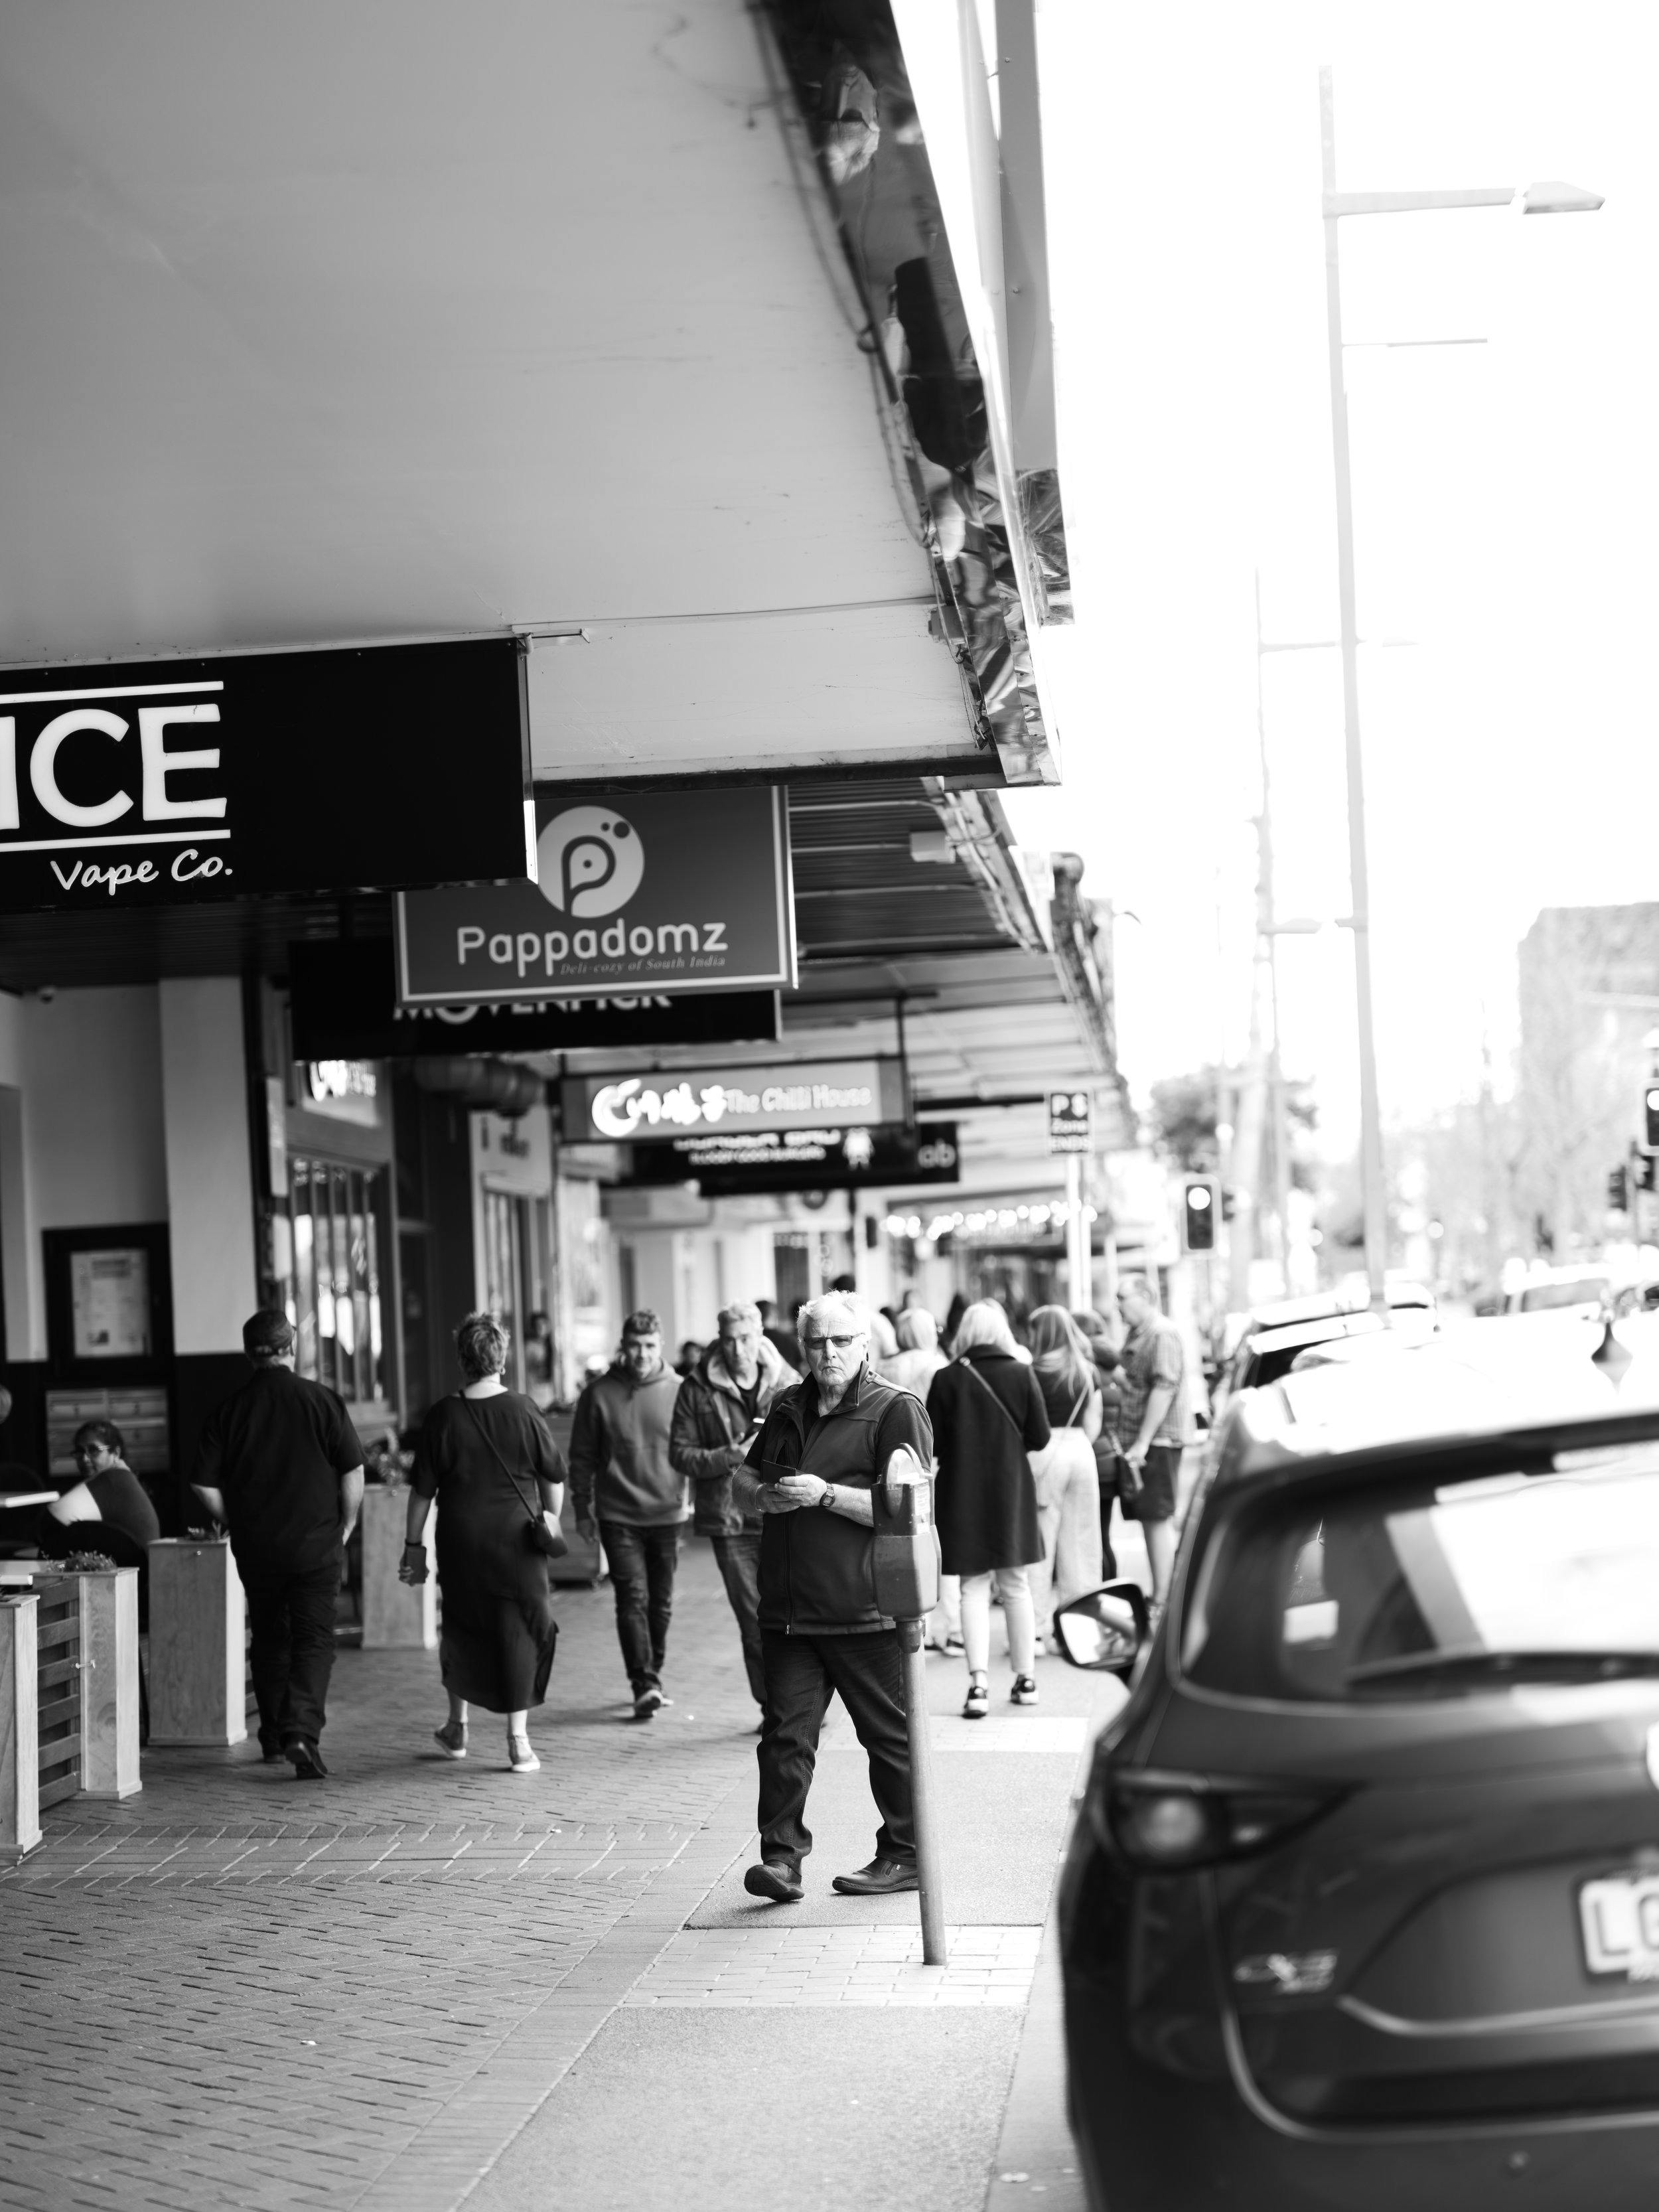
Please note: Not all of the images I take can be legally printed and effectively sold (via a patreon reward). If the image contains recogniseable people in the public or specific branding visible, then the images are effectively off limits without the permission of the people/companies contained within.

CHECK OUT ME ON SOCIAL MEDIA

Youtube:
http://www.youtube.com/gsrwrc
Instagram:
https://www.instagram.com/jarredspec/
https://www.instagram.com/jtwilsonphotoworks
Facebook: https://www.facebook.com/jtwilsonphotoworks

MY GEAR

This is the stuff I shoot with :)

Camera: Fujifilm X-T4, Fujifilm X-T2, iPhone 7 Plus.
Lenses: Fujinon XF 10-24mm f/4, Samyang 12mm f/2.0, Fujinon XF 56mm f/1.2
Tripods: Mefoto Backpacker and Sirui AM-254.
Filters: Hoya HD Circular Polarisers, Breakthrough Photography X2 NDs (6 and 10 stop), Kase "Neutral Night" Clip in light pollution filter.
Lighting: Yongnuo YN 560III Flashes, Yongnuo 560TX Radio Trigger. Westcott Apollo 60" Convertible Umbrella, Godox 24" Softbox, various sizes of “3 in 1” reflectors

The JarredSpec Introduction to Milkyway Landscape Photography - Part II: Planning

Welcome to part II of the Milkyway series! This was released over on Patreon a week ago - head over there for a look if you’d like to support what i’m doing here and get early access to these posts - not to mention a whole lot more that are Patron only! Or look out for Part III in a couple of weeks time!

________________________________________________________________________________

Planning your shoot is probably where at least 75% of your image is created. Knowing where and when you're shooting goes a long way to creating the best image you can! There are a bunch of tools available to us photographers in order to make this go as smoothly as possible. So lets start with..... where to start!

The Weather

There's no Milkyway photography when there are clouds in the way. All the best planning in the world when it comes to your gear, location and timing means nothing if its heaving down with rain. That's the sad reality when it comes to shooting the Milkyway, or any other astrophotography - we are at the mercy of the weather.

Accurate weather information is tough, but there are a few apps you can use to help get you in the right place. Local weather apps are the best place to begin and give you a rough idea of when a window of clear weather might open for you, but "Clear Outside" is an app id highly recommend getting for more detailed forecasts.

Photo 11-03-21, 4 25 40 PM.png

As you can see, the level of detail in the description of cloud cover, rain prediction and fog potential is incredible - and you can even check to see if the International Space Station (I.S.S) is visible. It also covers sunset and sunrise times, and where the moon is. As you can see I'm targeting a Milkyway shoot at Tarawera on Friday the 12th/Early morning Saturday the 13th - not much cloud cover so is looking good at the mo!

This app is fantastic to plan landscape shoots as well. Nothing like seeing a bunch of high cloud at sunrise or sunset near your favourite location!

Dark Skies.

Now you can try to shoot the Milkyway in the middle of the city, but you will be fighting an uphill battle! Light pollution is something you'll hear photographers talk about - what that is, is the city light downing out the stars in the sky. Ever been out in the countryside or on the coast and looked up at the sky at night and realised there are a lot more stars than you remember seeing back in town? That's light pollution rearing its ugly, well lit head.

Thankfully here in New Zealand we are spoiled for dark skies and most of us can find some reasonably dark places to shoot within an hour from home. To find these places, we can simply go to www.darksitefinder.com and use this worldwide map of light pollution

Dark site 1.jpg

This map of NZ shows how much we have in the world of dark skies. The yellow, orange and green areas are really no deal zones when it comes to shooting the milkyway, but the blue and no colour zones, perfect. Lets have a look at my Tarawera spot:

Tarawera dark.jpg

Nice! We're in the blue zone. Conditions should be ideal!

Tarawera real dark.jpg

Better yet, we're pointing away from any potential light pollution. This should be perfect for us provided we can figure out where the Milkyway is...

How do you even know where the Milkyway is when you can't really see it?

Dark skies really do help with seeing the Milkyway with your unaided eyes, but the core itself can be tough to spot without experience. This is where Photopills comes in!

Photo 11-03-21, 4 25 53 PM.png

Using this app, you can plan your milkyway shoot to the minute! To. The. Minute. It shows clearly where it is, where it will be at a given time and even has augmented reality features that allow you to previsualise on location, exactly where the Milkyway will be and when. It's an incredible app, and is a must have for any prospective Milkyway shooter and is also extremely handy for landscape shoots too. It'll show you exactly where and when the sun will rise and set, where the moon will rise and set etc etc.

Make your plan!

So! You have armed yourself with your apps, and now you need to have a plan. Notice that the title of this series is "The JarredSpec Introduction to Milkyway Landscape Photography for beginners", so all the ideas around shooting landscapes still apply, its just instead of epic clouds, we have epic stars!

So the key is, foreground interest, we need something to lead the eye into the frame and into the sky. My plan for this Tarawera shoot is pretty simple, I want to shoot down this pier at the lake, with the milkyway rising in line with it on the horizon and into the sky. As you can see in the pic below we can use photopills to figure out exactly when thats going to happen:

1.png

That thin white line is where the Milkyway will be on the horizon - lines up with the pier at 2:09 AM! Bonus is the galaxy arches over the headland slightly to the right which will look interesting.

3.jpg

And, if we wait for not quite an hour and a half we can line it up so the core is directly above the pier - the thicker of the white lines.

2.png

So! There we have it! Using some cool tools to plan our Milkyway mission! If you’ve been following over on Instagram you’ll have already seen the results of this mission. Head on over and check it out!

Feel free to ask any further questions you might have below! Happy to answer anything!

Bye Bye Store - the future of prints here at JT Wilson Photoworks.

So today I disabled the store here on the website and from now on I won’t be selling prints in this way. To be fair they’re not something I sell a lot of and so it makes sense to do things differently.

Recently I announced a limited 36x12” print run of the shot taken out at Raglan. Limited to ten, numbered, dated and signed without a frame at $140 each (You can contact me via email or on facebook/Instagram DMs if you’re interested in one for yourself, there are only five left). Once the ten sell out - this shot will be retired and not printed again. That way the people who invested in the print retain some exclusivity for their money :)

RMW 1x3 Rocks FB.jpg

I decided I quite like the idea of selling prints in this way, and so after much consideration i’m going to continue with this method of selling prints moving forward. I felt that this a neat way to give some exclusivity to those that support me pursuing this as a career and a way to motivate me to go out an get those print-worthy shots. Once one print run sells out and is with all the new owners, i’ll announce the next print run and its quantity/size/format. The quantity will largely depend on the size and type of print. The more expensive the print, the fewer there will be.

Not all prints will be on paper - some might go on fine art paper, others on metal. Canvases are something I no longer see myself selling, I find paper prints in a frame give a much more “quality” feel. The Metal prints are pretty cool though so i’ll keep those as an option.

Each new print run will be announced here on the website - and via Facebook/Instagram stories. So keep an eye out!

What shot do you want to be part of the next print run? Comment below!

Facebook

Landscapes Instagram

Portraits and Products Instagram

YouTube