Enter the Fujifilm Instax Share SP-2 printer.
So I picked up one of these little things this week. I had been meaning to for a while, but it wasn’t until Zack Arias put this video out gushing about awesome they are and how many times its been one of those things that just breaks the ice in meeting people that I really decided to dive in. After that, I picked one up on sale and that was it.
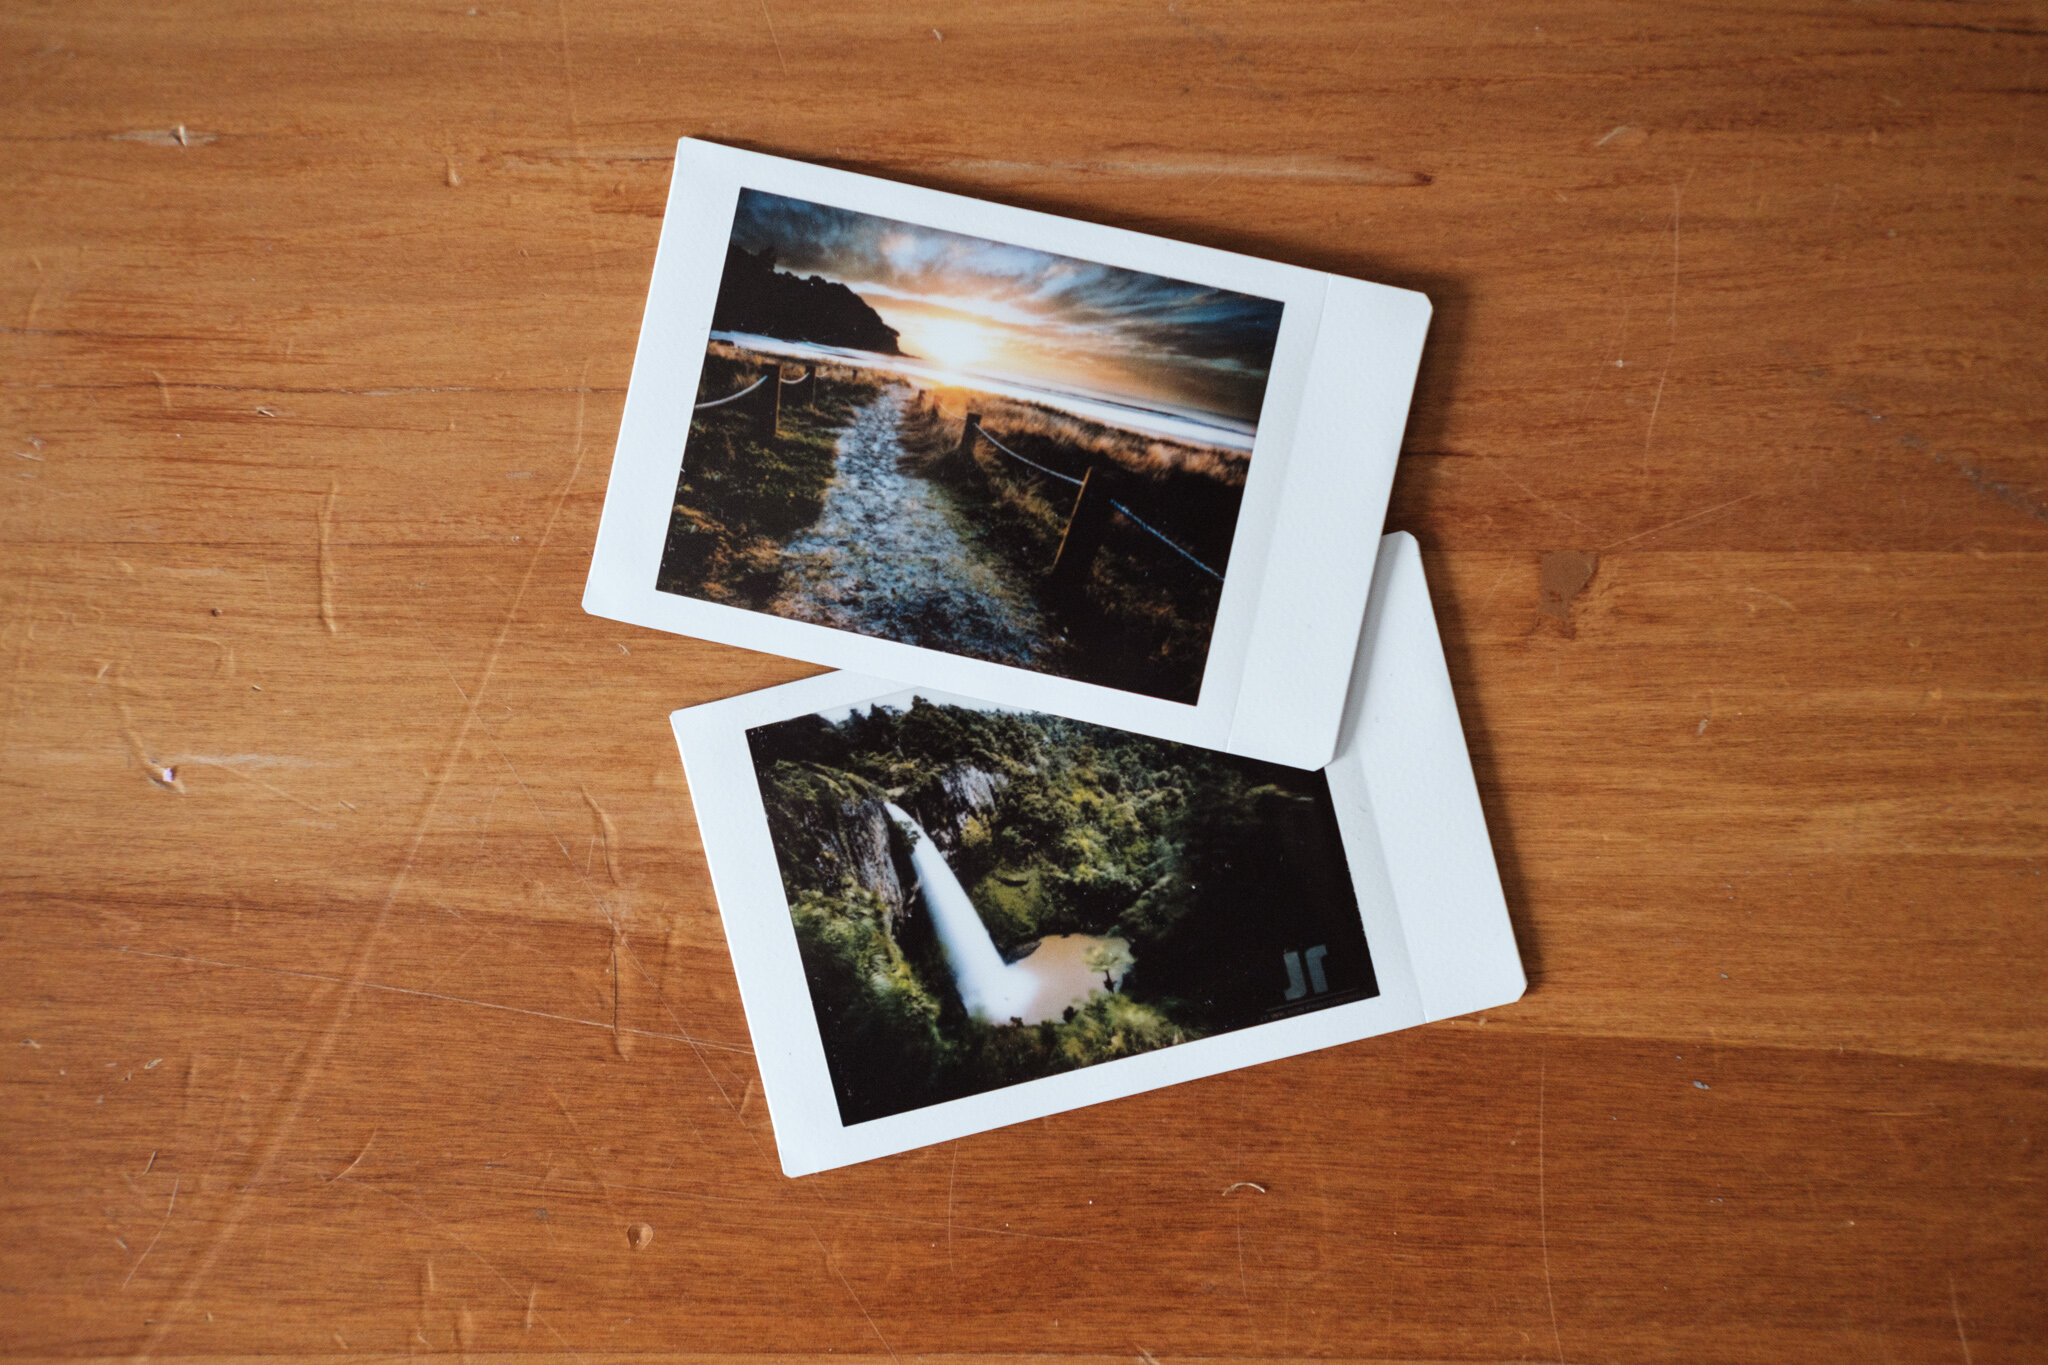
After a portrait shoot with Em at Officially Em on Instagram, I sent one of the frames through to my iPhone, gave it a quick edit and fired it off to the printer. She was super excited about it and it was a neat lil thing to leave behind on the day.

Now, leaving little momentos at portraits is an obvious use for these things and i’ll likely continue to do that as I start to pick up more portrait work. But my main purpose for these lil guys is more marketing oriented.
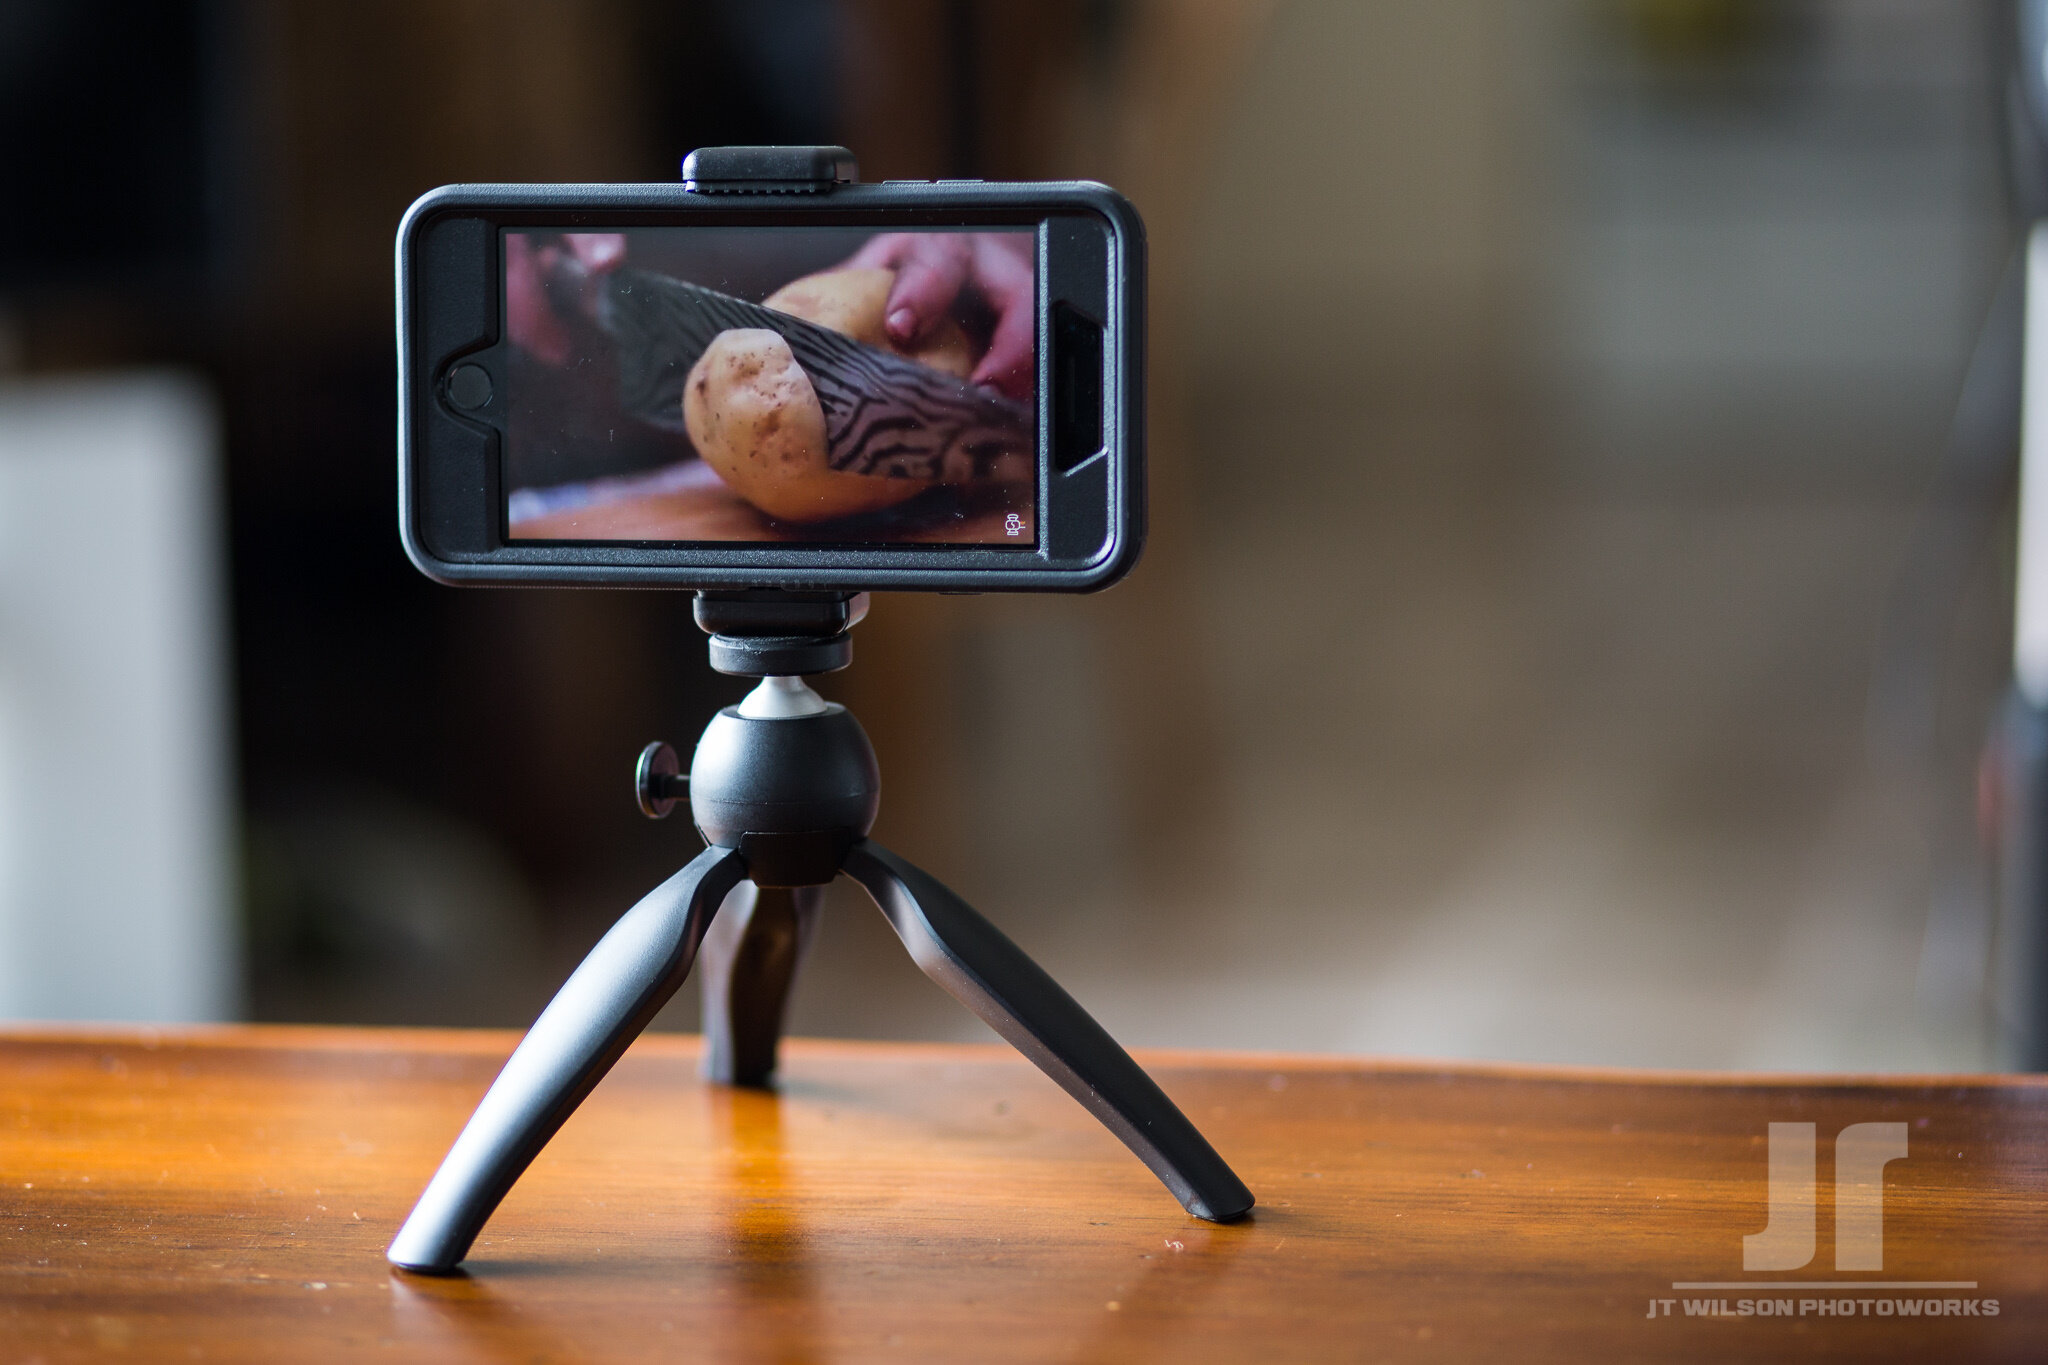
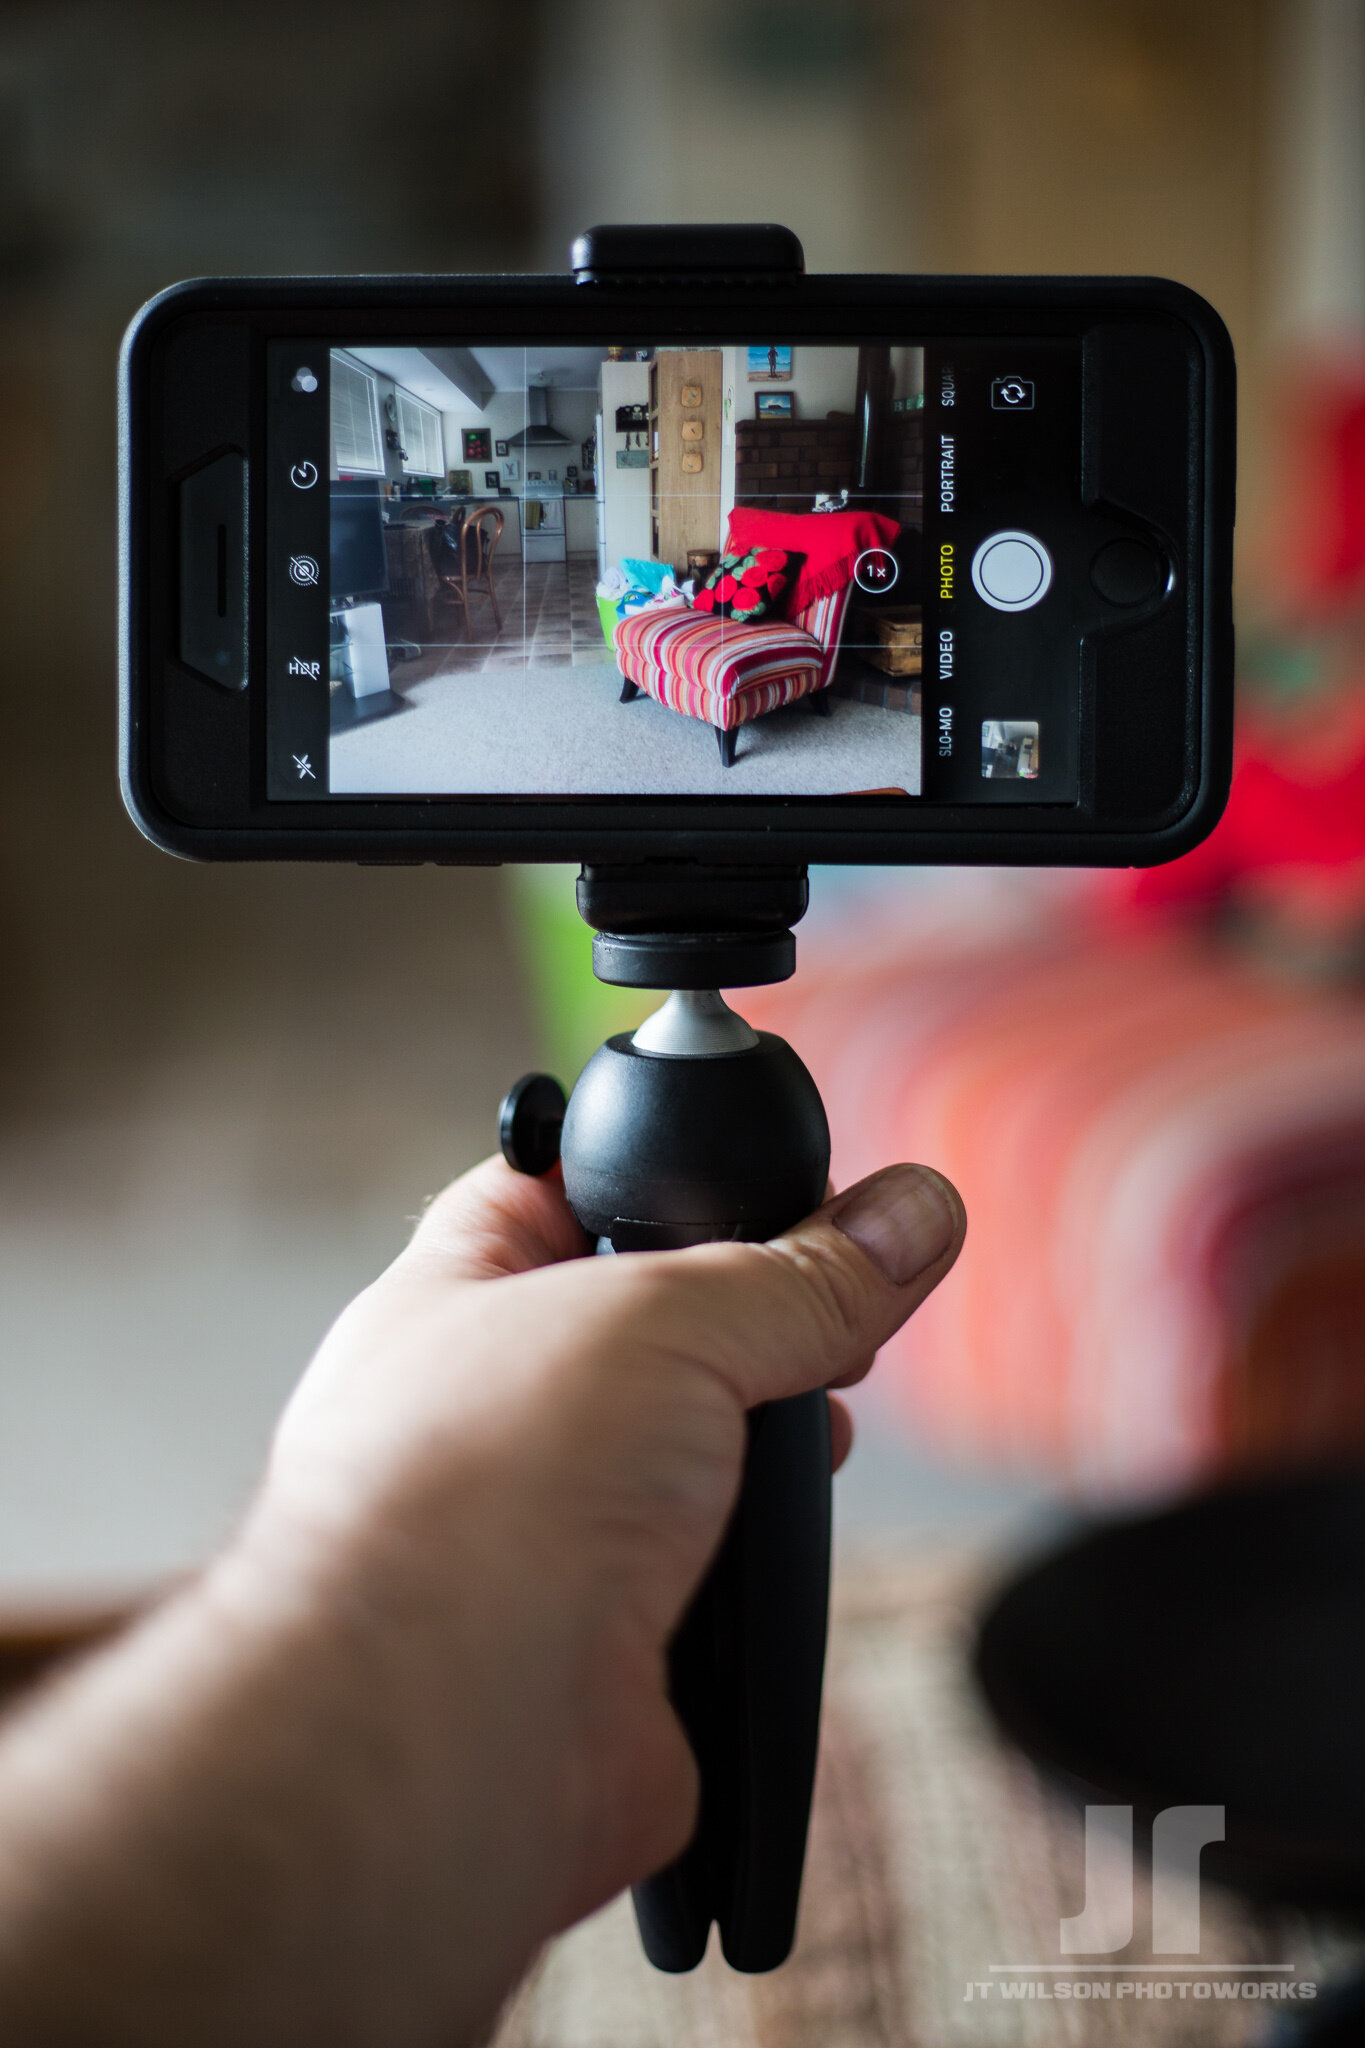
One of the cool things about the Instax Share SP-2 is that it connects to any compatible Fujifilm X series Camera (with WiFi on board obv), but also any iOS/Android device - so you can prints any photo you have loaded on said device. So I can print any shot i’ve taken over the years as long as I send it to my iPhone, as you see above - I have printed a copy of one of my more popular shots from Waihi Beach.
Now the marketing comes in - next time I’m at Waihi beach, i’m gonna leave this lil print for someone to find, and every time I visit a spot that i’ve shot a nice image at, i’ll print it off and leave it there too! I’ll have some details on the back and a simple hashtag to use if/when they share it on Instagram - kinda like Tron rocks except the idea is that the finder gets to keep the print, and I’ll share their post in my stories. Hoping to build a little buzz and leave nice surprises for people to find!
So what do you reckon? Good Idea? What hashtag do you think I should use for the project? Taking all ideas on board, and if you’re lucky and come up with a winning hashtag for me, i’ll send you out instax print number 001 :)